Build a VPN Server on OpenWrt with WireGuard for Remote Access to Your Home Network
- EN
- JA
Table of Contents
This article explains how to build a VPN server using WireGuard on a router running OpenWrt and securely access your home network while away from home.
WireGuard is a lightweight, fast, and secure VPN protocol that makes it easy to build a VPN environment at home.
#
Install the Package
Log in to the OpenWrt web management interface (LuCI) and install luci-proto-wireguard. This also installs required packages such as wireguard-tools.
Restart the router after the installation is complete.
#
Add a Network Interface
In LuCI, go to Network > Interfaces and select Create a new interface… Create an interface with the following settings.
| Item | Setting |
|---|---|
| Name | |
| Protocol | WireGuard VPN |
Choose an easy-to-understand name such as vpn or wg. In this example, vpn is used.
Next, configure the following settings on the General Settings tab.
| Item | Setting |
|---|---|
| Listen Port | 51820 |
| IP Addresses |
Unless you have a specific reason, choose an IP address that does not overlap with an existing network segment. In this example, 10.0.0.1 is used.
Finally, select Generate new key pair to generate the server’s private and public keys.
After configuring the settings, select Save.
#
Configure the Firewall
In LuCI, go to Network > Firewall and configure the zones on the General Settings tab.
To apply the same settings as the lan interface, edit the lan zone and add the vpn interface to Covered networks.
Next, open the Traffic Rules tab and add a rule to allow WireGuard connections. Communication from the wan side is disabled by default, so allow communication from wan to the VPN server (OpenWrt).
Select Add and create a rule with the following settings.
| Item | Setting |
|---|---|
| Name | Allow-WireGuard |
| Protocol | UDP |
| Source zone | wan |
| Destination zone | Device (input) |
| Destination port | 51820 |
After configuring the rule, select Save & Apply.
#
Add a Peer
Add information for the client (peer) that is allowed to connect to the VPN server.
In this example, the client’s key pair is generated on the server and the configuration file is shared with the client. Be aware that this temporarily stores the client’s private key on the server.
In LuCI, go to Network > Interfaces and edit the vpn interface created earlier. Open the Peers tab and select Add peer.
When the peer settings screen opens, configure it as follows.
| Item | Setting |
|---|---|
| Description | |
| Allowed IPs | |
| Route Allowed IPs | Enabled |
| Persistent Keep Alive | 25 |
Give Description a name that identifies the peer. Under Allowed IPs, specify the IP addresses that the peer is allowed to use.
Normally, one peer is created for each public key, so this does not require much consideration. However, the Allowed IPs setting applies subnet masks as follows.
| Allowed IPs | Addresses the peer may use |
|---|---|
| 10.0.0.2 | 10.0.0.2 |
| 10.0.0.2/32 | Same as above |
| 10.0.0.0/24 | 10.0.0.0 to 10.0.0.255 |
| 10.0.0.2/24 | Same as above |
In this example, 10.0.0.2 is used.
After configuring the settings, select Generate new key pair and Generate preshared key to generate the keys.
At this point, Generate configuration… under Configuration Export becomes available. Select it.
| Item | Setting |
|---|---|
| Connection endpoint | <VPN-server-IP-address/domain-name> |
| Allowed IPs |
For Connection endpoint, specify the VPN server’s IP address or domain name. Since the VPN server is running on OpenWrt in this example, the IP address assigned by the ISP to wan is used.
For Allowed IPs, specify the IP addresses that should use the VPN. By default, 0.0.0.0/0 and ::/0 are specified, which routes all traffic through the VPN. Change Allowed IPs as needed.
A QR code and the client configuration are displayed near the bottom of the settings screen. The client can easily apply the configuration by importing these.
After applying the configuration on the client, the client’s private key is no longer needed on the server. Delete it and save the peer settings.
Select Save & Apply to apply the settings, then restart the vpn interface as well.
#
Connect from the Client
Connect to the VPN server from Android. Write the configuration displayed earlier to a file such as wg.conf and send it to the client.
Search for WireGuard in the Play Store and install the app.
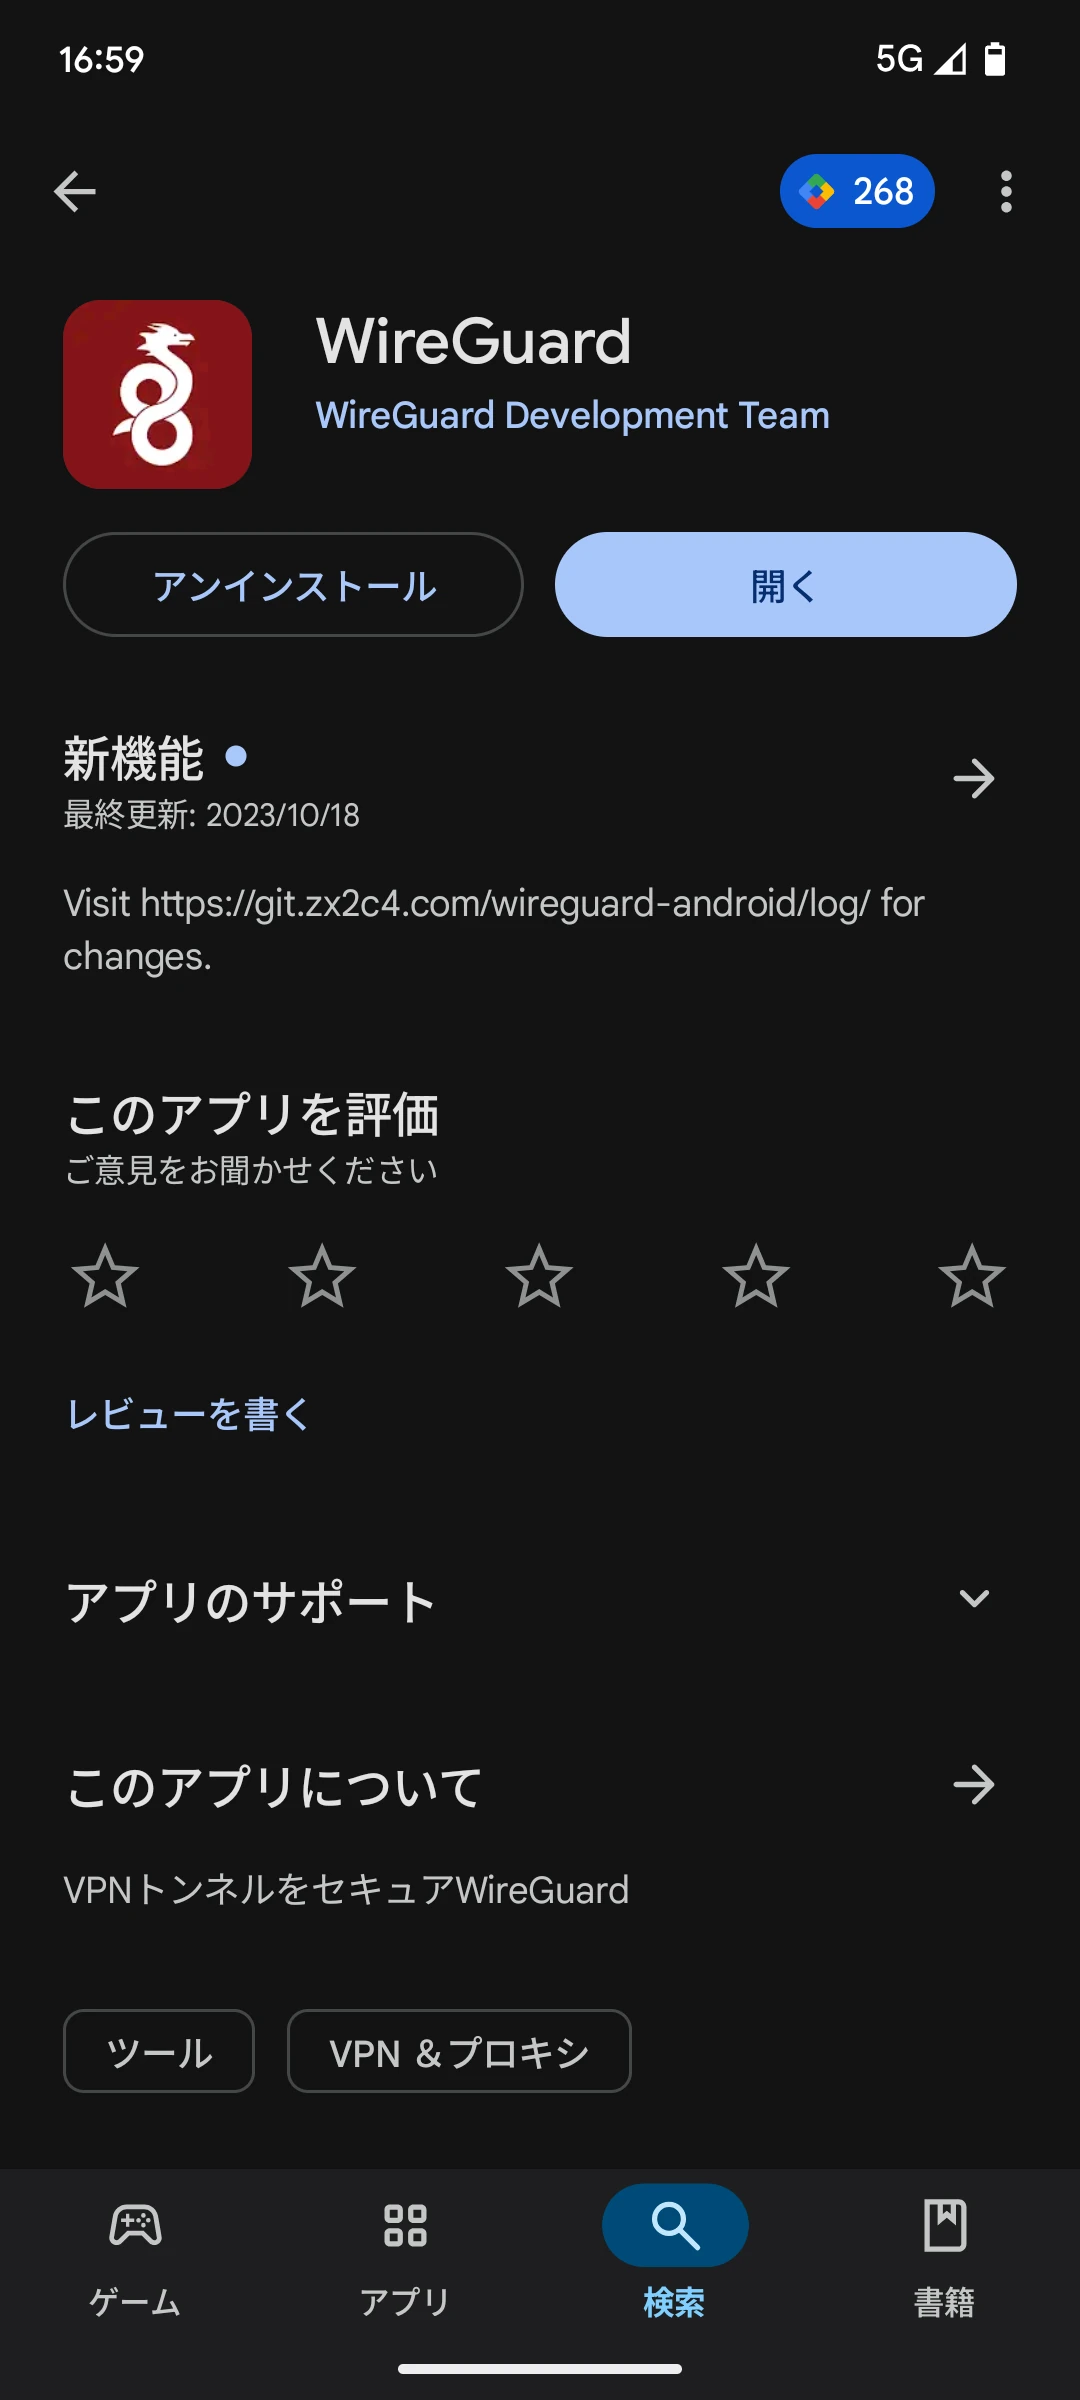
Open the installed app.

Select the plus icon in the lower-right corner, then select Import from file or archive. Select and import the configuration file downloaded from the server.

The configuration has been added. The VPN is disabled immediately after adding it. Select the switch on the right to enable the VPN.
After enabling it, use the SMB client app Network Browser to access the home file server and verify the connection.

The connection works successfully. The VPN server setup is complete.