Install Proxmox VE
- EN
- JA
Table of Contents
Proxmox VE (Virtual Environment) is an open-source virtualization platform based on KVM and LXC. It allows you to easily create and manage virtual machines and containers from a web UI.
This article explains how to install Proxmox VE.
#
Introduction
In this example, Proxmox VE is installed on the NucBox M5 Plus, a mini PC sold by GMKtec.
The specifications of the NucBox M5 Plus are as follows.
| Manufacturer | GMKtec |
|---|---|
| Model | NucBox M5 Plus |
| CPU | AMD Ryzen 7 5825U (8 cores, 16 threads, up to 4.50GHz) |
| Memory | 16GB (8GB x 2) |
| Storage | 512GB SSD |
| Graphics | AMD Radeon Graphics (integrated into the CPU) |
| Network | 2 x 2.5Gb LAN, Wi-Fi 6E, Bluetooth 5.2 |
| Interfaces | 1 x USB Type-C (video output supported), 2 x USB3.2 Gen1, 2 x USB2.0, 1 x HDMI, 1 x DisplayPort, audio jack (3.5mm 4-pole) |
| Expansion slots | 3 x M.2 slots (2 for storage, 1 for Wi-Fi) |
#
Download Proxmox VE
Download the ISO image from the Proxmox VE download page. In this example, Proxmox VE 8.3 was downloaded.
#
Create an Installation USB Drive
Write the downloaded ISO image to a USB drive. Use an image-writing tool such as Win32 Disk Imager to write it to the USB drive.
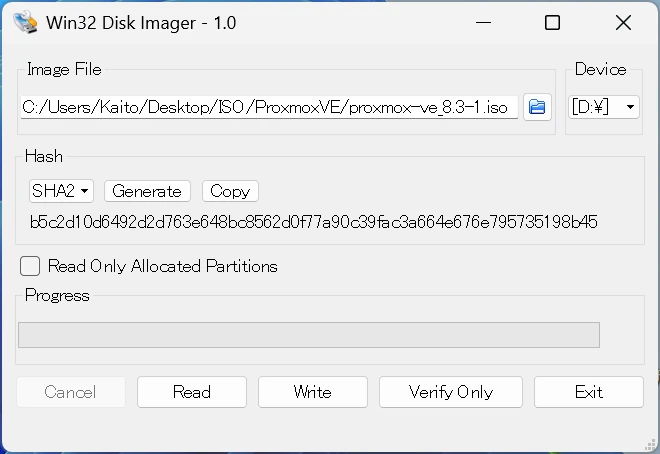
For details on using Win32 Disk Imager, see How to Install and Use Win32 Disk Imager.
#
Install Proxmox VE
Connect the USB drive to the PC on which you want to install Proxmox VE, start the PC, and boot from the USB drive. The Proxmox VE installation screen is displayed.
##
Select the Installation Type
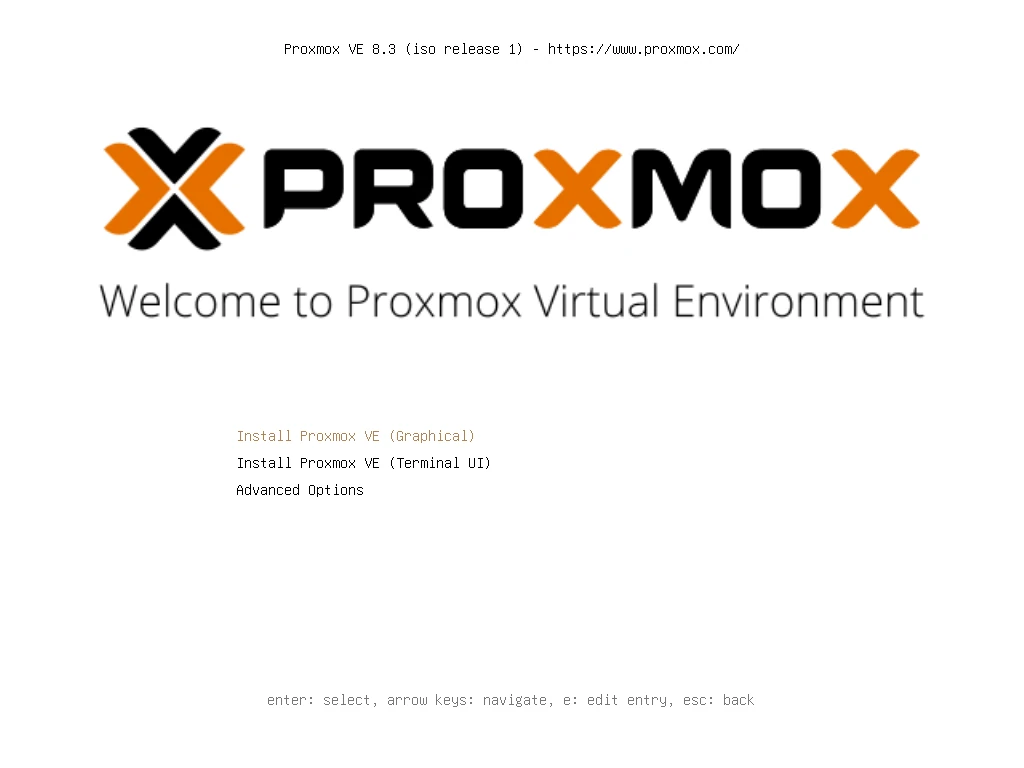
The installation types are displayed. Select Install Proxmox VE (Graphical) to proceed with the GUI installation.
##
Accept the License Agreement
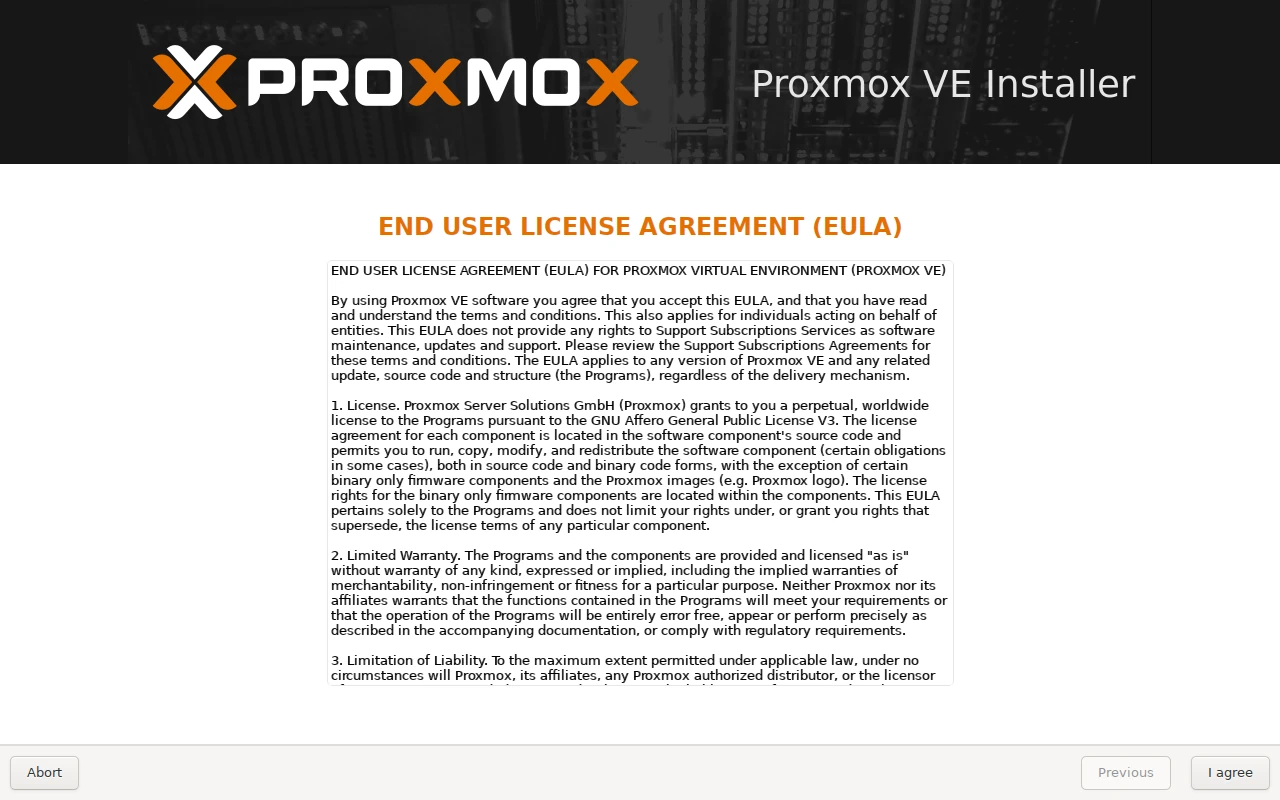
The Proxmox VE license agreement is displayed. If there is no issue, select I agree to continue.
##
Configure the Installation Target
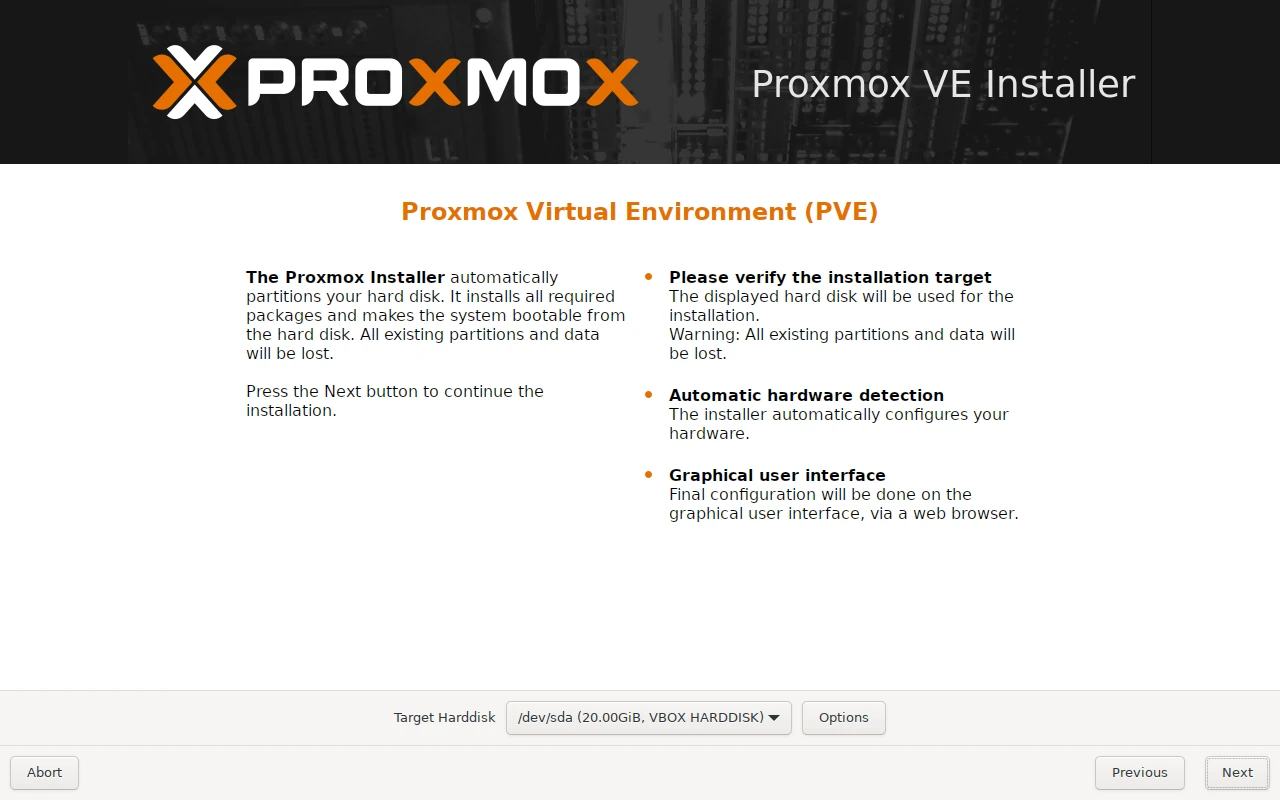
Select the installation target for Proxmox VE. You can configure details such as the file system from Options.
After selecting the target, press Next to continue.
##
Configure the Country, Time Zone, and Keyboard Layout
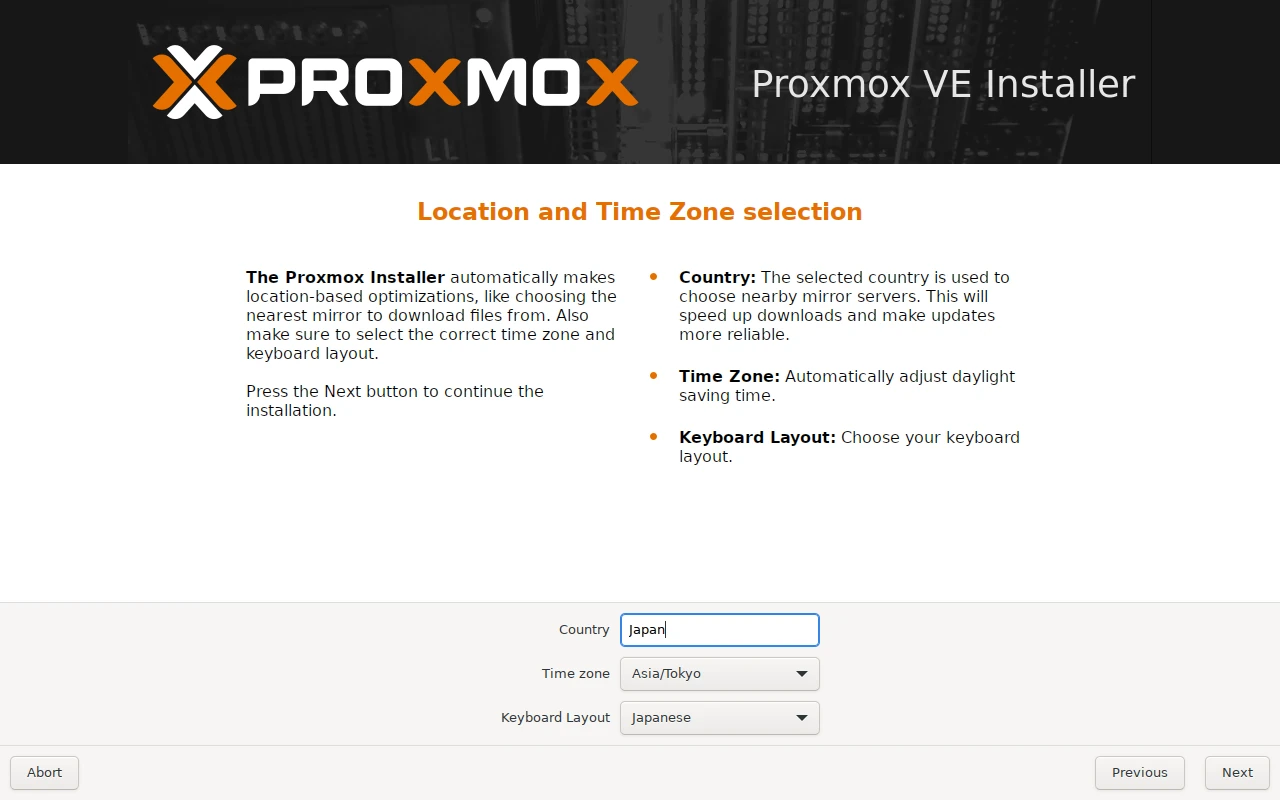
Configure the country, time zone, and keyboard layout. If the system is connected to the internet at this point, these fields are filled in automatically.
After configuring them, press Next to continue.
##
Configure the Administrator Password and Email Address
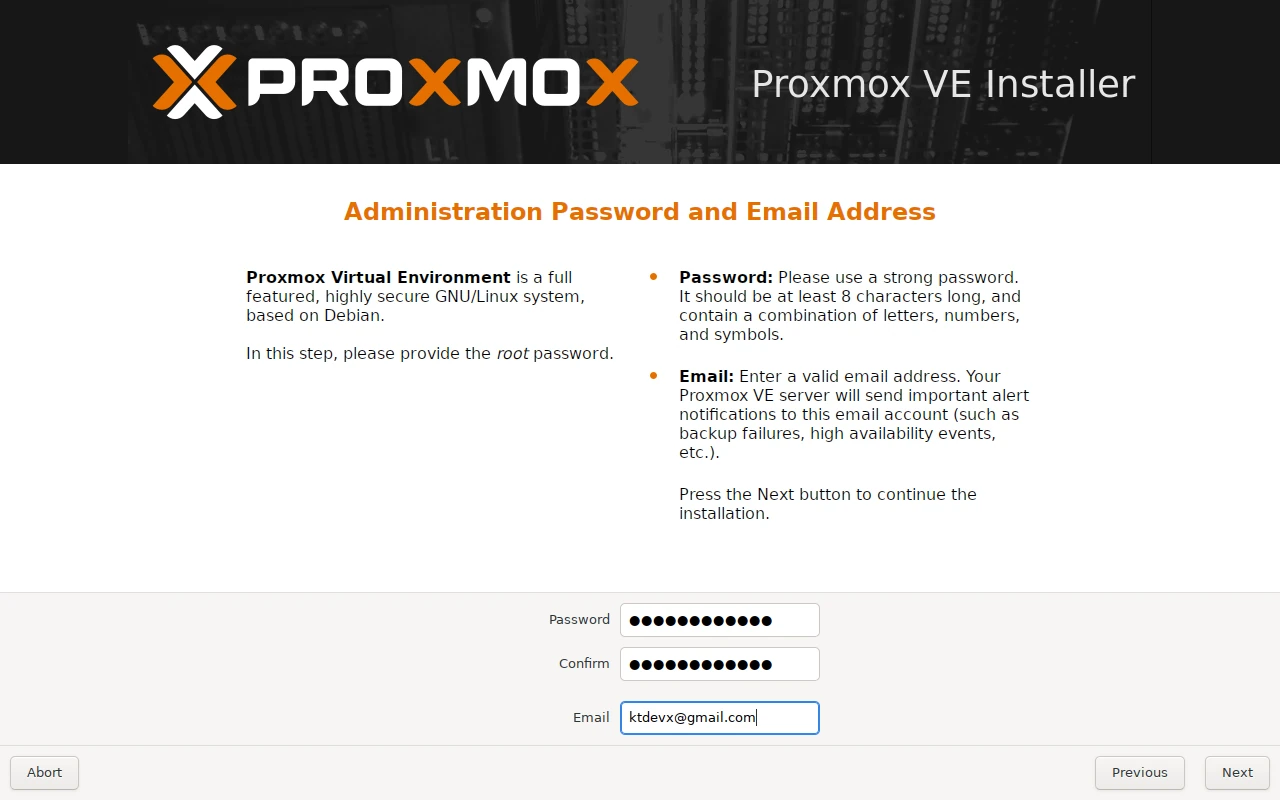
Configure the password and email address for the administrator user (root). Enter the password twice for confirmation.
After configuring them, press Next to continue.
##
Configure the Network
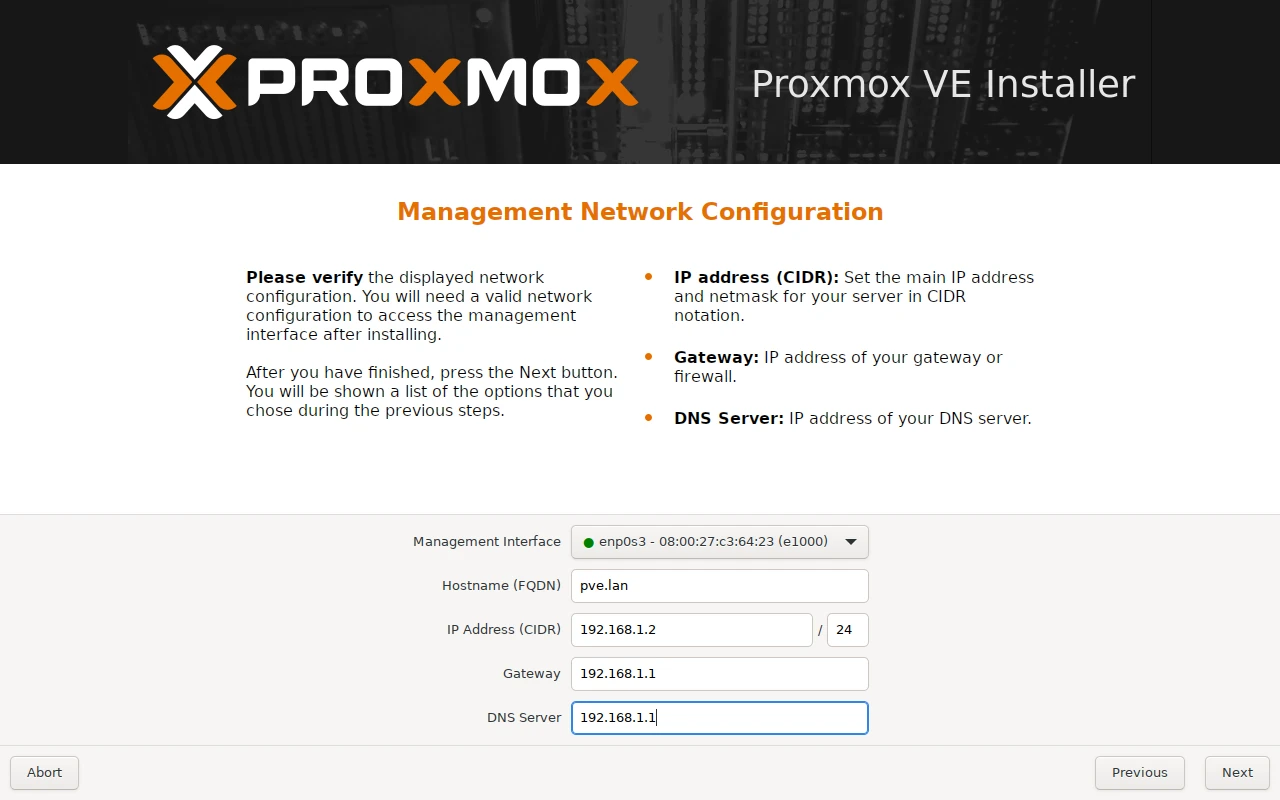
Configure the network interface, hostname, IP address, and other settings.
After configuring them, press Next to continue.
##
Review the Settings
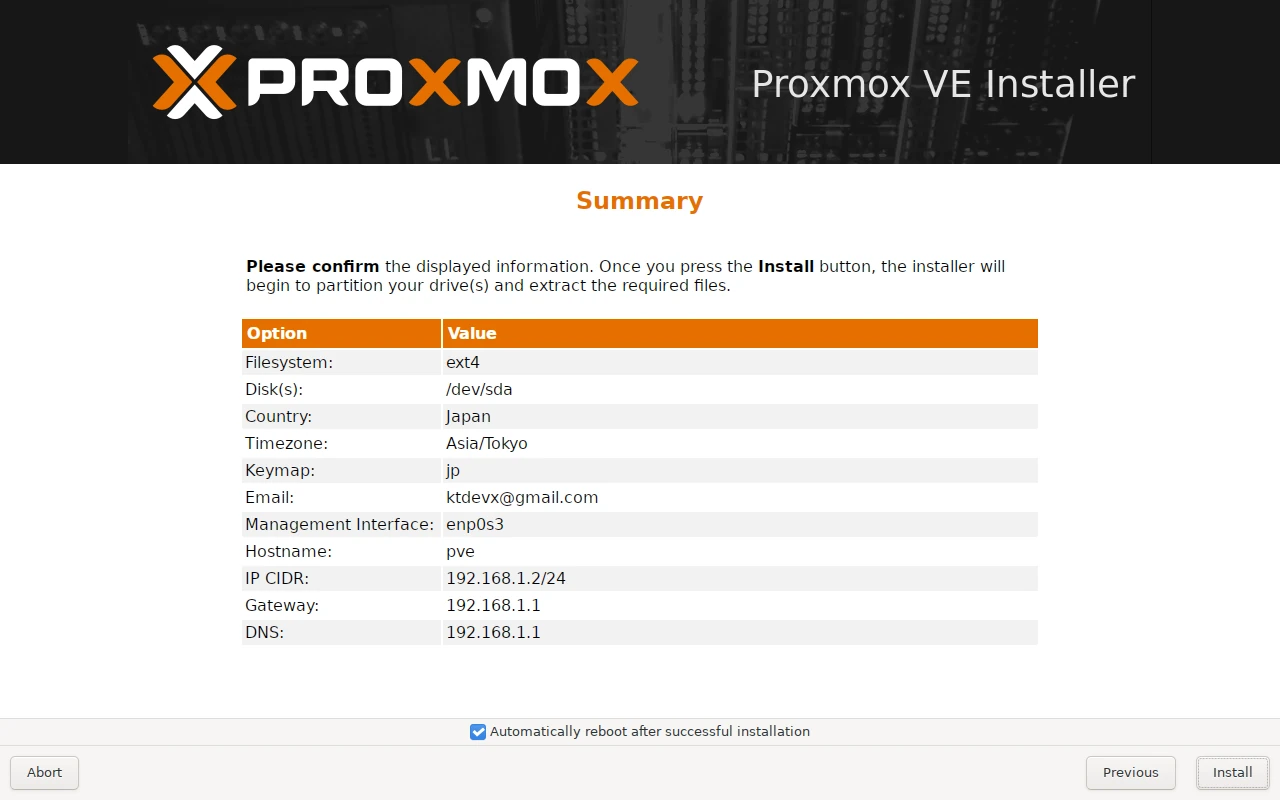
The settings configured so far are displayed. If everything is correct, select Install to start the installation.
##
Installation
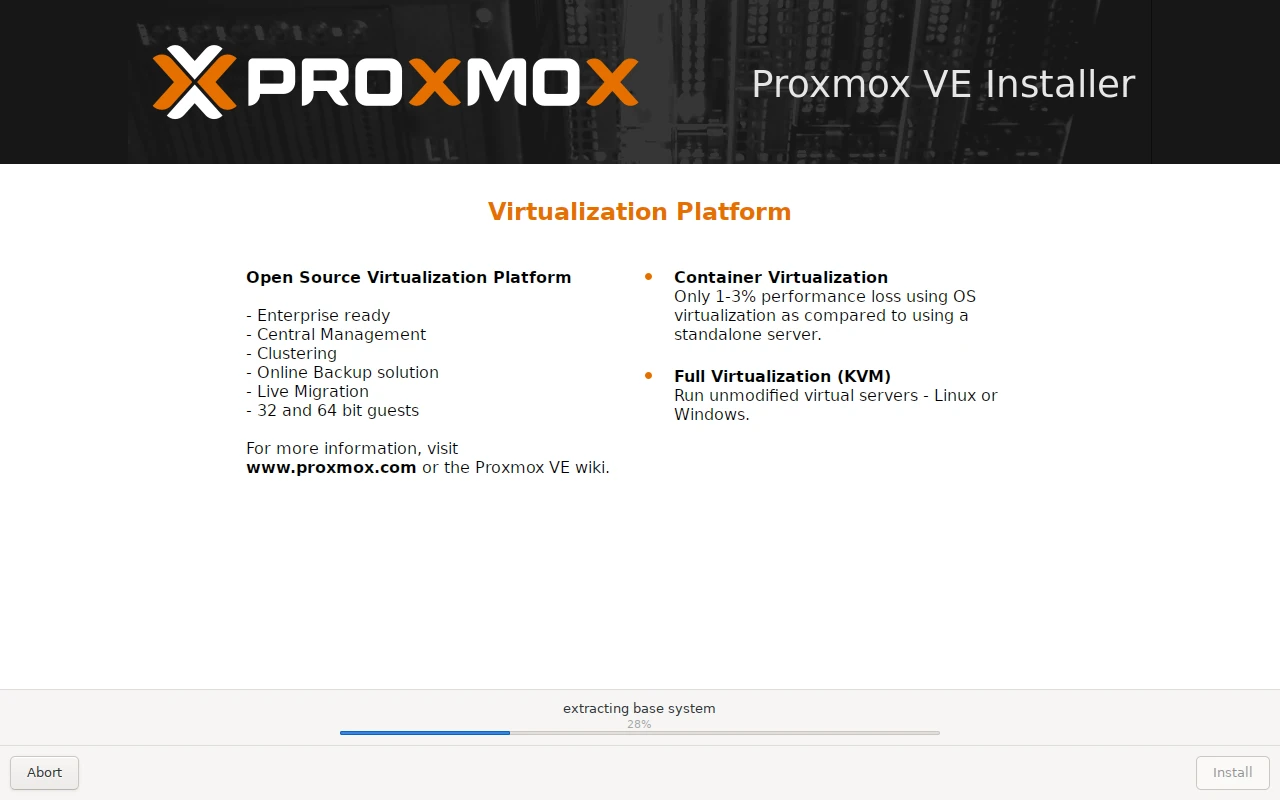
Wait for the installation to complete. When it is complete, remove the USB drive and restart the PC. If everything went well, the shell login screen is displayed.
##
Access the Proxmox VE Management Interface
Finally, access the Proxmox VE management interface. From a web browser, go to https://<configured-IP-address>:8006.
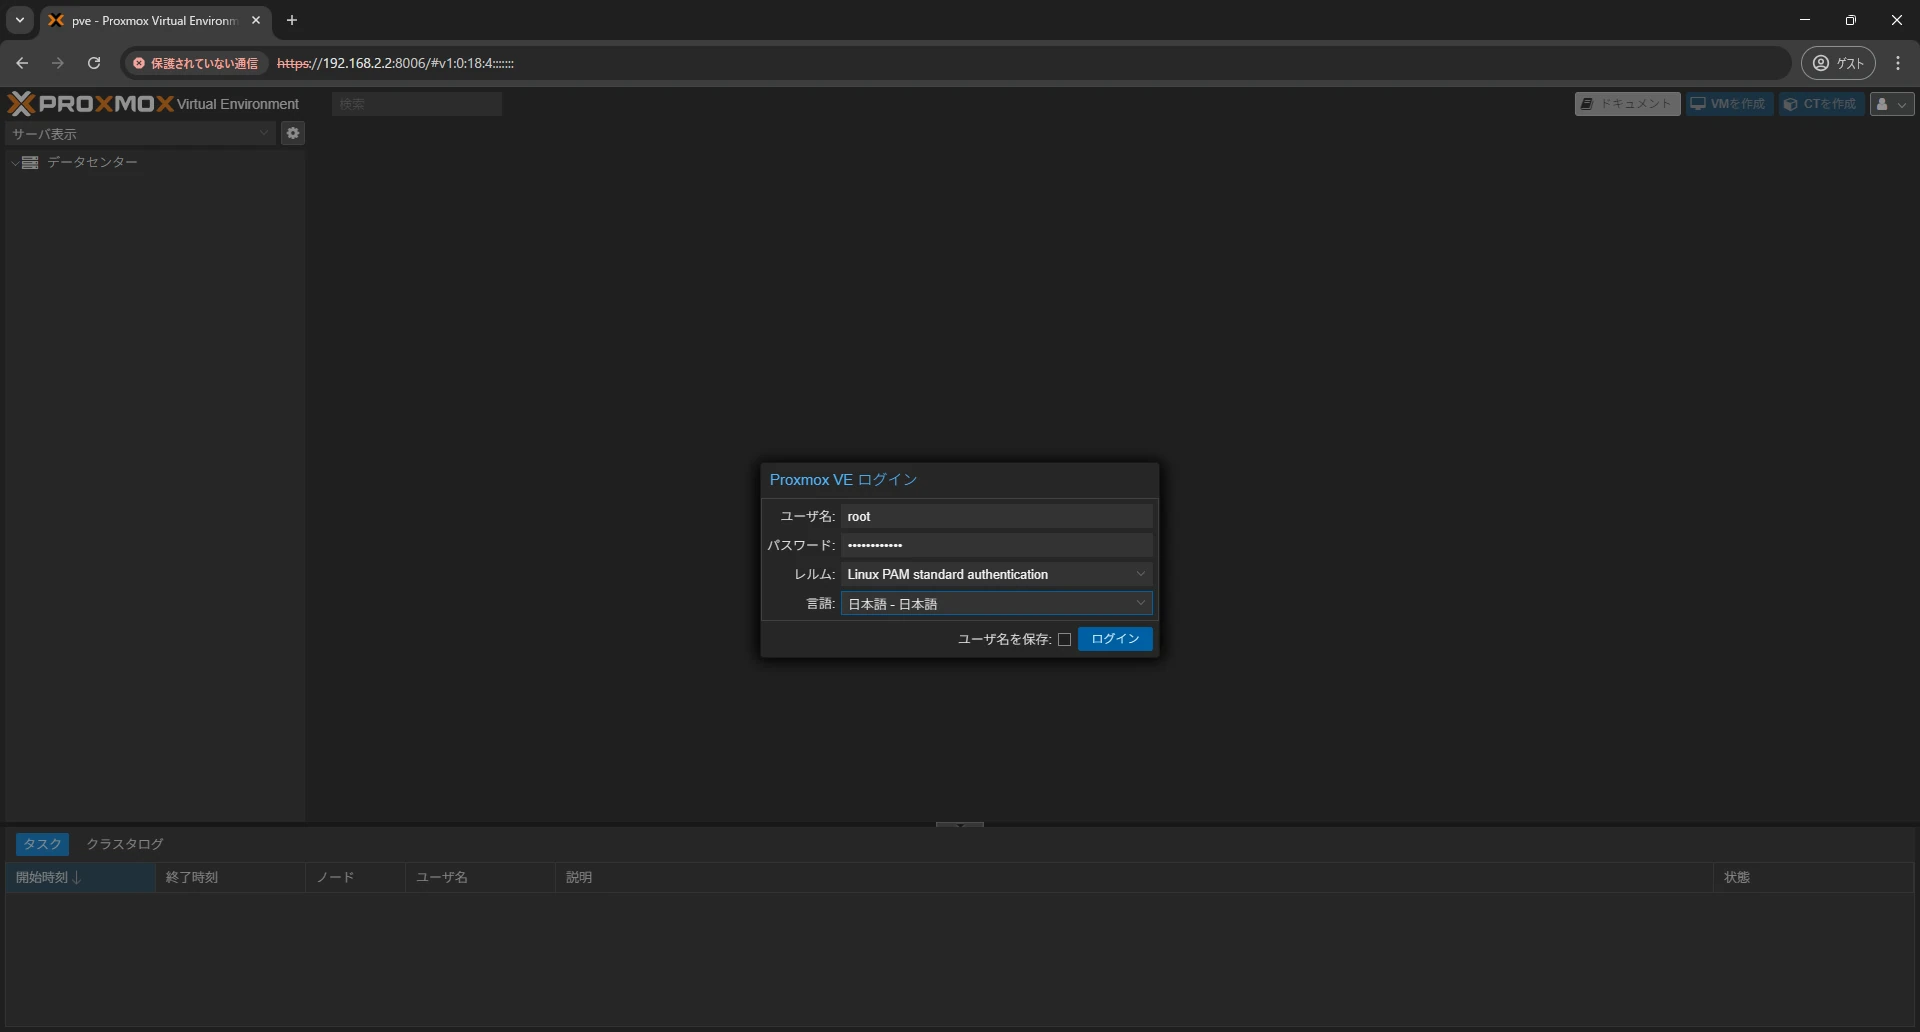
The login screen is displayed. Log in with root as the username and the password configured during installation.
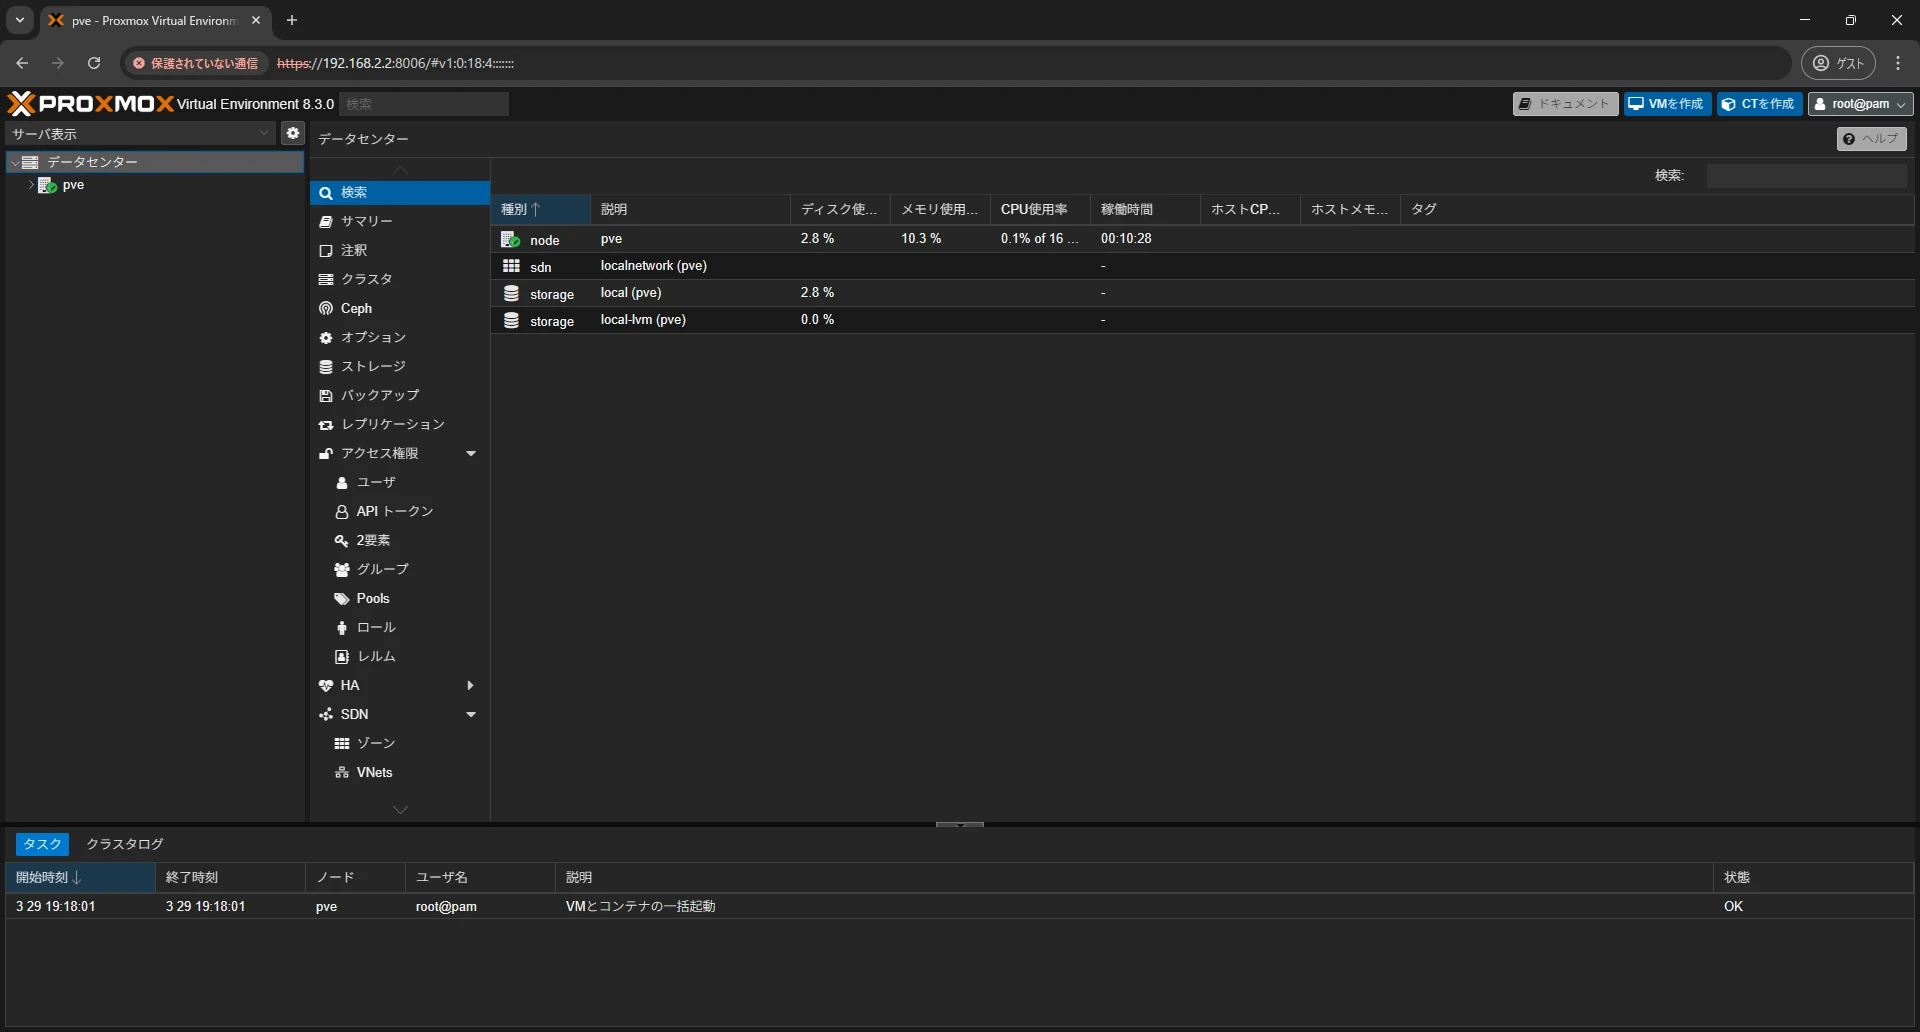
You can now log in to the Proxmox VE management interface. The Proxmox VE installation is complete.