Install OpenMediaVault
- EN
- JA
Table of Contents
OpenMediaVault (OMV) is open-source NAS software based on Debian and designed to make it easy to build a NAS.
This article explains how to install OpenMediaVault.
#
Introduction
For the server hardware, GMKtec’s NucBox M5 Plus was selected.
Since the Proxmox VE virtualization platform is installed on the mini PC, a virtual machine is created there and Debian is installed on it.
When installing it in a virtual machine on Proxmox VE, also see Create a Virtual Machine (VM) on Proxmox VE.
#
Download OpenMediaVault
Download the ISO image from the OpenMediaVault download page. In this example, OpenMediaVault 7.4.14 was downloaded.
#
Create an Installation USB Drive
Write the downloaded ISO image to a USB drive. Use an image-writing tool such as Win32 Disk Imager.
For details on using Win32 Disk Imager, see How to Install and Use Win32 Disk Imager.
#
Install OpenMediaVault
Connect the USB drive to the PC on which you want to install OpenMediaVault, start the PC, and boot from the USB drive. The OpenMediaVault installation screen is displayed.
##
Select the Installation Method
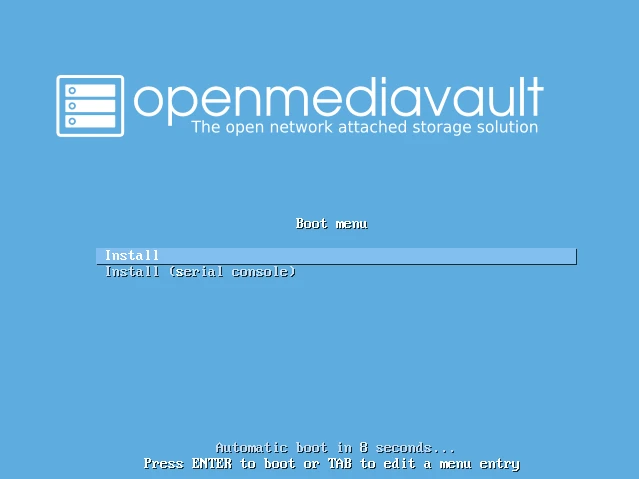
The installation methods are displayed. Select Install and press Enter, or wait for the installation to start automatically.
##
Configure the Language
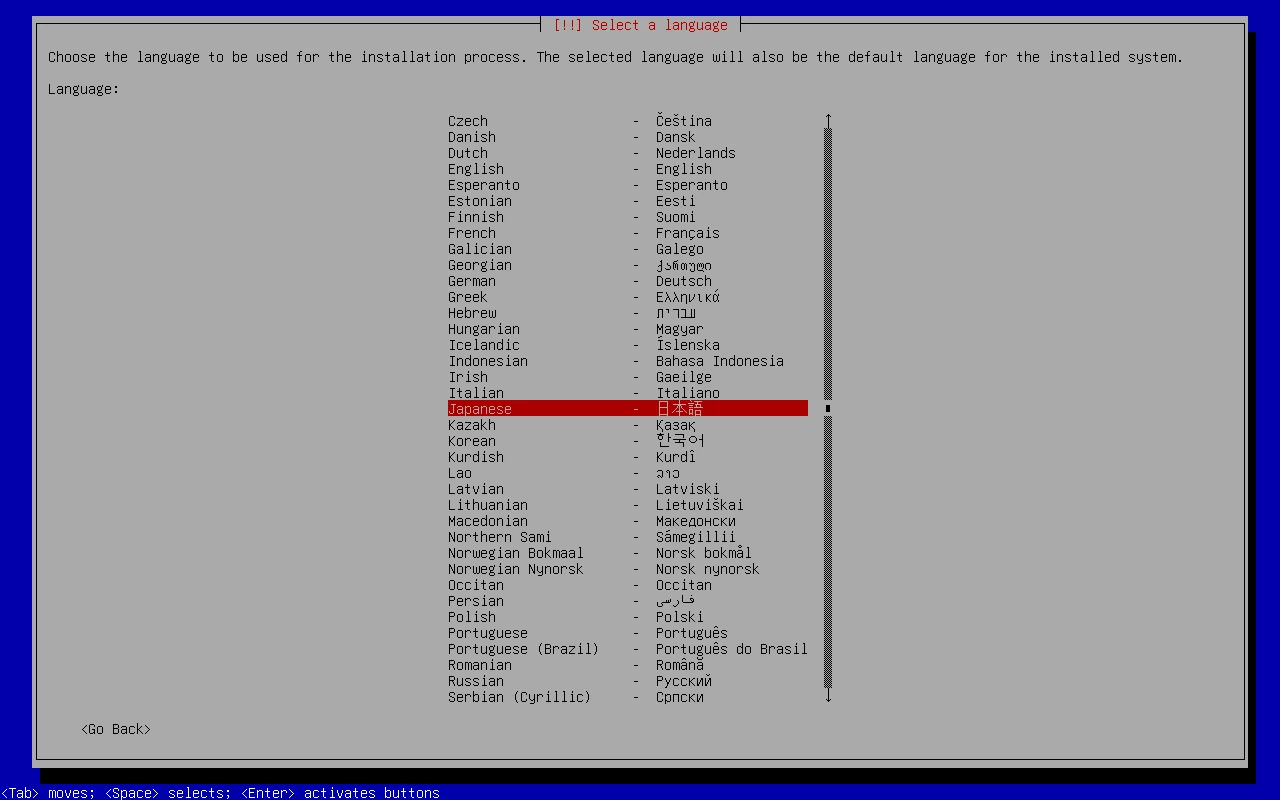
Configure the language displayed during installation. Select Japanese and press Enter.
##
Configure the Locale
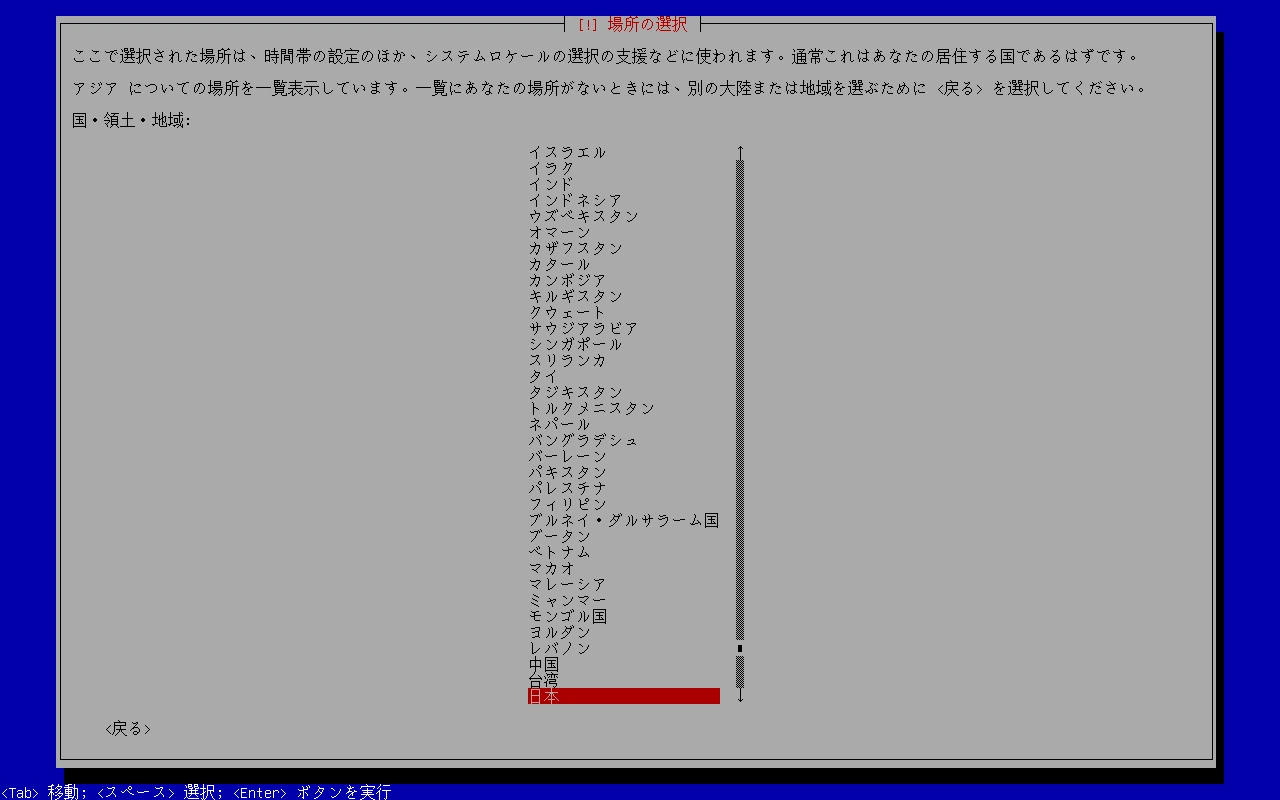
Configure the locale. This setting is used to help configure the time zone and select the system locale.
Select Japan and press Enter.
##
Configure the Keyboard
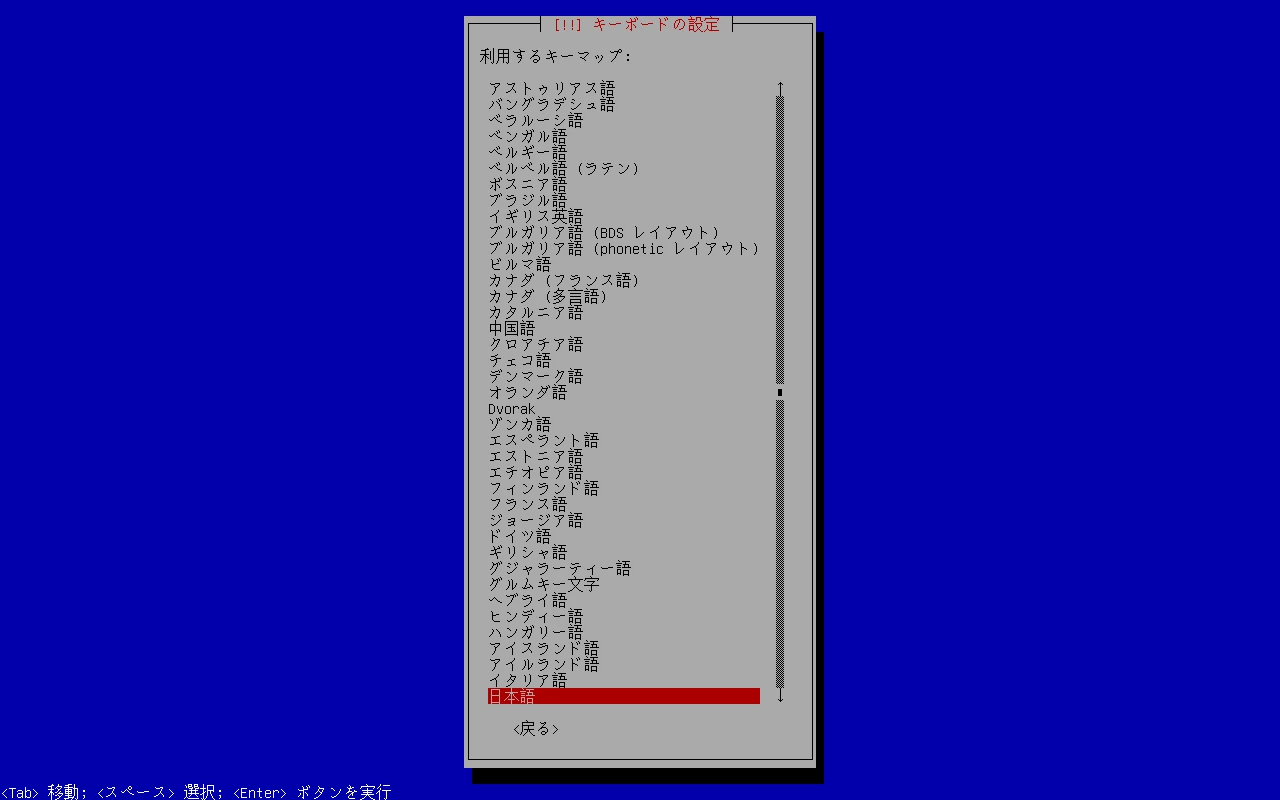
Configure the keyboard. Select the layout that matches your keyboard and press Enter.
##
Load Additional Components and Configure the Network Automatically
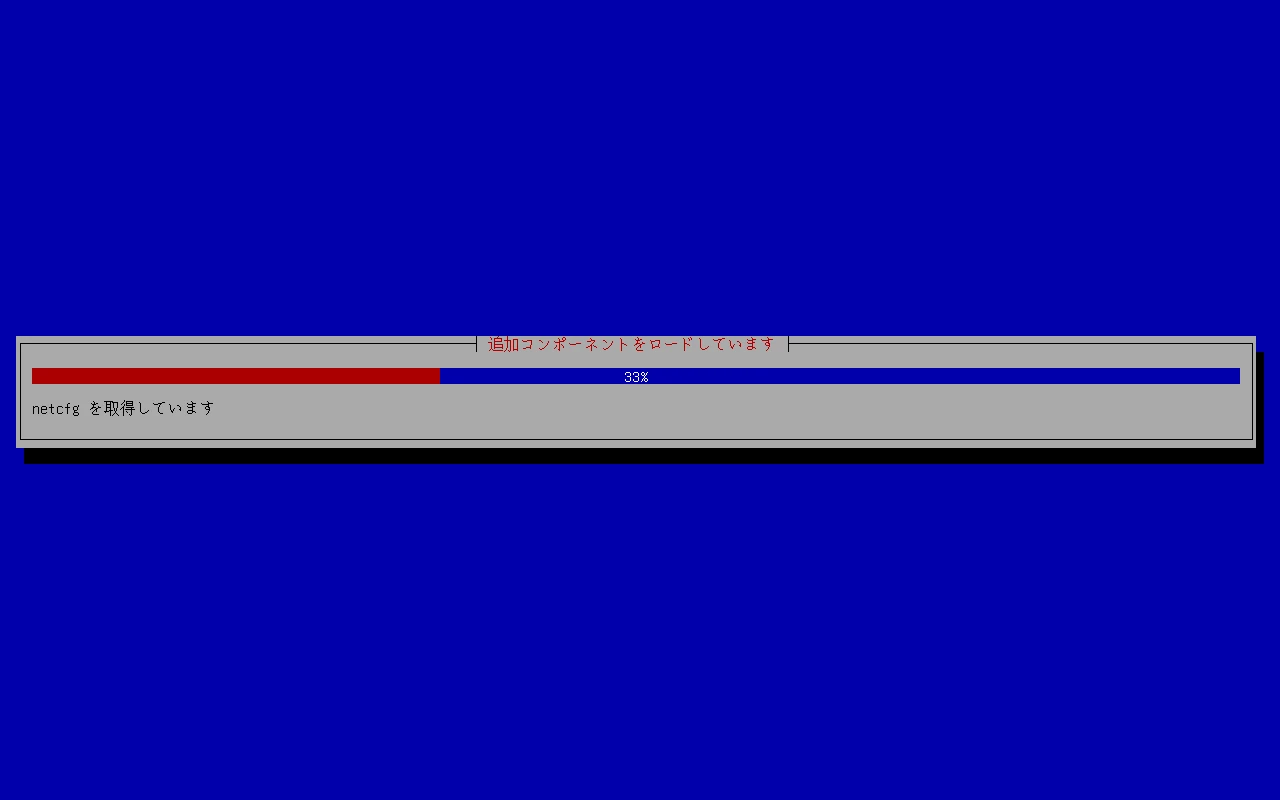
Additional components are loaded and the network is configured automatically.
At this point, the installer may get stuck after configuring DHCPv6 in an IPv6 environment. See the following article for the cause and solution:
OpenMediaVault Installation Stuck During DHCPv6 Configuration
##
Configure the Hostname
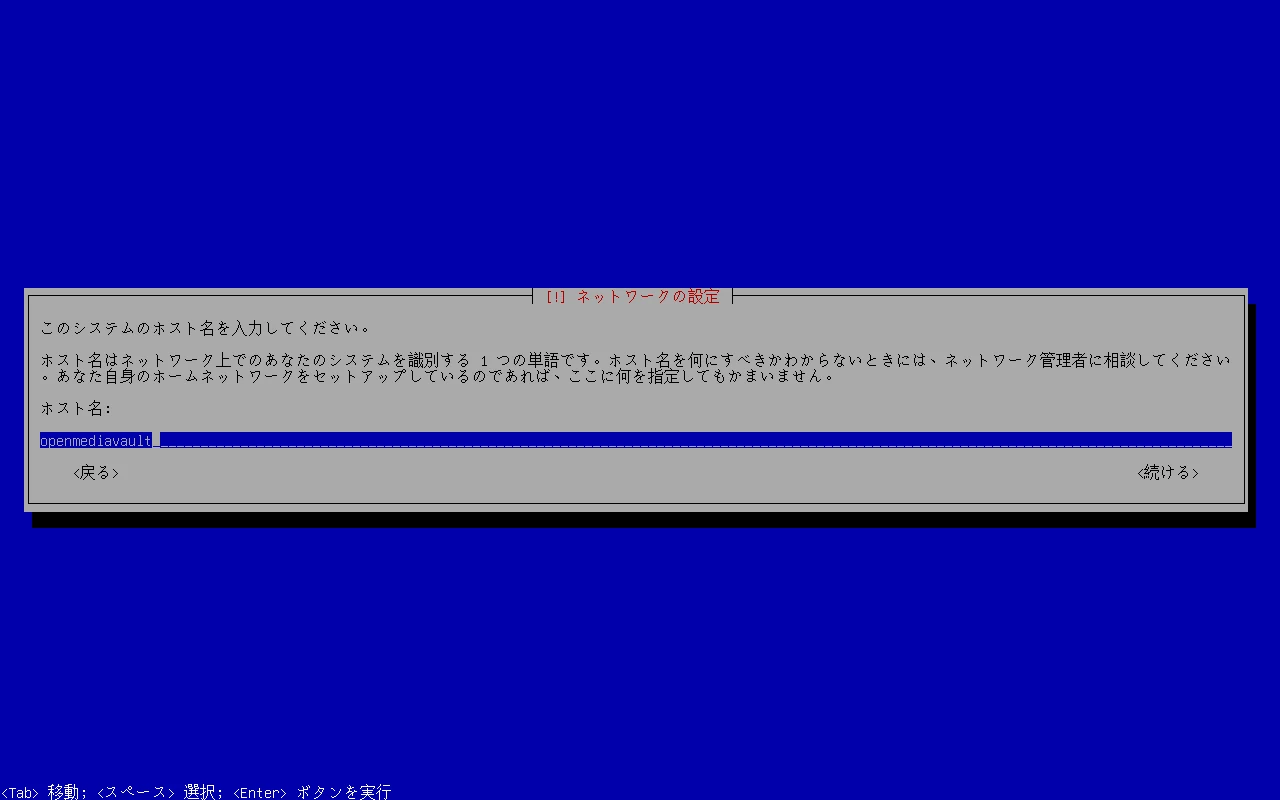
Configure the server hostname.
The default is openmediavault. If you have no specific requirement, you can leave it unchanged.
Enter a hostname, move the cursor to , and press Enter.
##
Configure the Domain Name
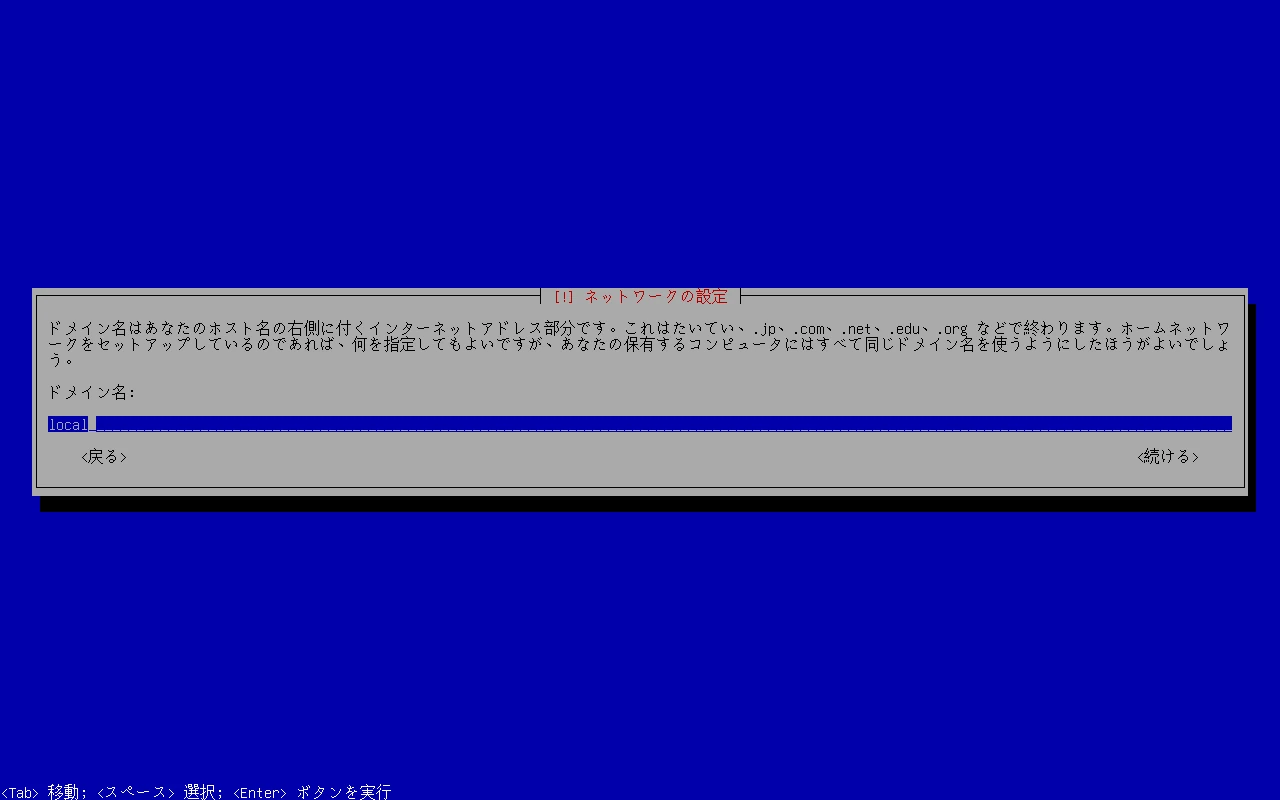
Configure the server domain name.
The default is local. If you have no specific requirement, you can leave it unchanged.
Enter a domain name, move the cursor to , and press Enter.
##
Configure the Administrator Password
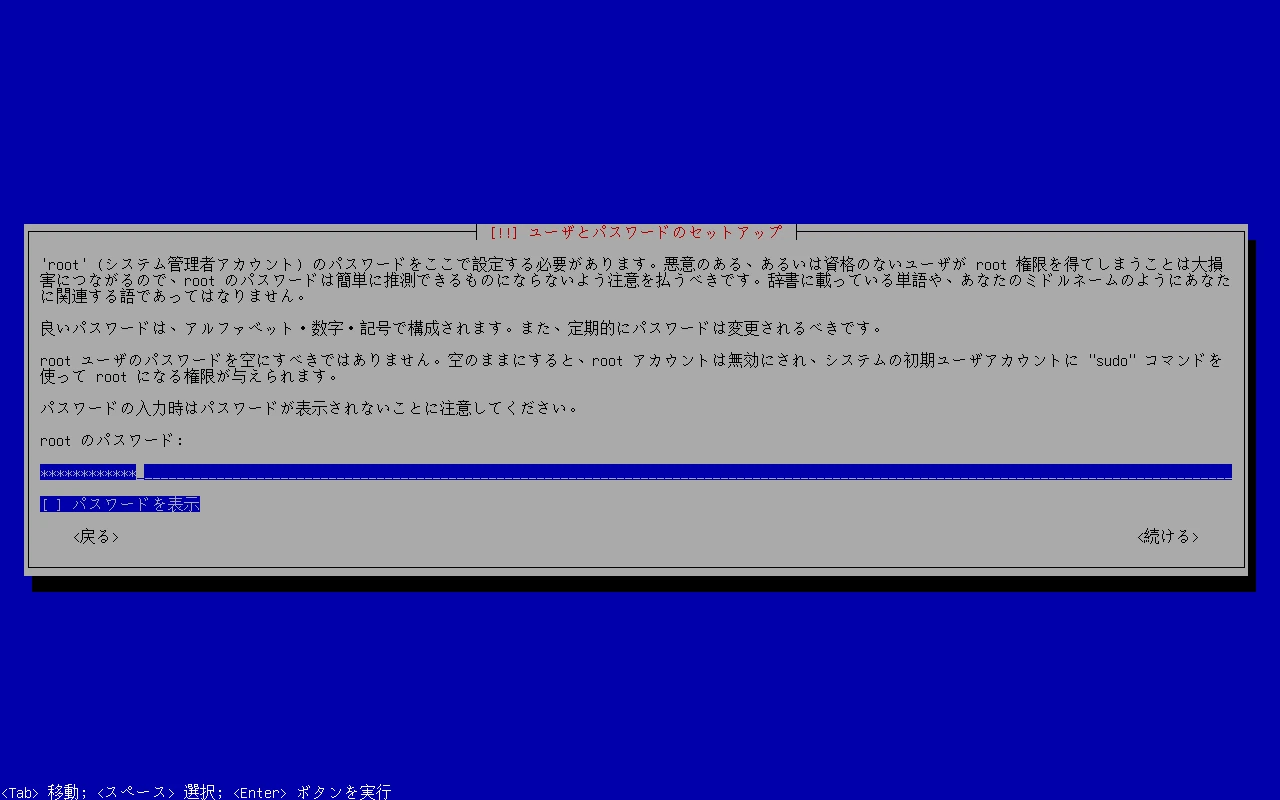
Configure the password for the administrator user (root).
Enter a password, move the cursor to , and press Enter.
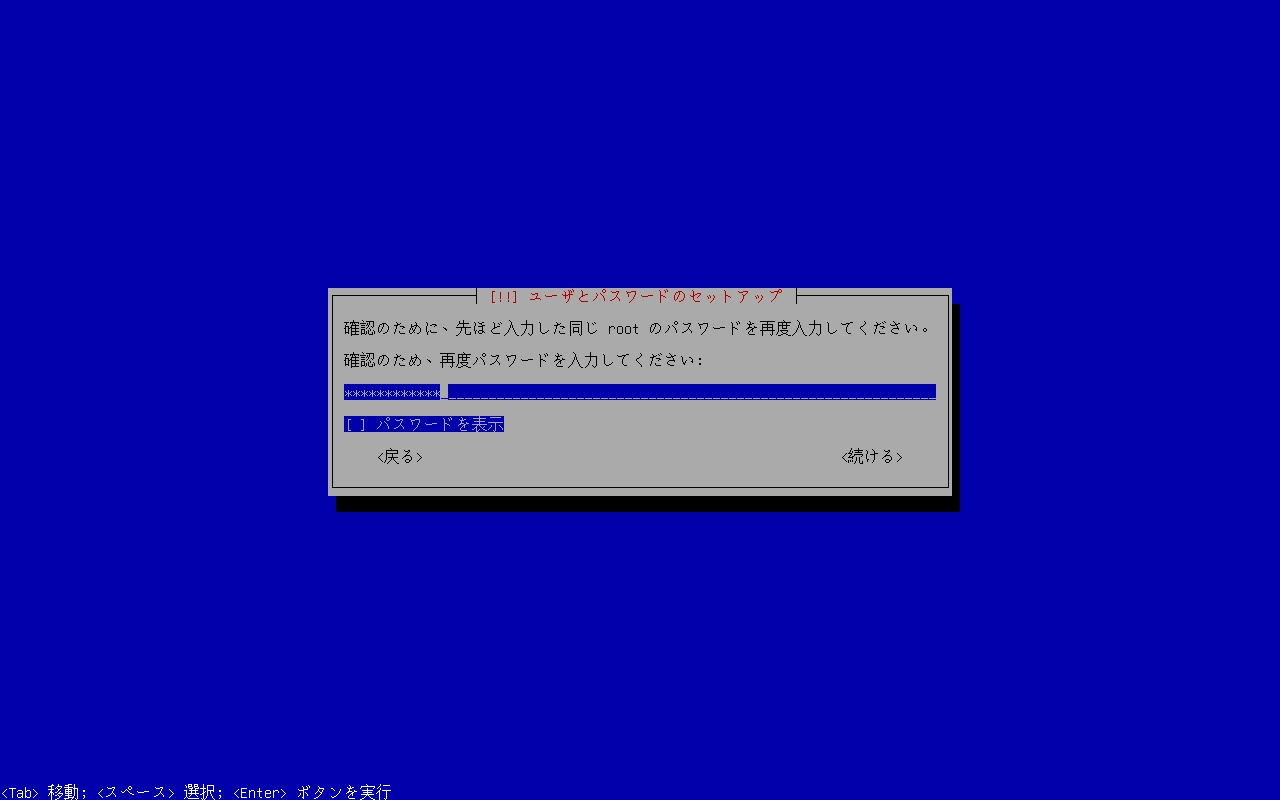
Enter the same password again for confirmation, move the cursor to , and press Enter.
##
Configure the Debian Package Repository
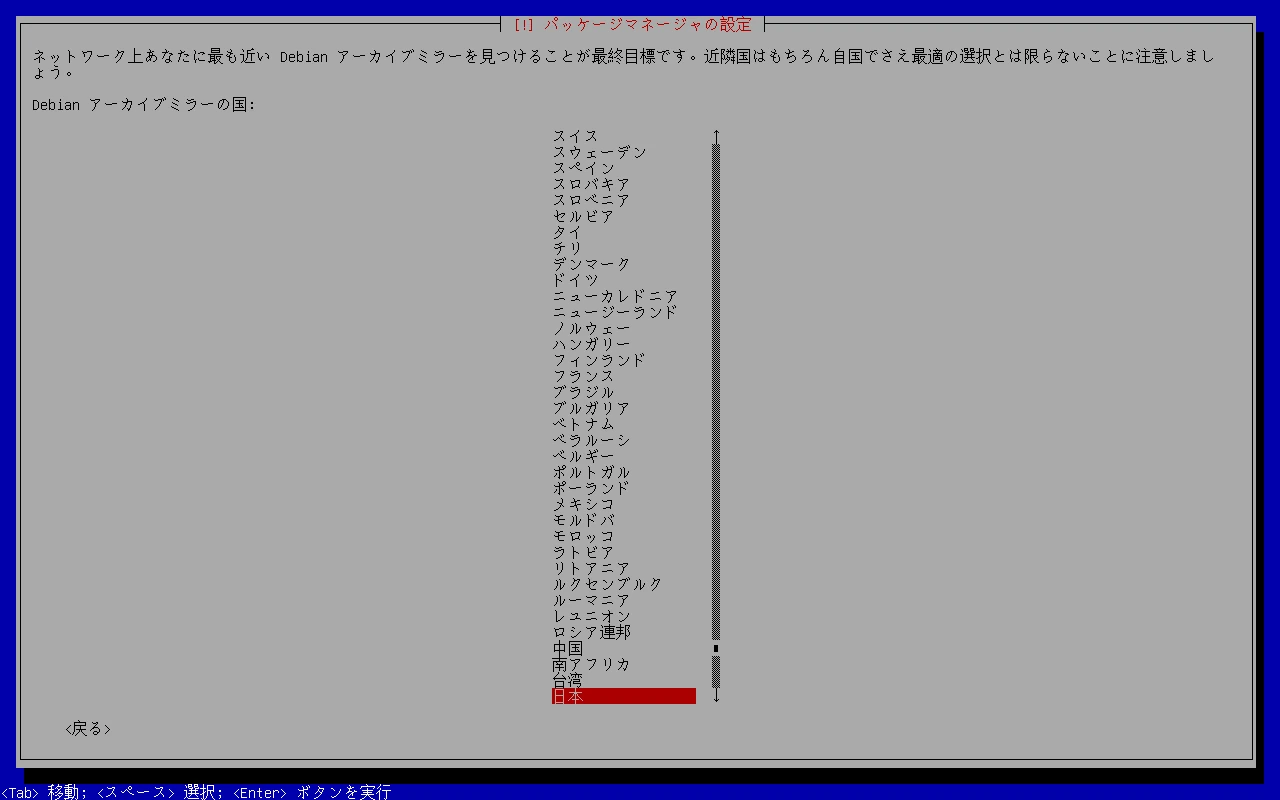
Configure the Debian package repository. Select Japan and press Enter.
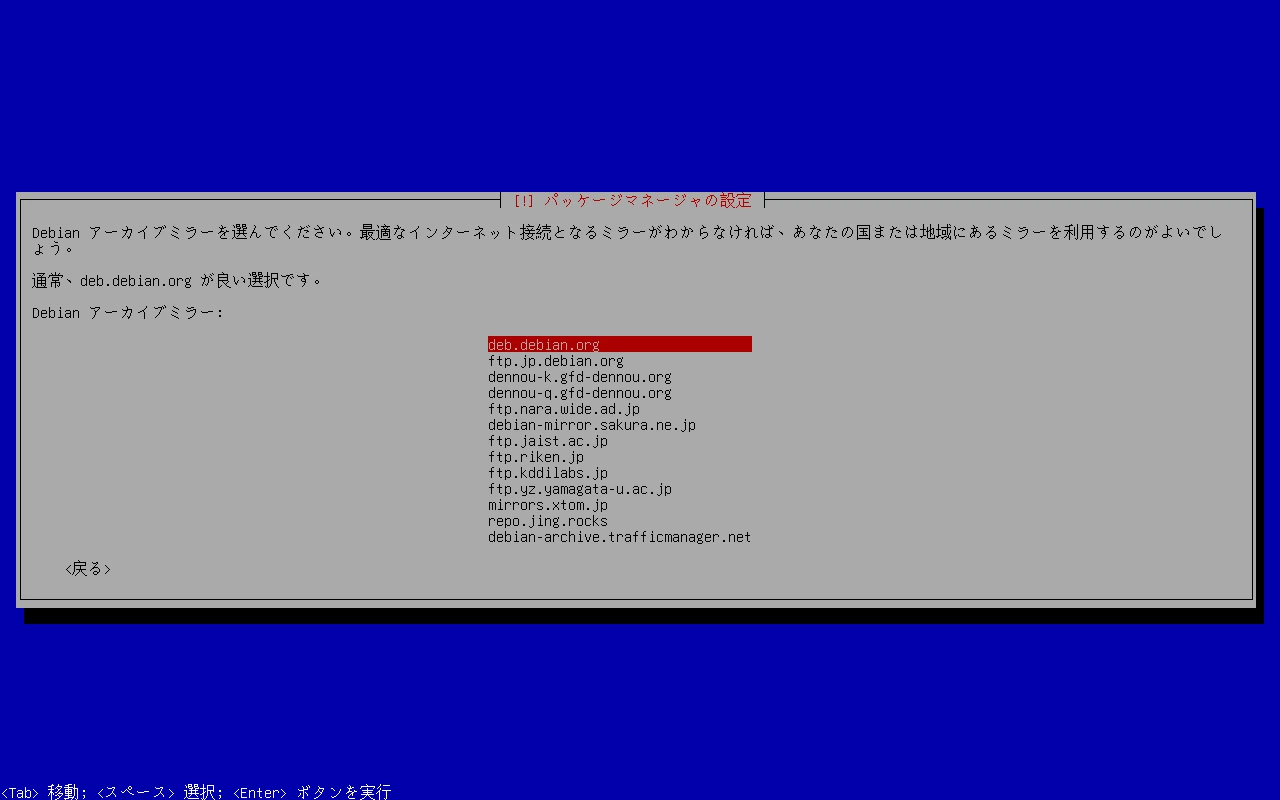
A list of package repositories and mirrors is displayed. If you have no specific requirement, deb.debian.org is suitable.
Select a repository and press Enter.
##
Configure the HTTP Proxy
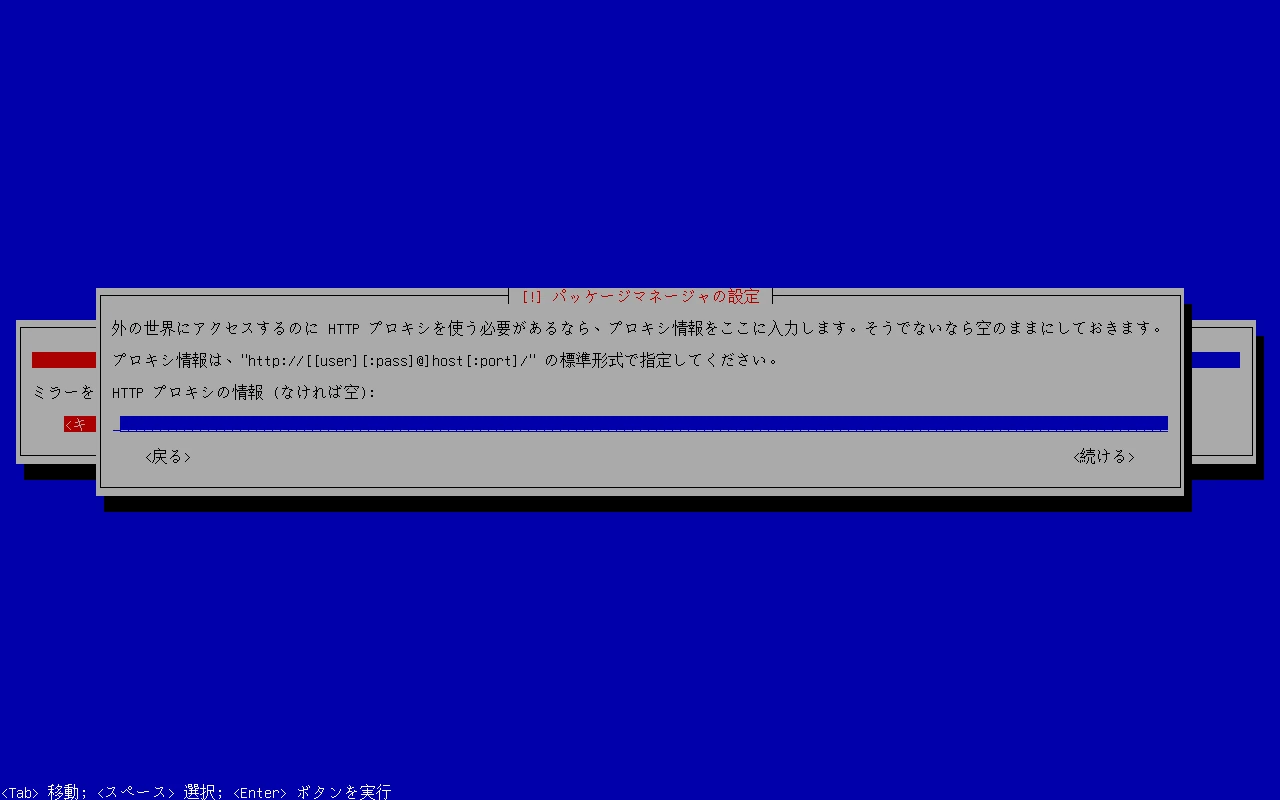
Configure the HTTP proxy.
If you need to access the internet through a proxy, enter the proxy information. Otherwise, leave it blank.
Move the cursor to and press Enter.
##
Install the Boot Loader
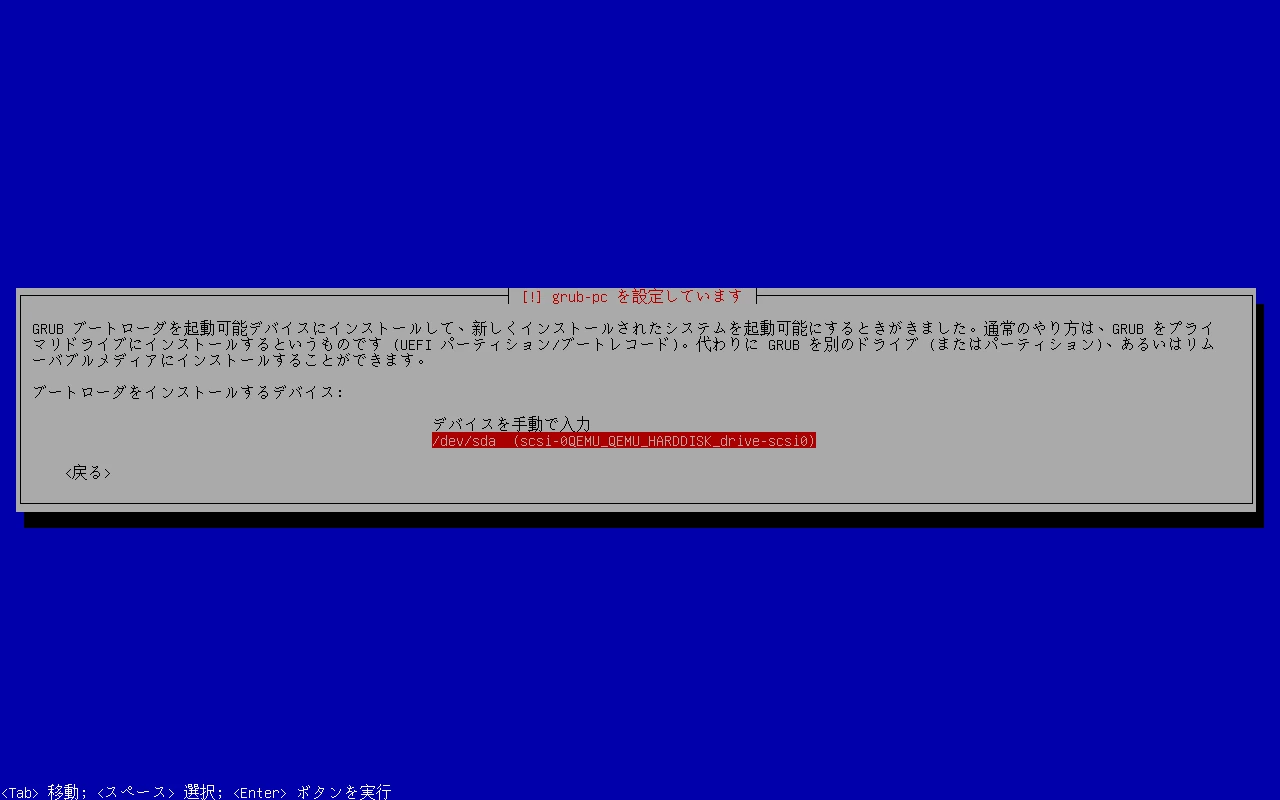
Select the destination for the GRUB boot loader.
Select the device on which to install GRUB and press Enter.
##
Restart the System
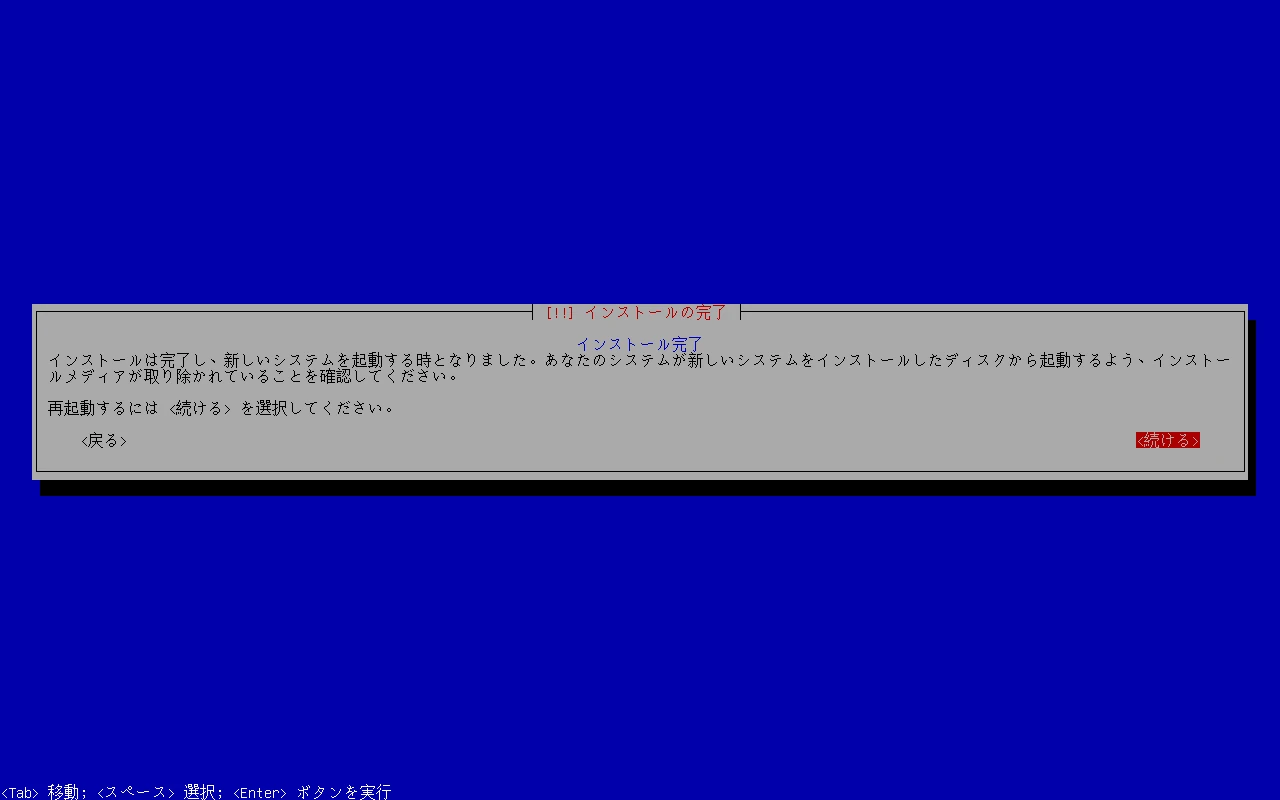
Remove the USB drive used for installation, move the cursor to , and press Enter.
The system restarts and OpenMediaVault boots.
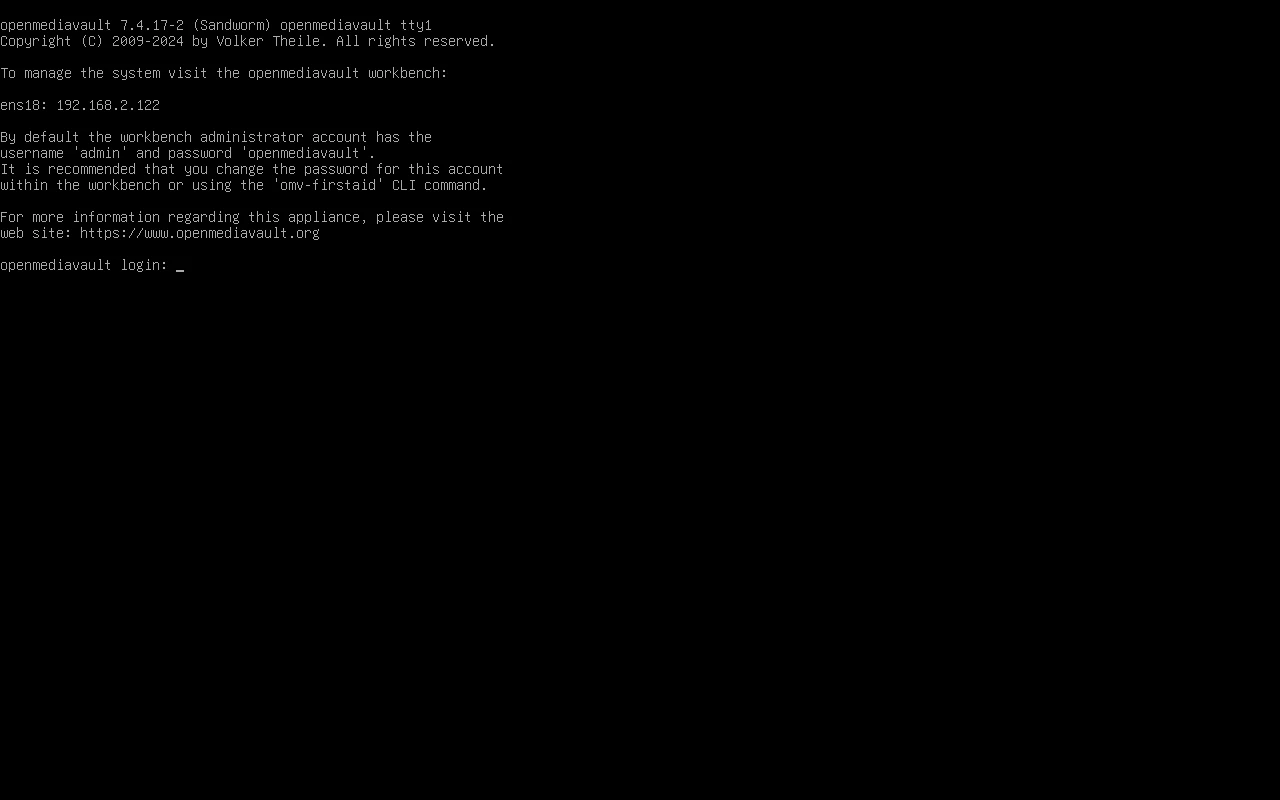
The shell login screen is displayed. The OpenMediaVault installation is complete.
#
Access the OpenMediaVault Management Interface
Access the OpenMediaVault management interface.
From a web browser, access it over HTTP using the combination of the hostname and domain name (by default, openmediavault.local) or the IP address.
The IP address can also be checked on the shell login screen displayed earlier.
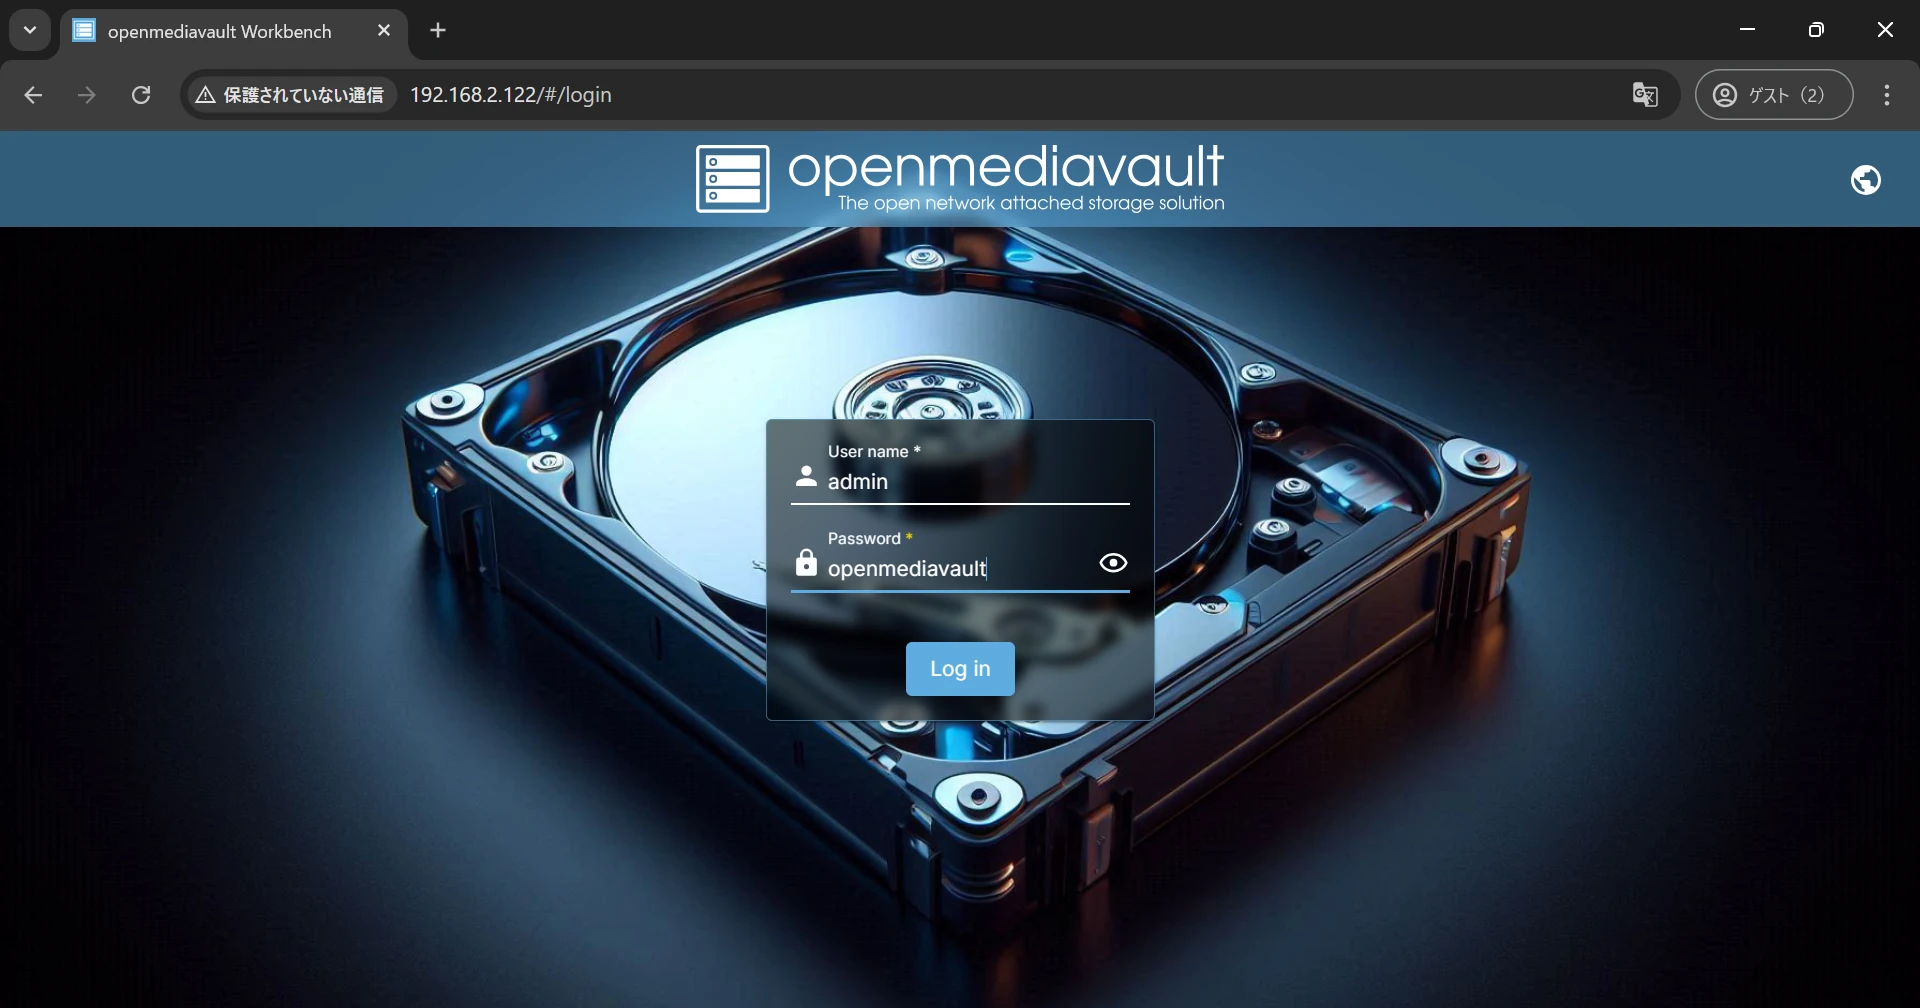
The login screen is displayed. Log in with admin as the username and openmediavault as the password.
#
Change the Management Interface Language
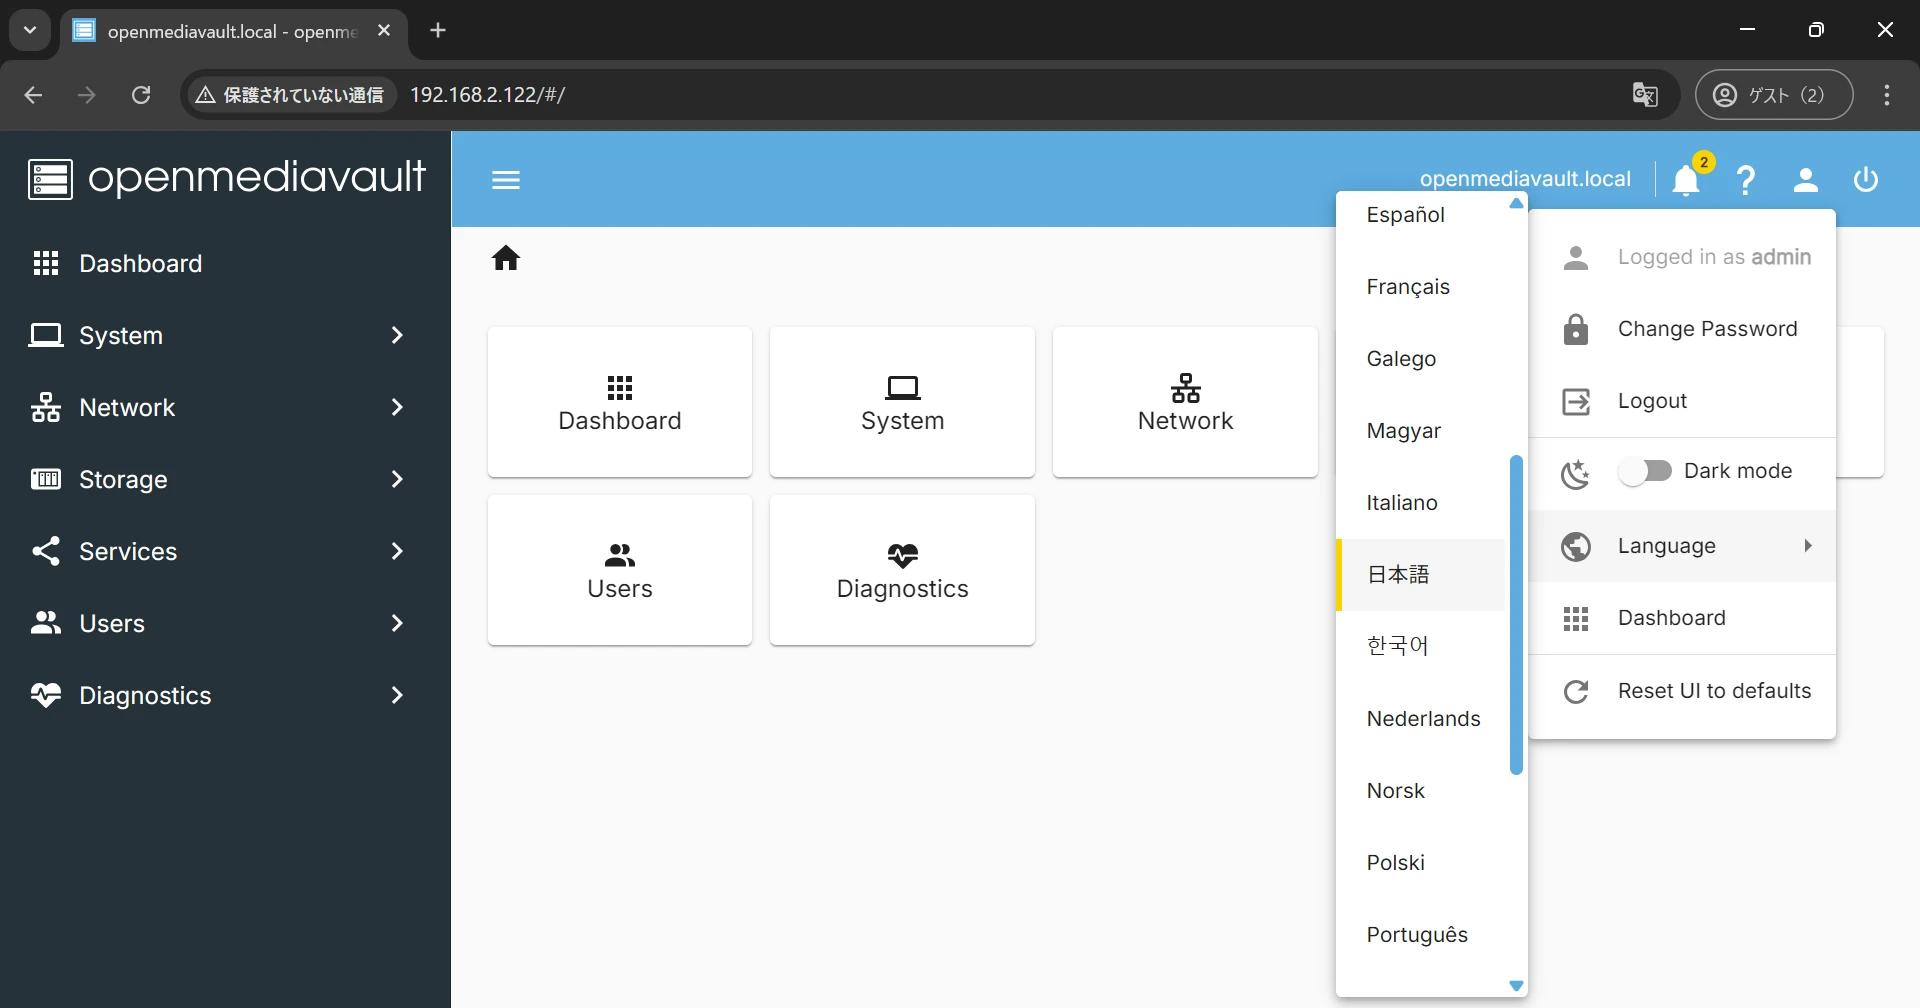
The management interface is in English by default, so change it to Japanese.
Click the person icon in the upper-right corner of the management interface and select Language. Select Japanese from the available languages.
The OpenMediaVault management interface is now displayed in Japanese.
#
Change the Administrator Password
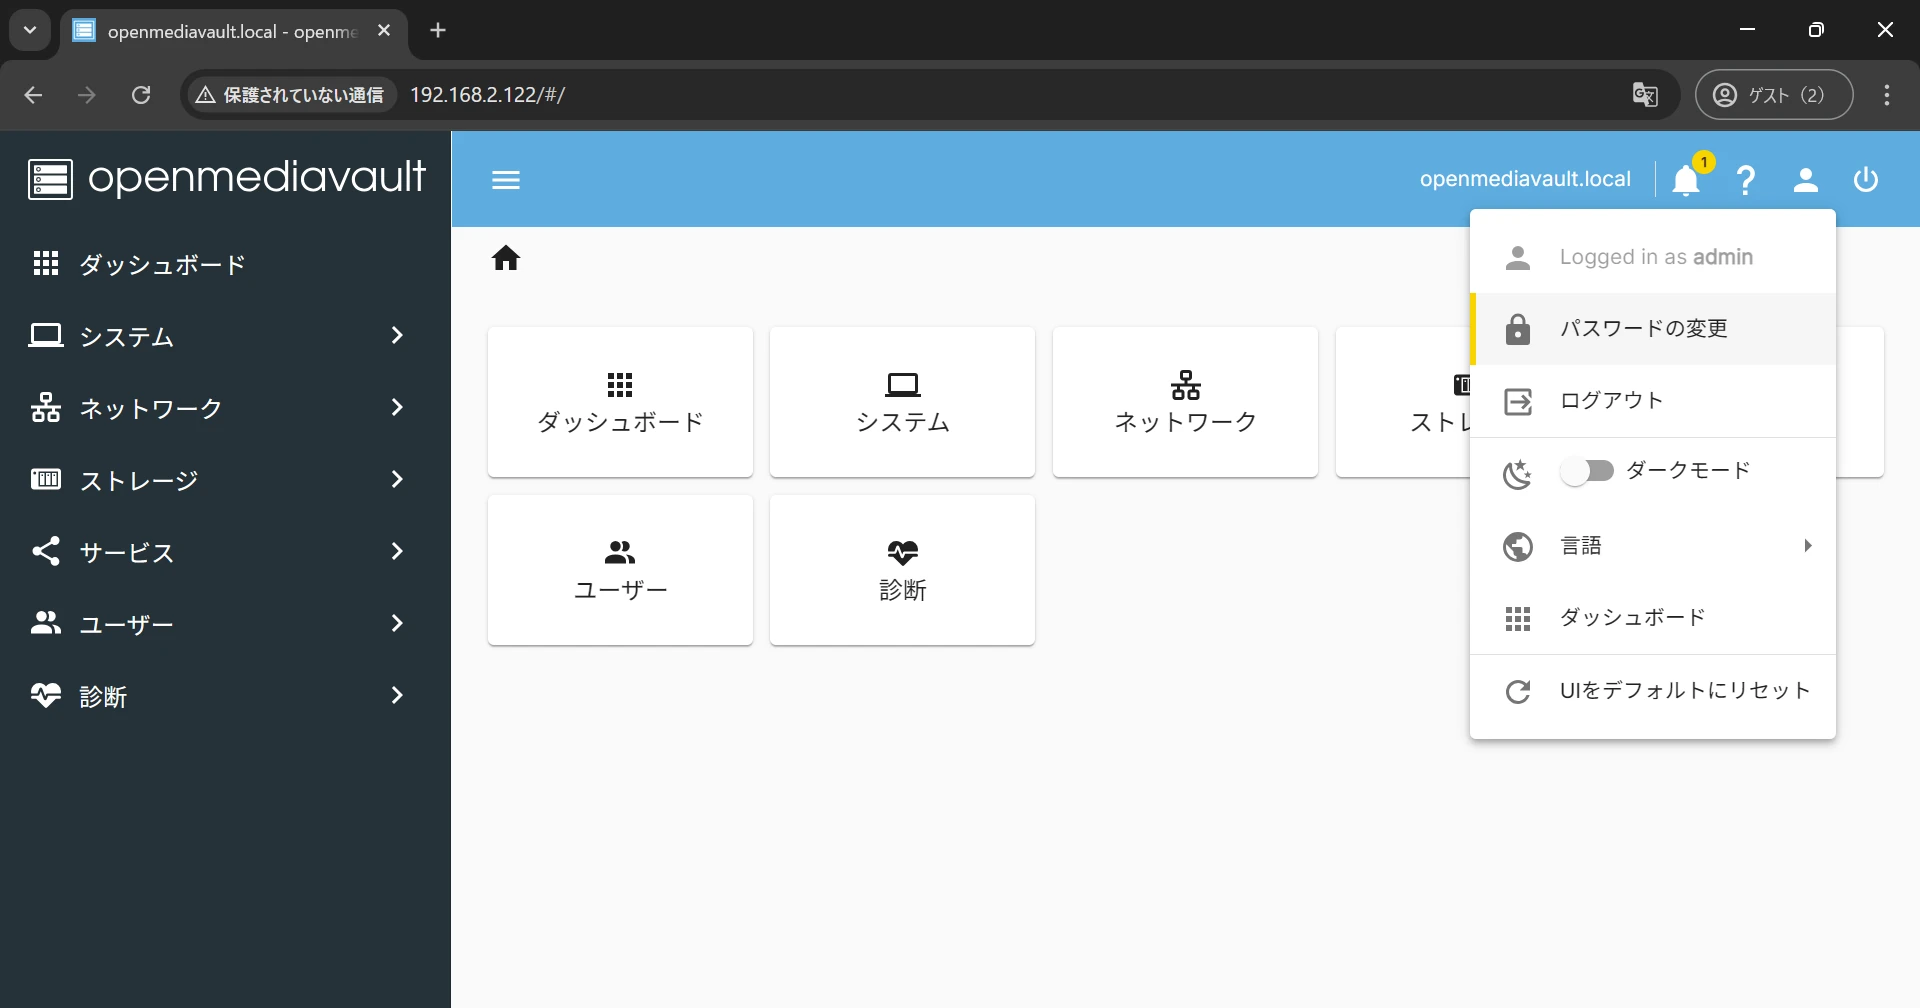
The administrator user (admin) password is openmediavault by default. Change it because leaving the default password is unsafe.
Click the person icon in the upper-right corner of the management interface and select Change Password.
The password change screen is displayed. Enter the password you want to use and select Save.
The password used to log in as the administrator on the OpenMediaVault management interface has now been changed.