Table of Contents
This article explains how to install Debian.
#
Introduction
For the server hardware, GMKtec’s NucBox M5 Plus was selected.
Since the Proxmox VE virtualization platform is installed on the mini PC, Debian is installed in a virtual machine created on it.
When installing Debian in a virtual machine on Proxmox VE, also see Create a Virtual Machine (VM) on Proxmox VE.
#
Download Debian
Download the ISO image from the Debian download page. In this example, Debian 12.10.0 was downloaded.
#
Create an Installation USB Drive
Write the downloaded ISO image to a USB drive. Use an image-writing tool such as Win32 Disk Imager to write it to the USB drive.
For details on using Win32 Disk Imager, see How to Install and Use Win32 Disk Imager.
#
Install Debian
Connect the USB drive to the PC on which you want to install Debian, start the PC, and boot from the USB drive. The Debian installation screen is displayed.
##
Select the Installation Method
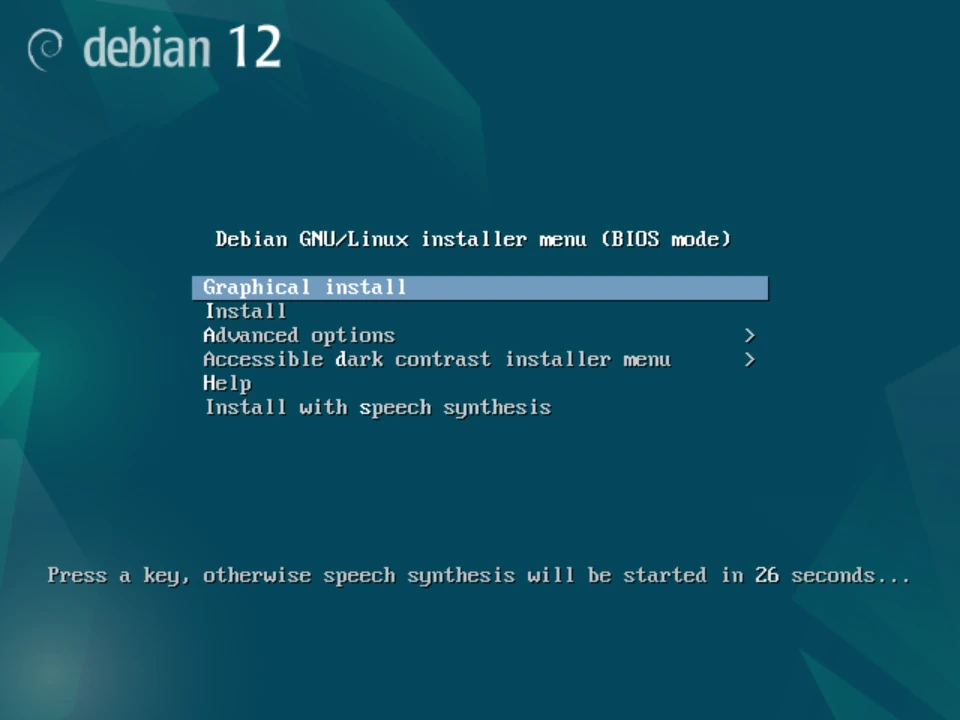
The installation methods are displayed. Select Graphical Install and press Enter, or wait for the installation to start automatically.
##
Configure the Language
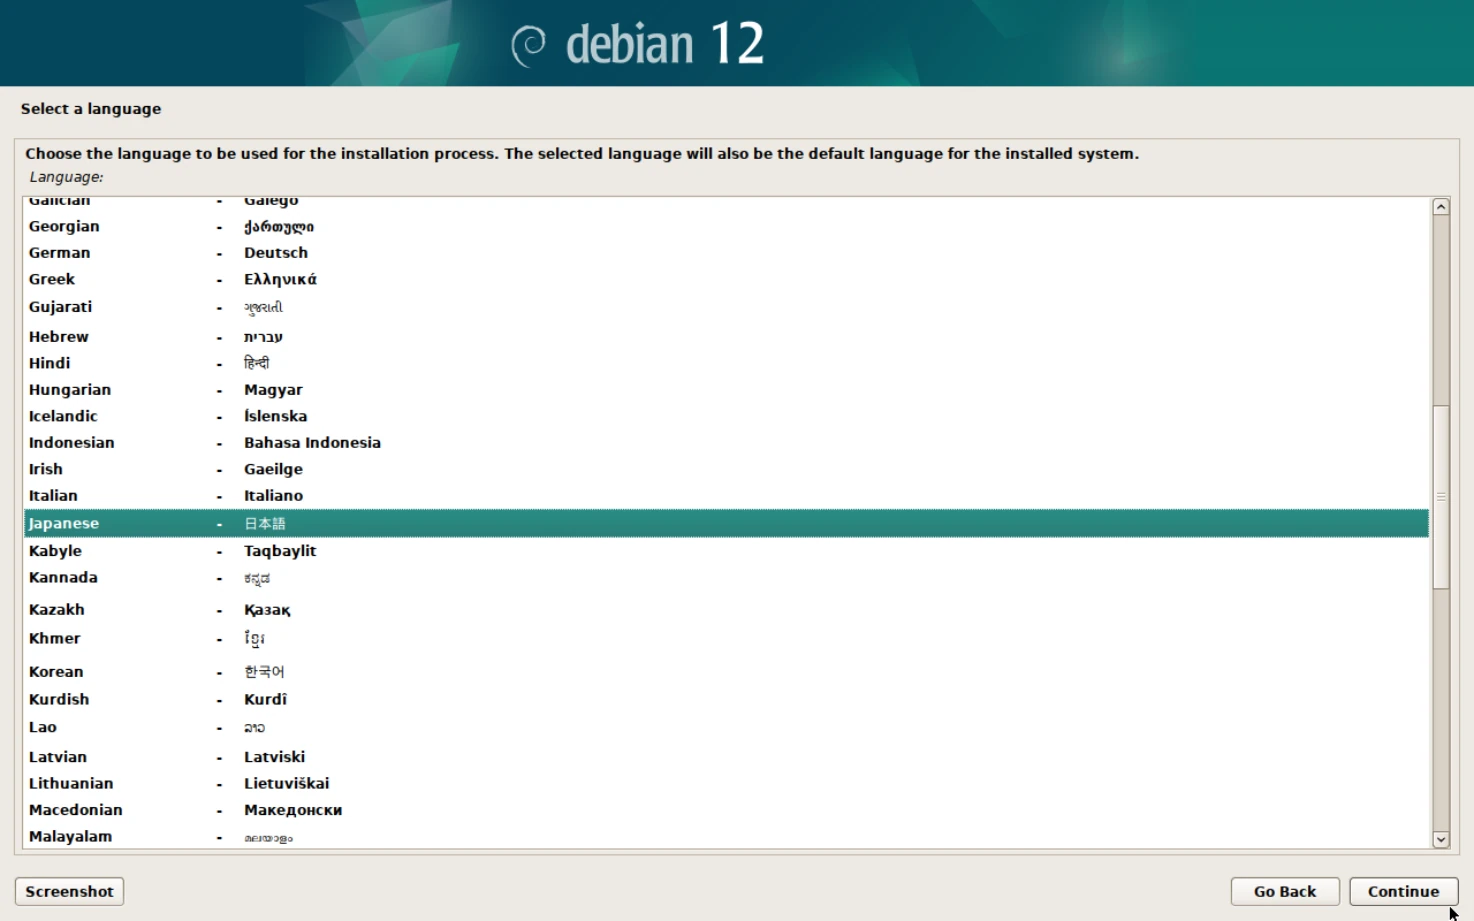
Configure the language displayed during installation. Select Japanese and press Continue.
##
Configure the Locale
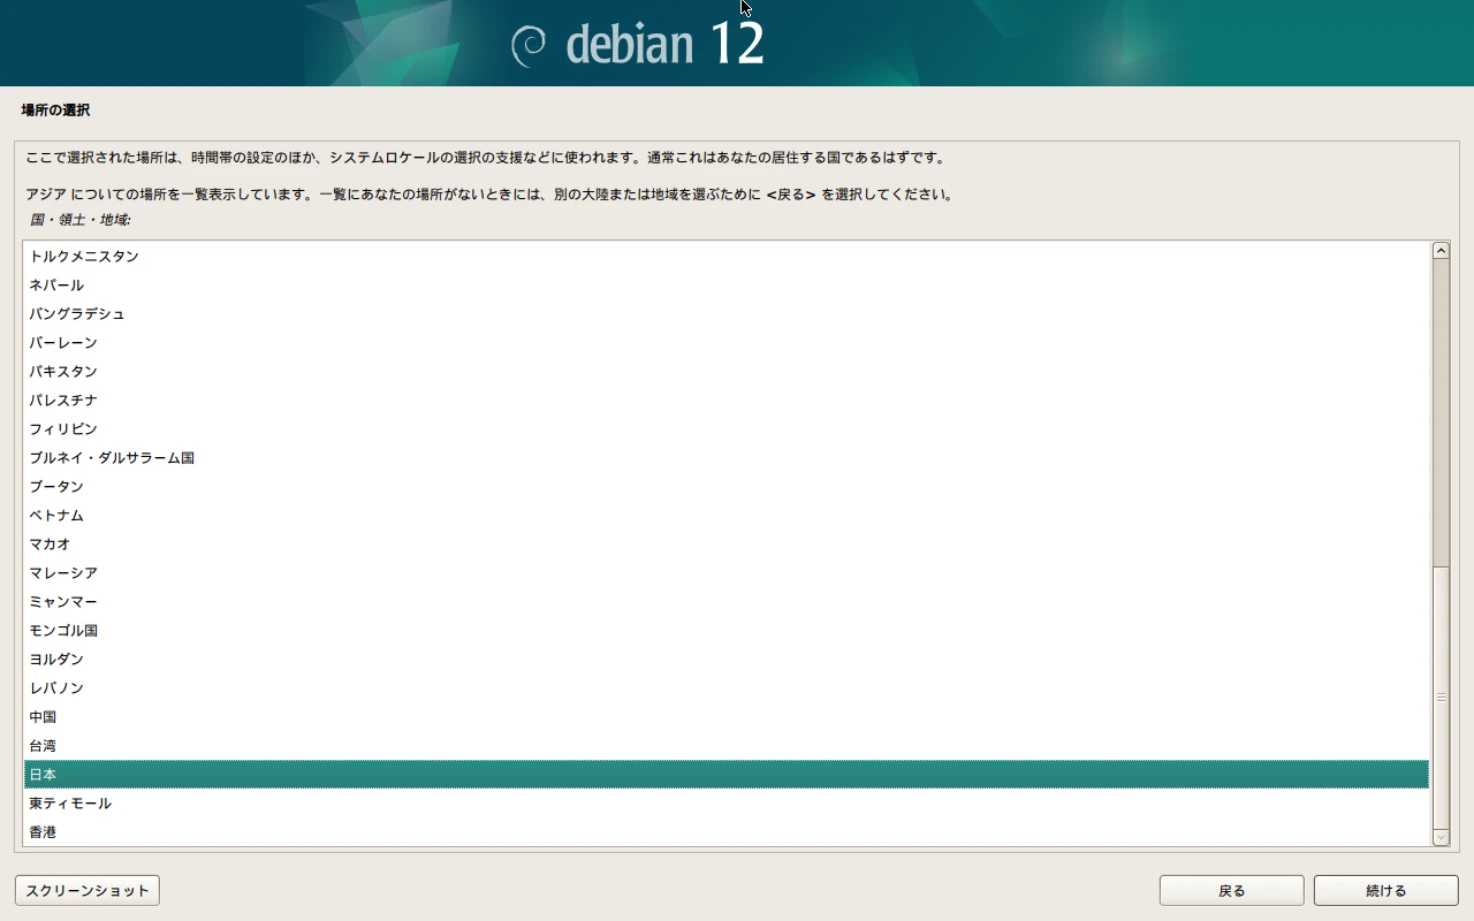
Configure the locale. This setting is used to help configure the time zone and select the system locale.
Select Japan and press Continue.
##
Configure the Keyboard
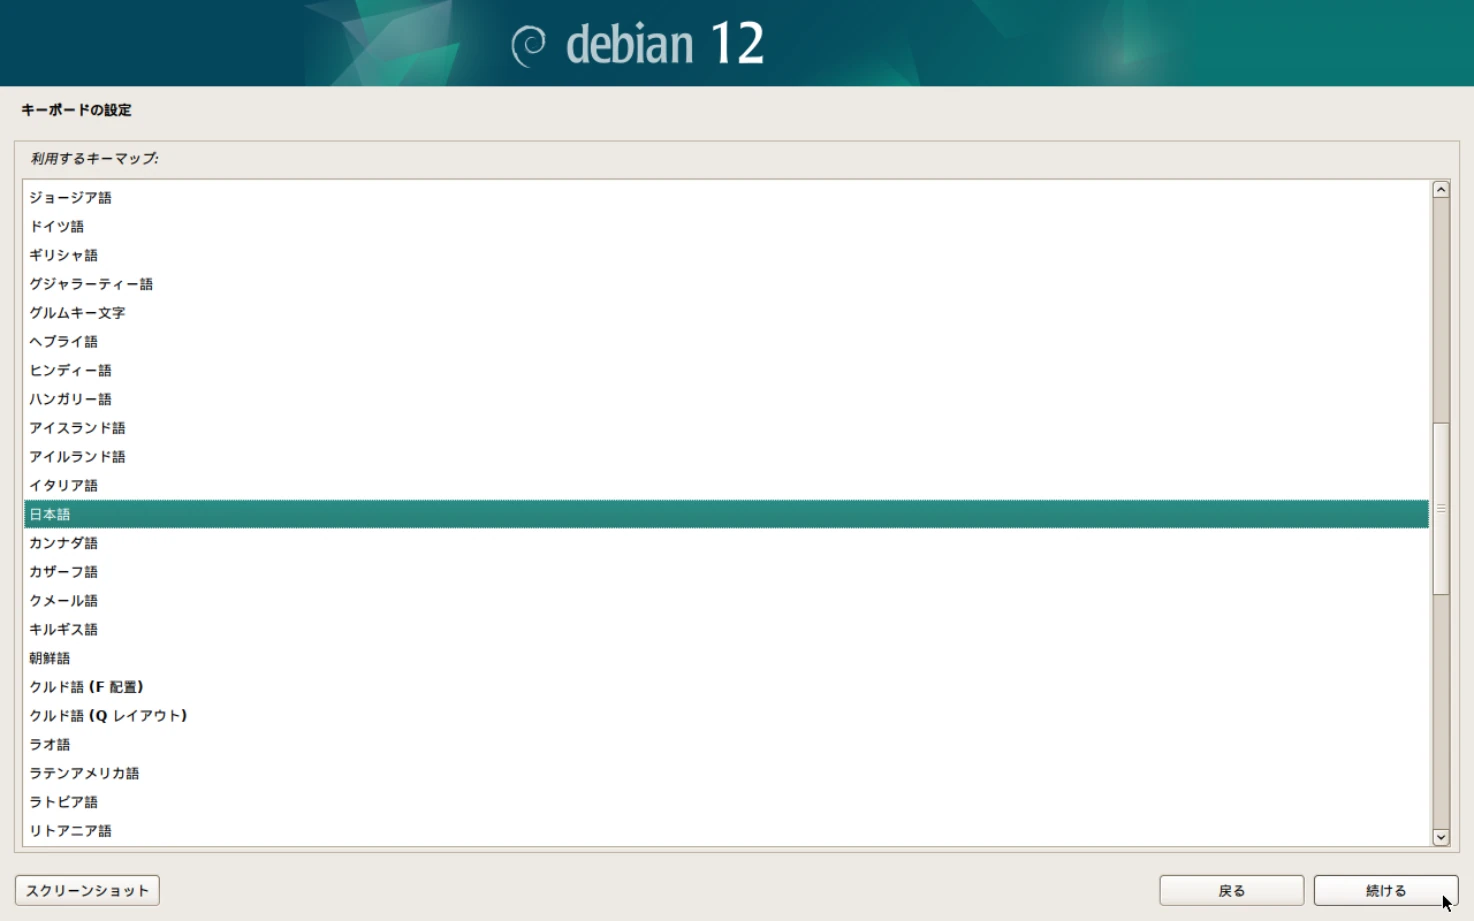
Configure the keyboard. Select the layout that matches your keyboard and press Continue.
##
Configure the Hostname
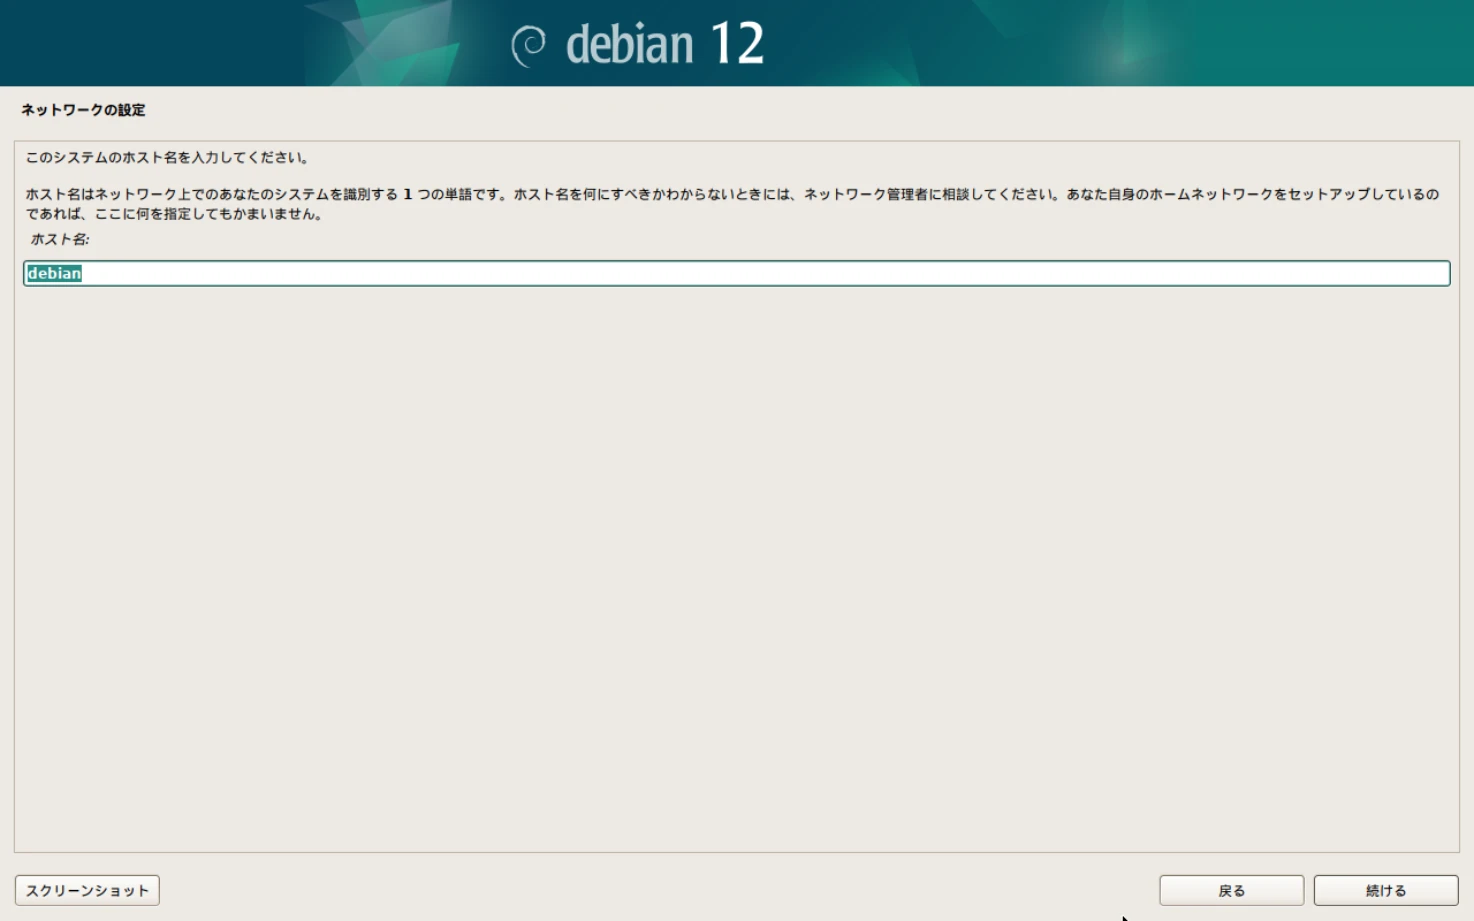
Configure the server hostname.
The default is debian. If you have no specific requirement, you can leave it unchanged. Enter a hostname and press Continue.
##
Configure the Domain Name
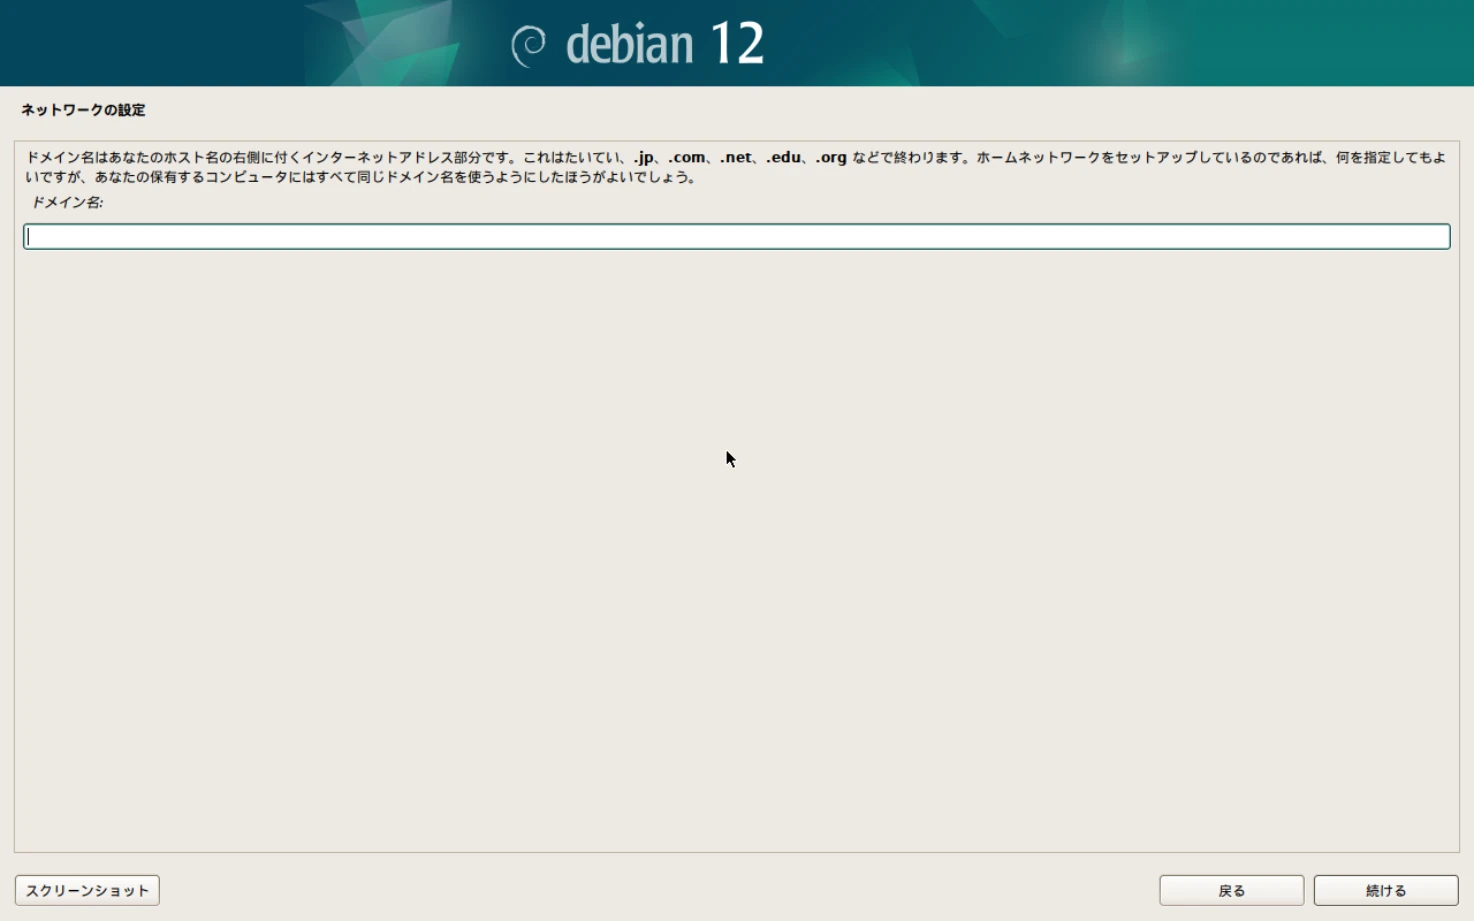
Configure the server domain name.
The default is blank. If you have no specific requirement, you can leave it blank. Enter a domain name and press Continue.
##
Configure the Administrator Password
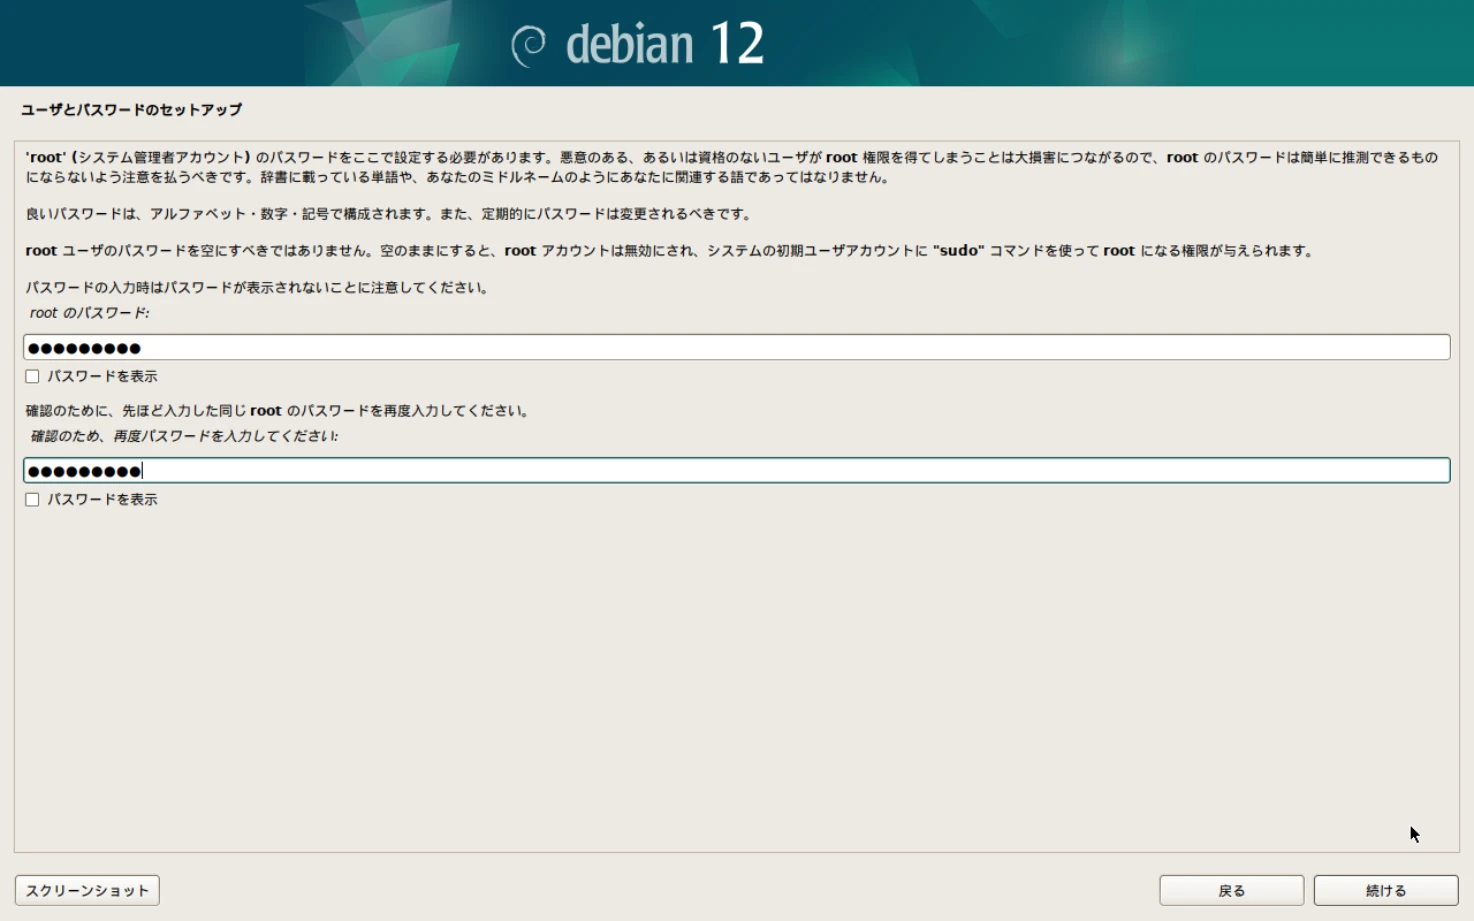
Configure the password for the administrator user (root).
Entering a password allows you to log in as the root user with the su command.
If you leave it blank, login as the root user is restricted and the user created later is given sudo privileges.
Configure this according to your use case and press Continue.
##
Configure the User’s Full Name
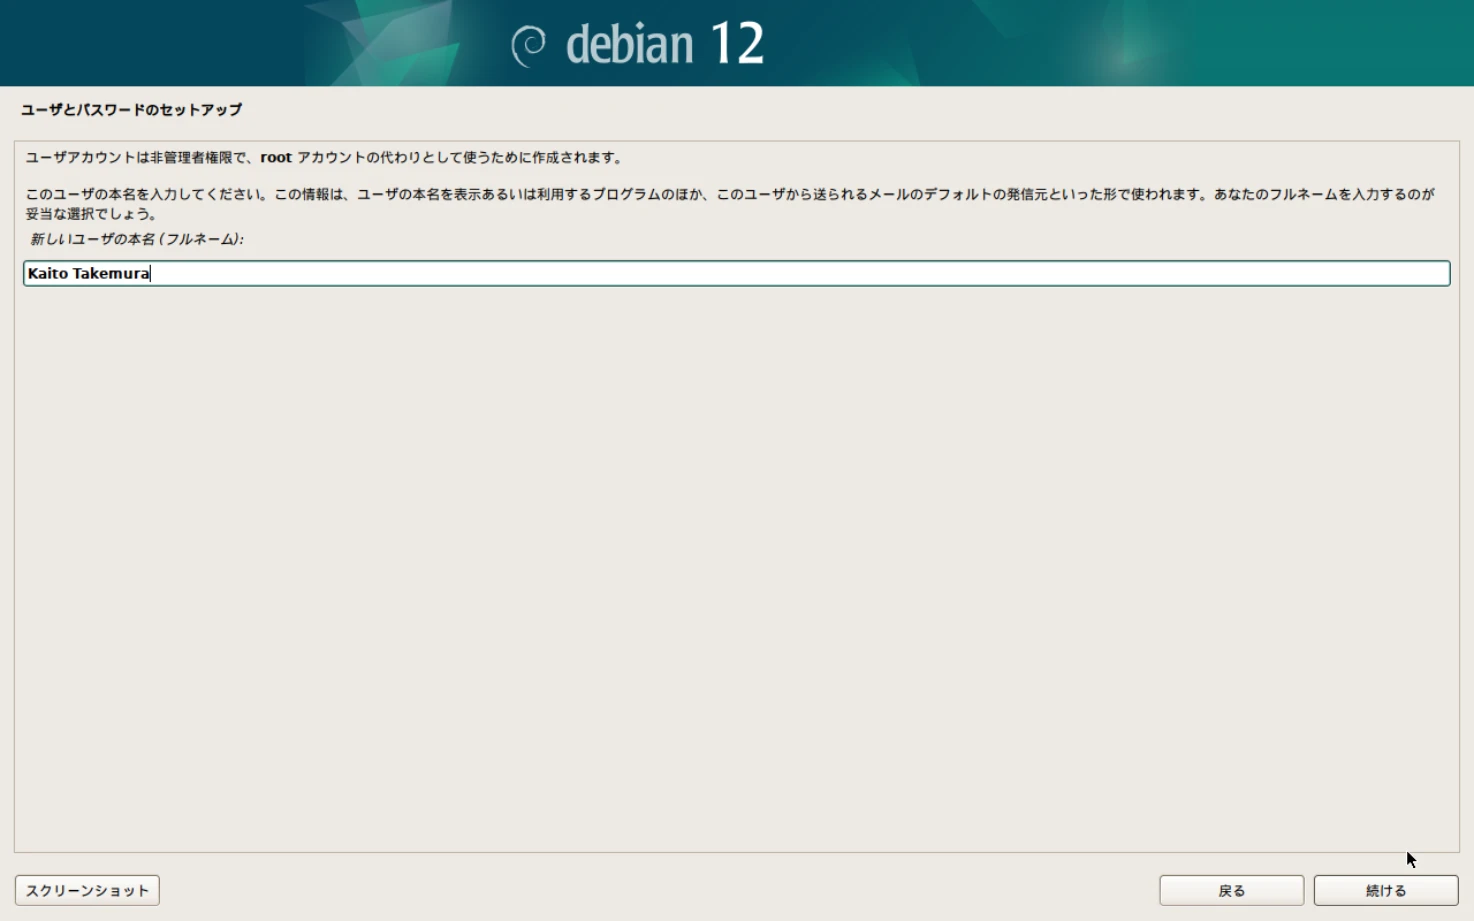
Create a non-administrator user. Enter the full name of the user who owns the account being created.
This information is used to display the user’s real name, by programs that use it, and as the default sender of emails sent by this user. In general, enter the user’s real name.
Enter the user’s full name and press Continue.
##
Configure the Username
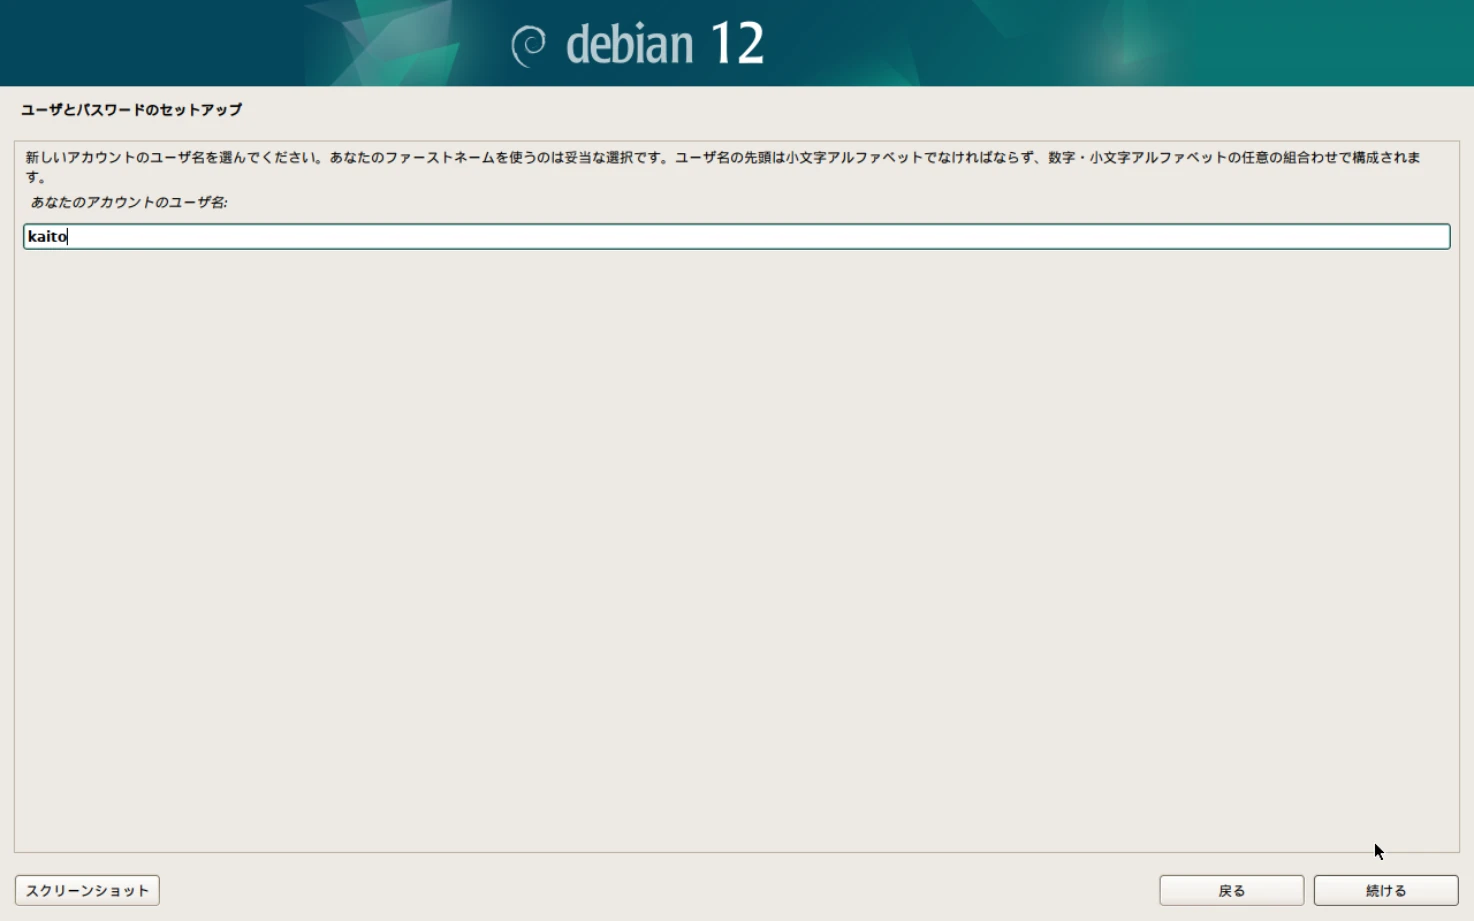
Create a non-administrator user. Enter the username for the account being created.
The username must begin with a lowercase letter. Enter a username and press Continue.
##
Configure the Password
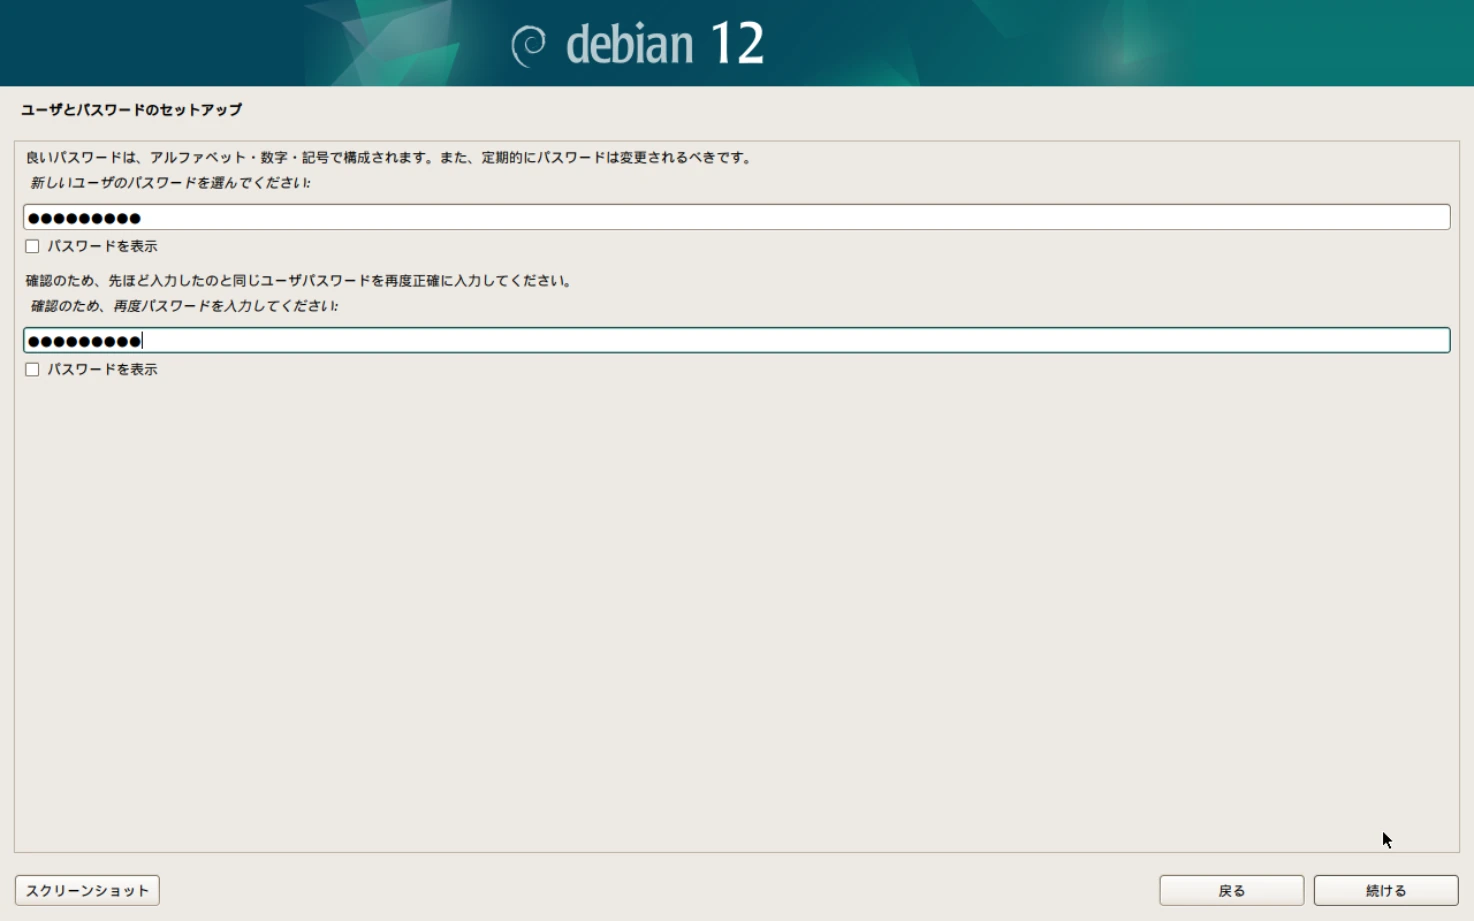
Create a non-administrator user. Enter the password for the account being created.
Enter a password and press Continue.
##
Configure the Partitioning Method
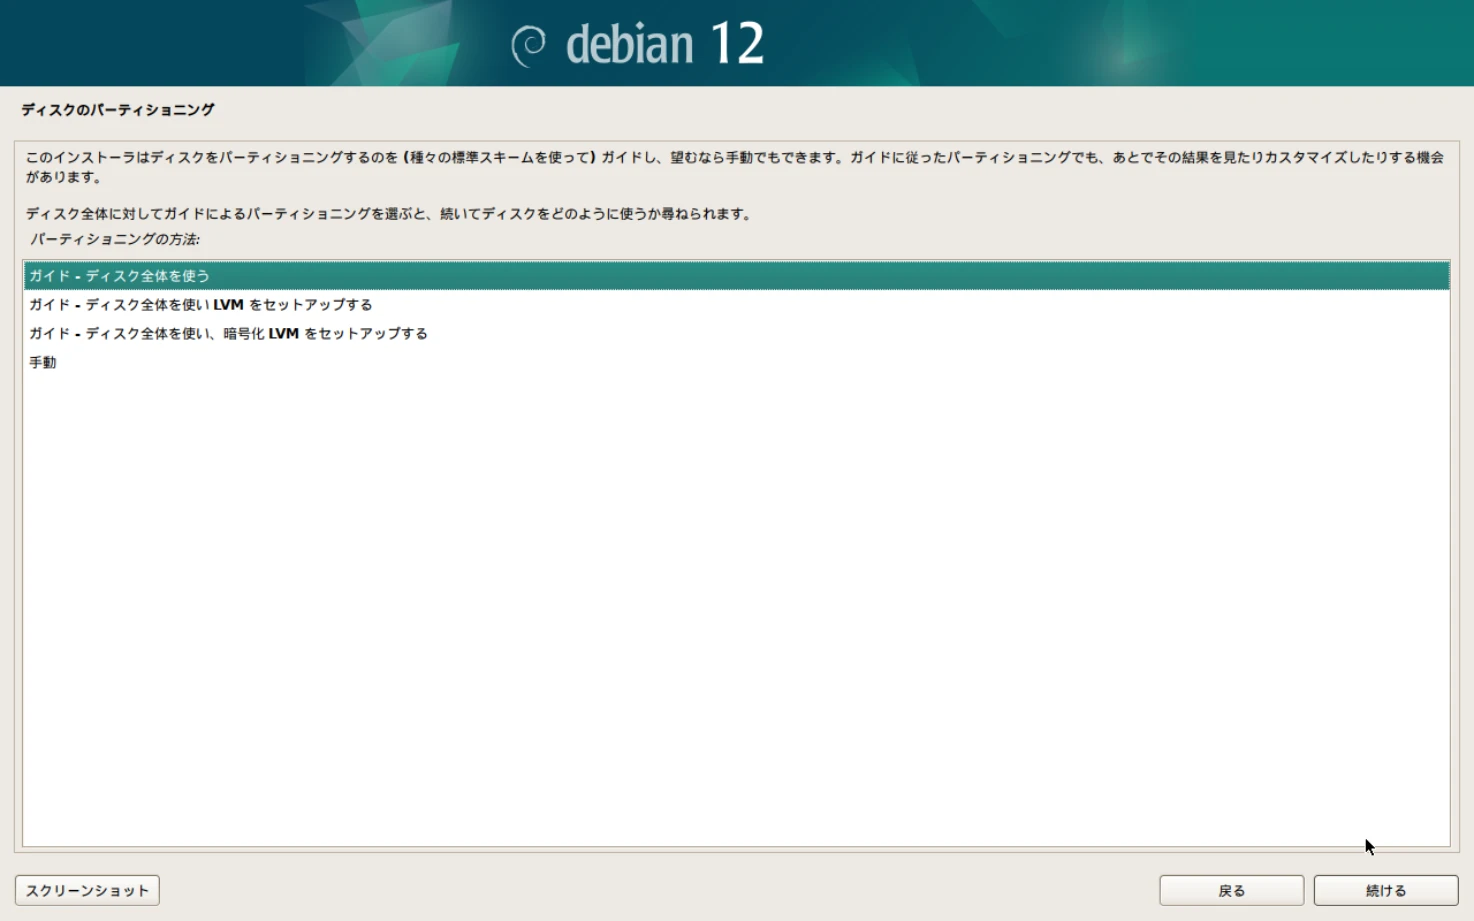
Configure the partitioning method.
If you have no specific requirement, select Guided - use entire disk and press Continue.
##
Select the Disk to Partition
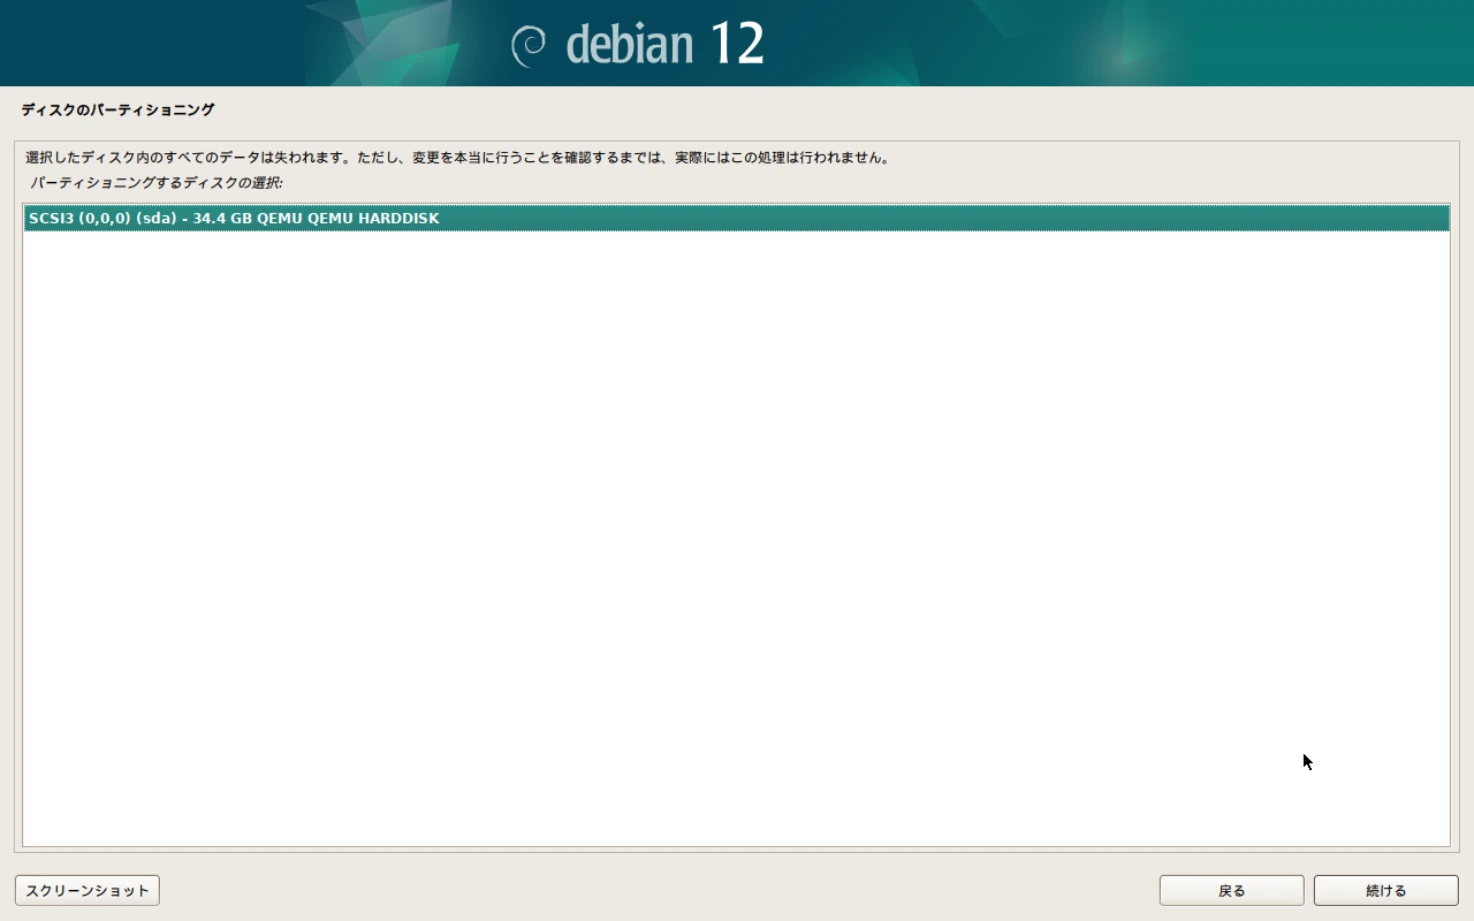
Select the disk to partition.
Select a disk and press Continue.
##
Configure the Partitioning Scheme
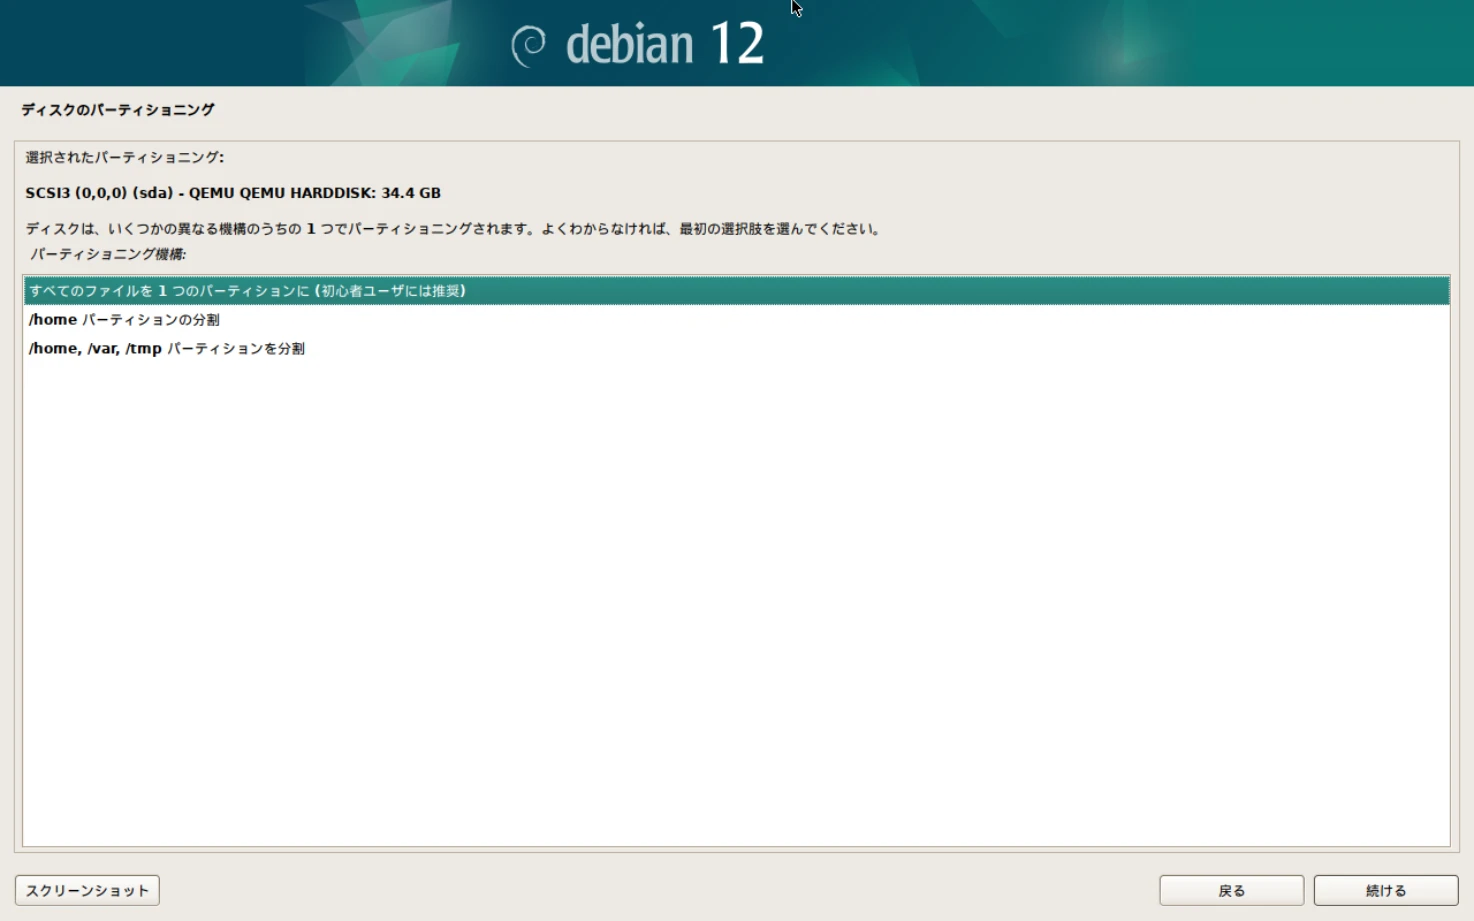
Configure the partitioning scheme.
If you have no specific requirement, select All files in one partition and press Continue.
##
Configure the Partition Details
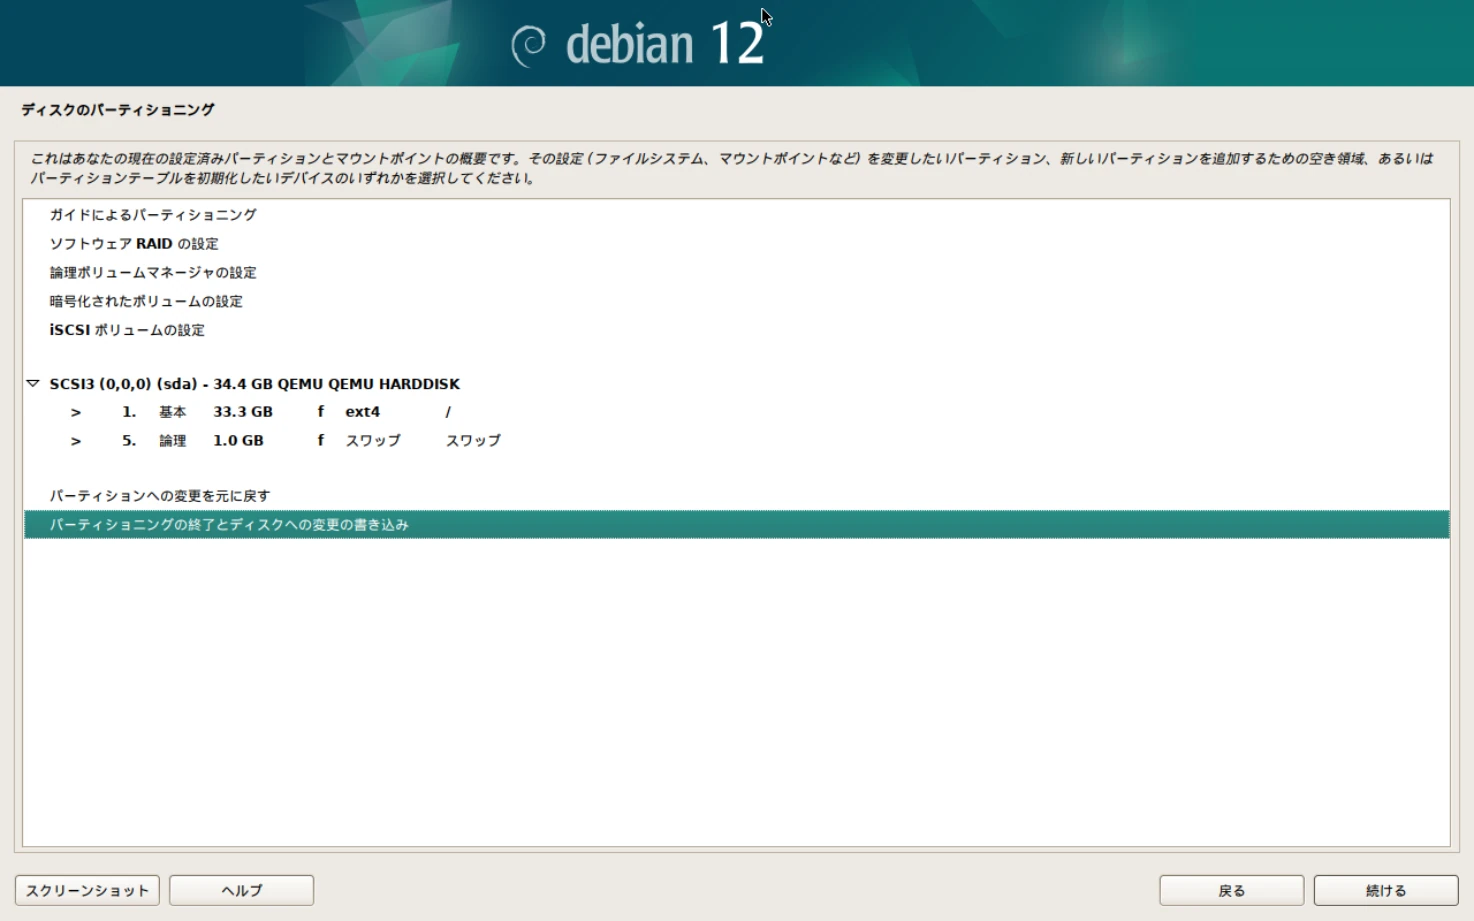
You can configure the partition details.
If you have no specific requirement, leave the defaults unchanged, select Finish partitioning and write changes to disk, and press Continue.
##
Create the Partitions
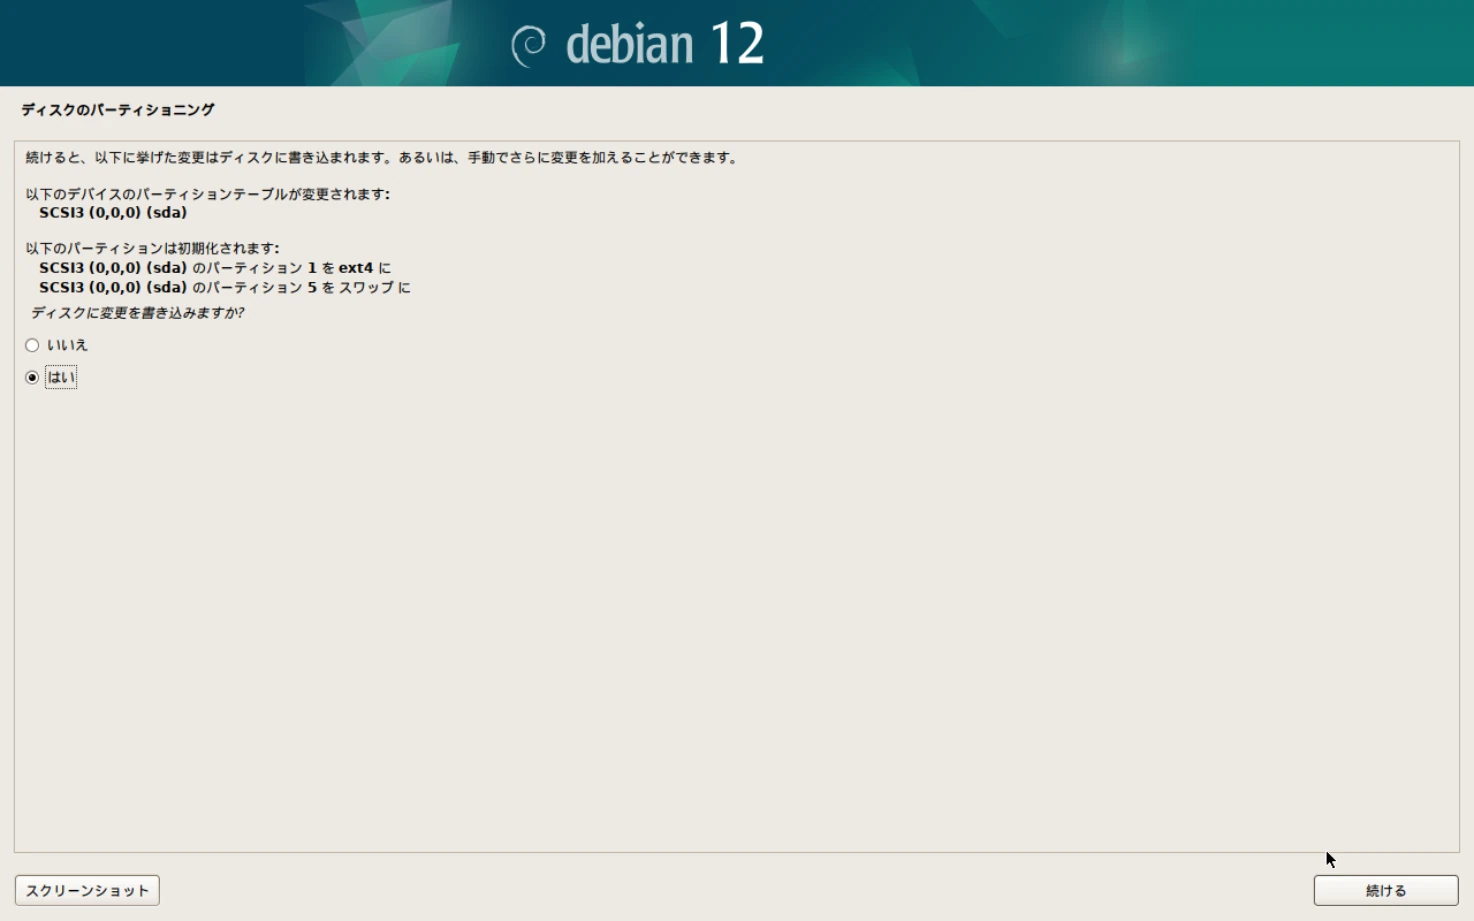
This is the final confirmation of the partitions to be created.
If everything is correct, select Yes and press Continue.
##
Check the Installation Media
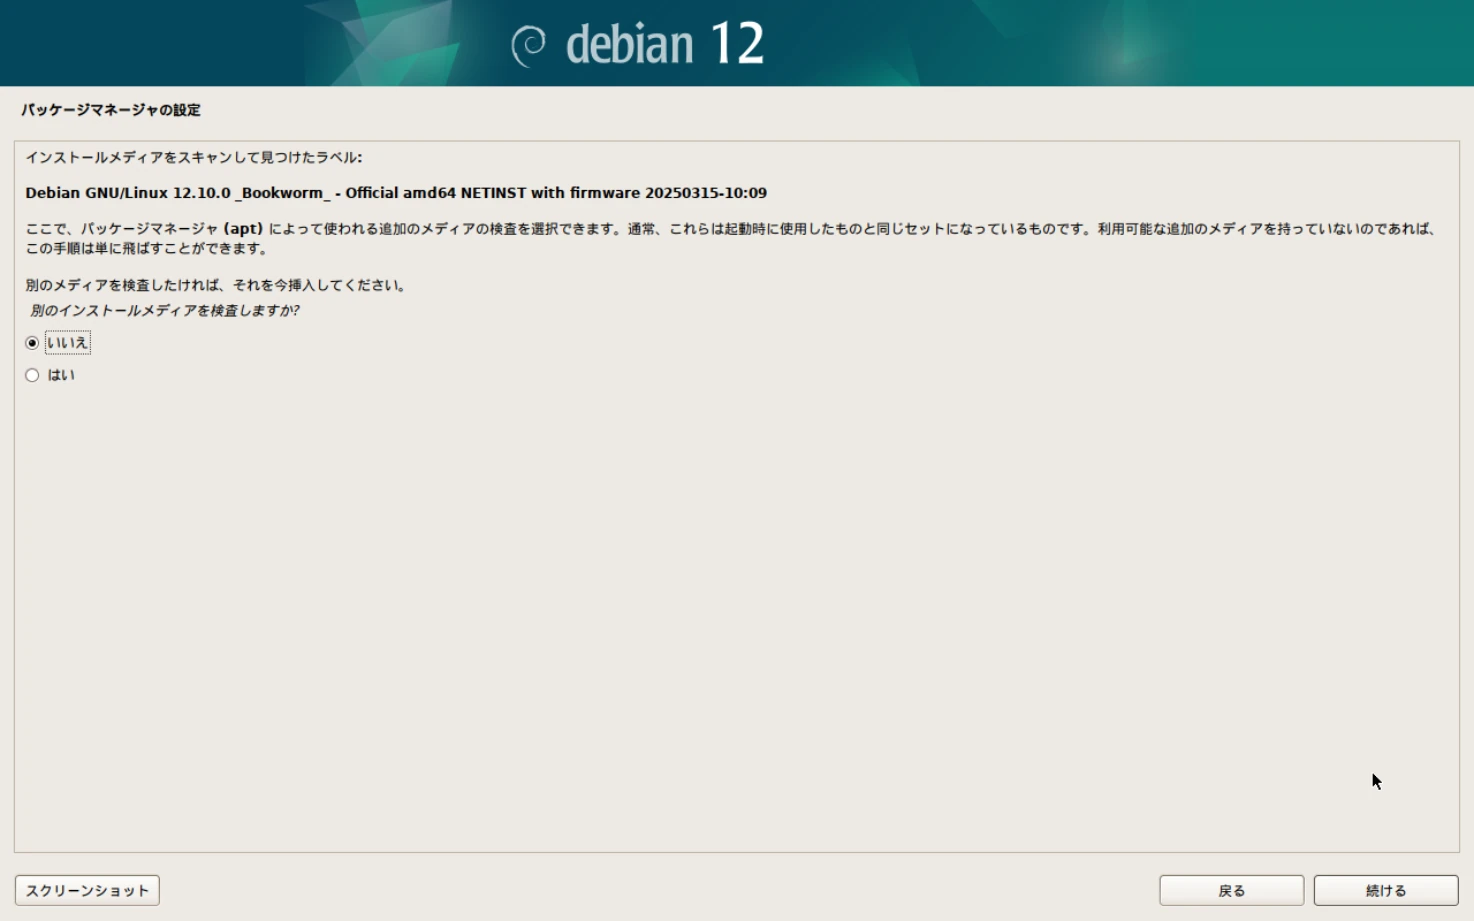
You can specify whether to check additional media used by the package manager (apt).
If you have no specific requirement, select No and press Continue.
##
Configure the Debian Package Repository
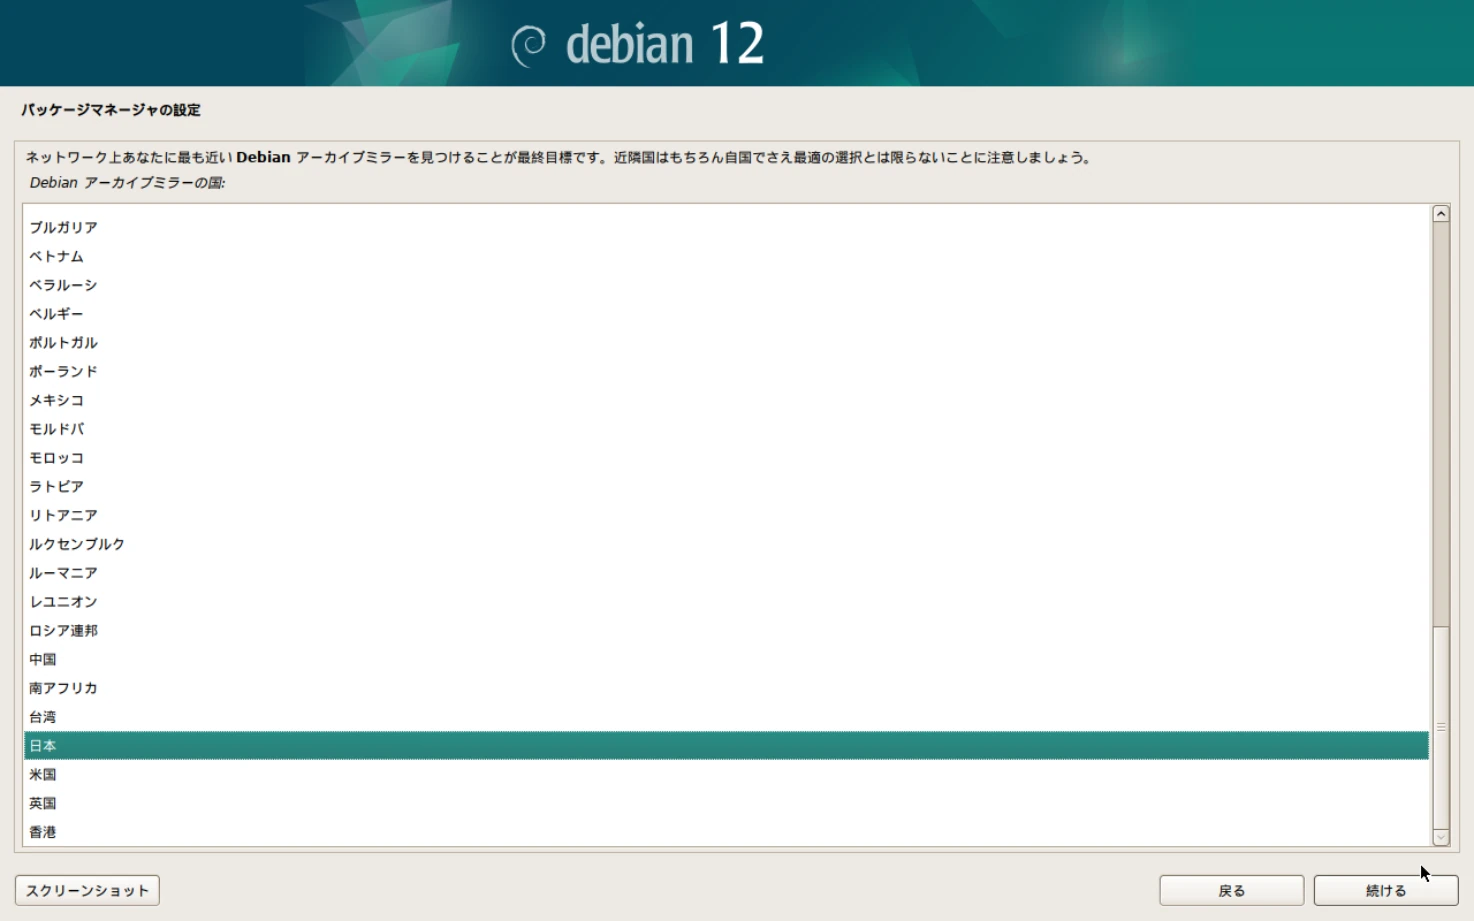
Configure the Debian package repository. Select Japan and press Continue.
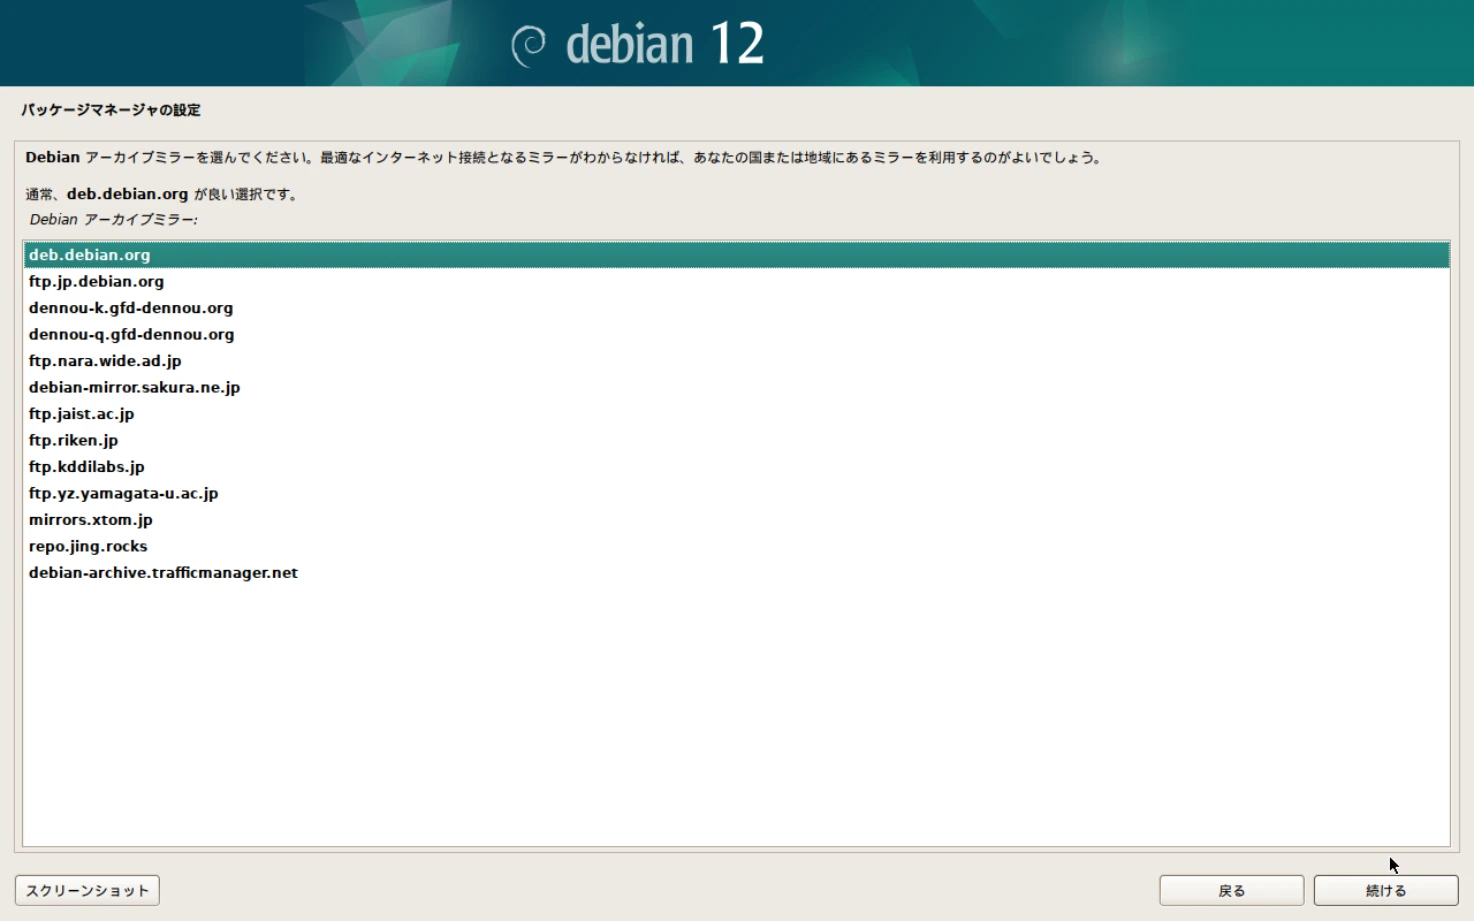
A list of package repositories and mirrors is displayed. If you have no specific requirement, deb.debian.org is suitable.
Select a repository and press Continue.
##
Configure the HTTP Proxy
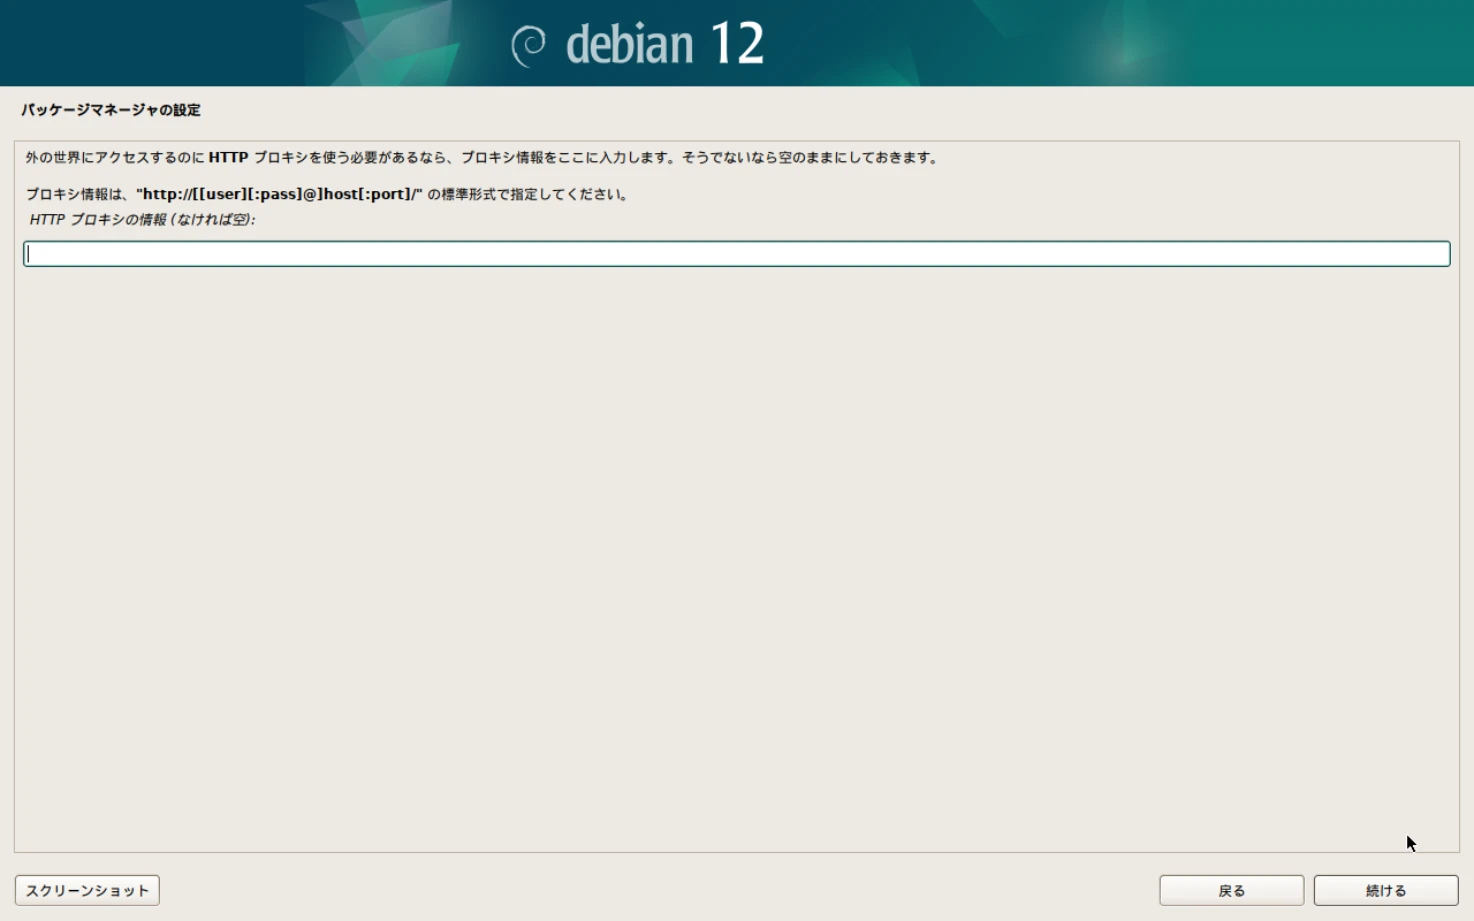
Configure the HTTP proxy.
If you need to access the internet through a proxy, enter the proxy information. Otherwise, leave it blank.
After configuring it, press Continue.
##
Configure Debian Popularity Contest
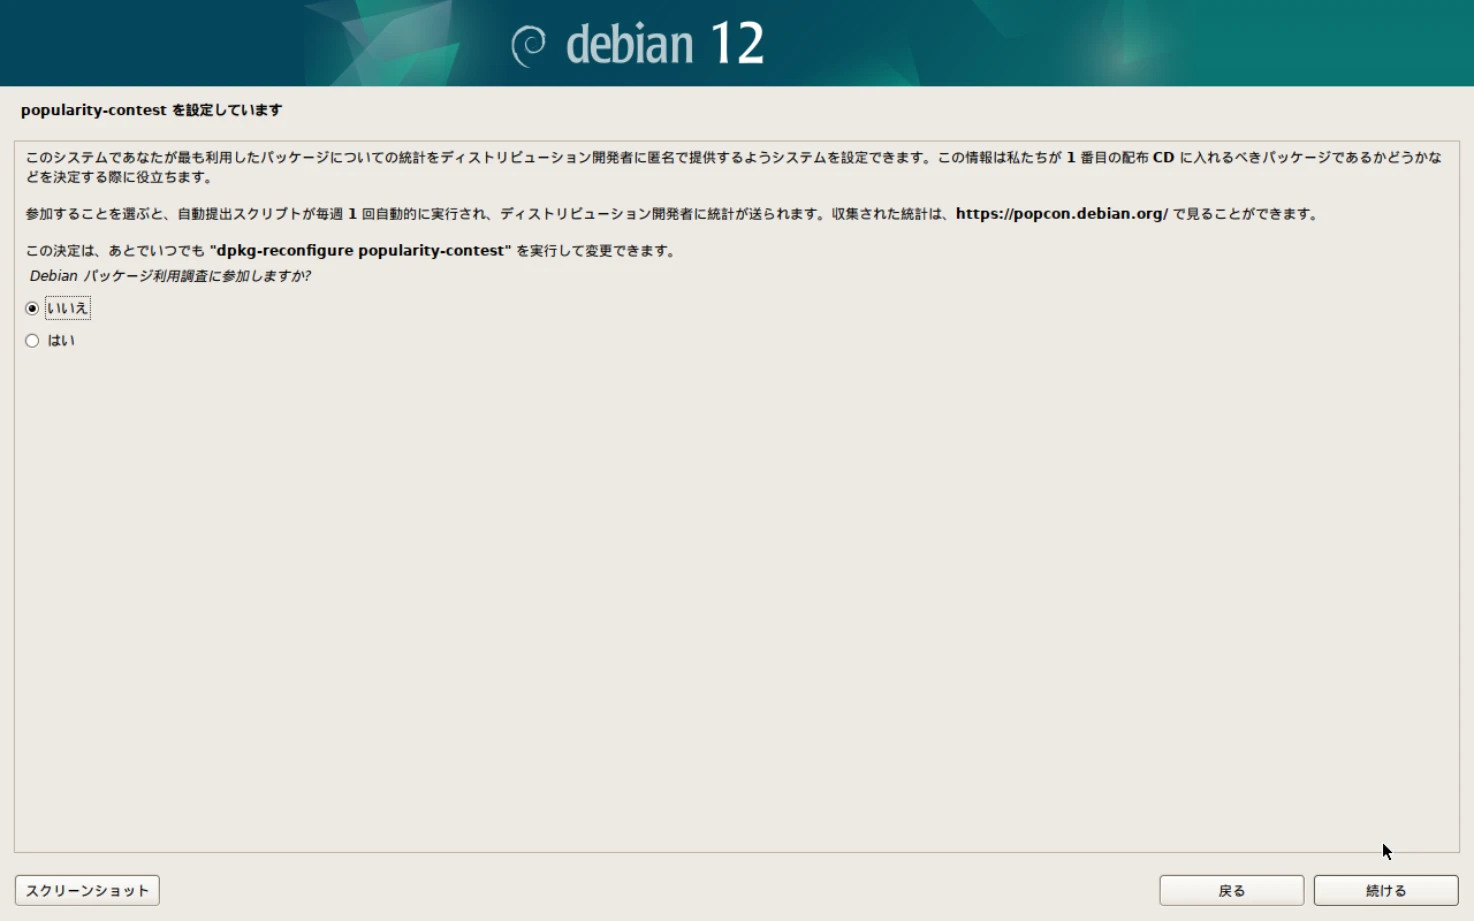
You can configure the system to anonymously provide the Debian community with statistics about the packages most used on this system.
If you choose to participate, an automatic submission script runs once a week and sends statistics to the Debian community. The collected statistics can be viewed at Debian Popularity Contest.
Select either option and press Continue.
##
Select Software to Install
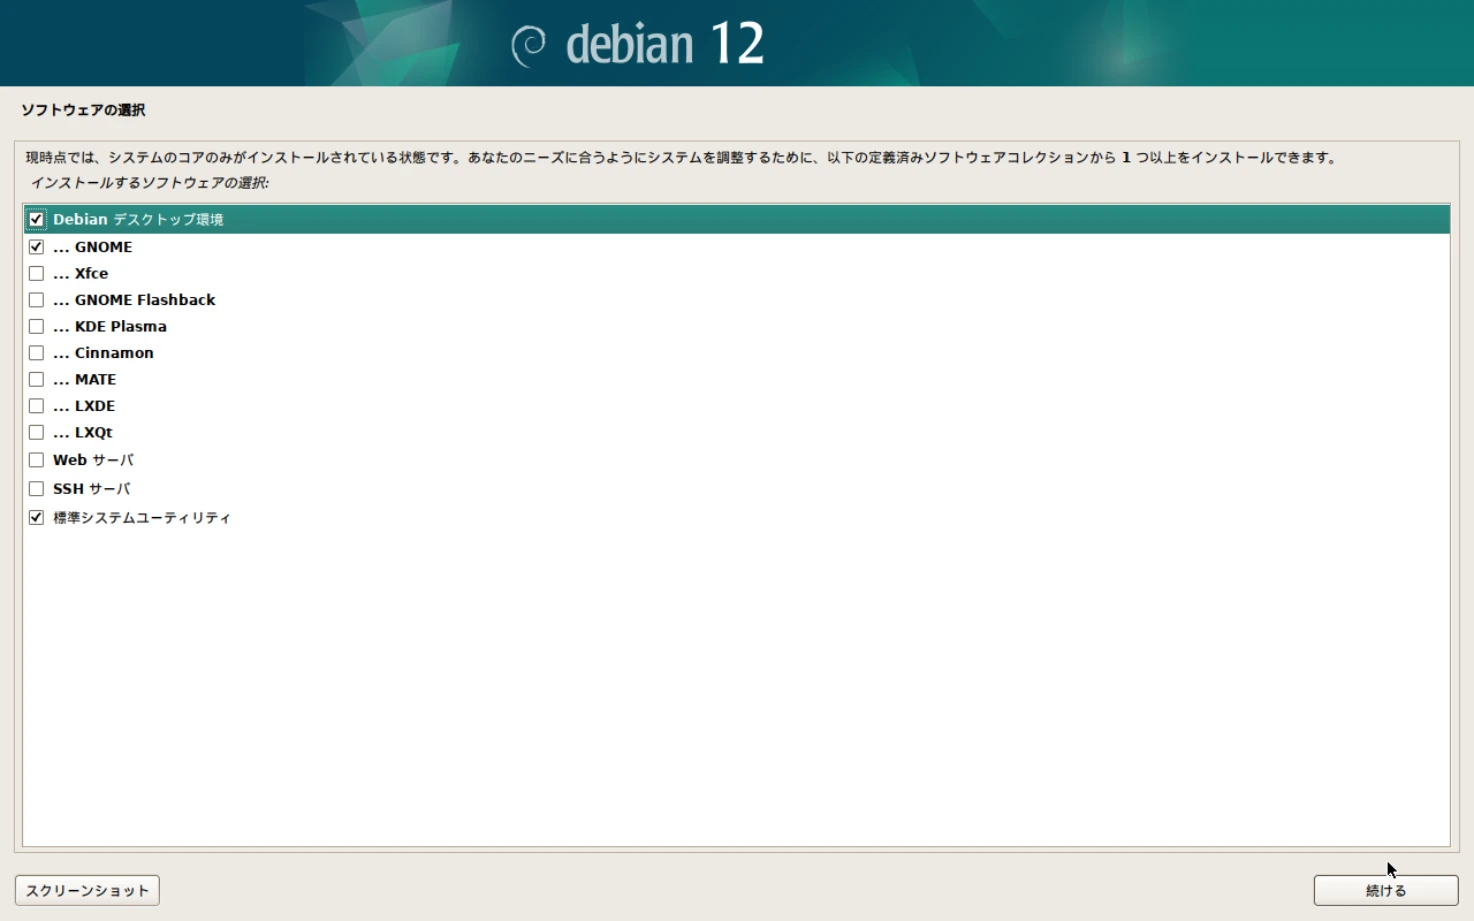
By default, only the core system functions are installed. You can select additional software to install here.
If you need a GUI environment, such as when using the system as a desktop PC, select Debian desktop environment and GNOME.
If you need a remote connection environment, such as when using the system as a server, select SSH server.
Select the software to install and press Continue.
##
Install the Boot Loader
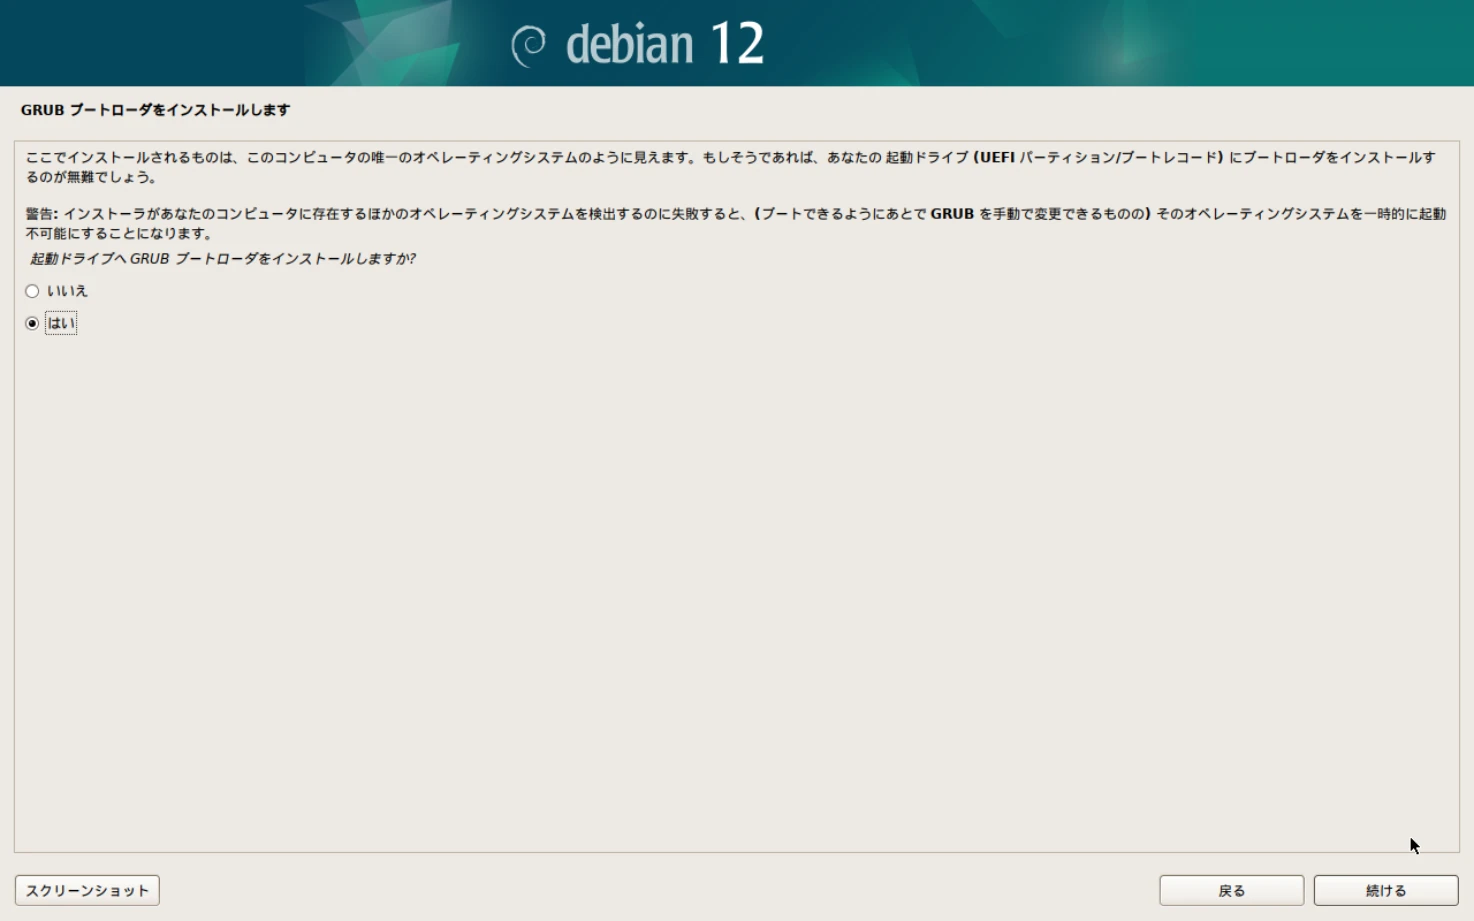
Install the GRUB boot loader. Select Yes and press Continue.
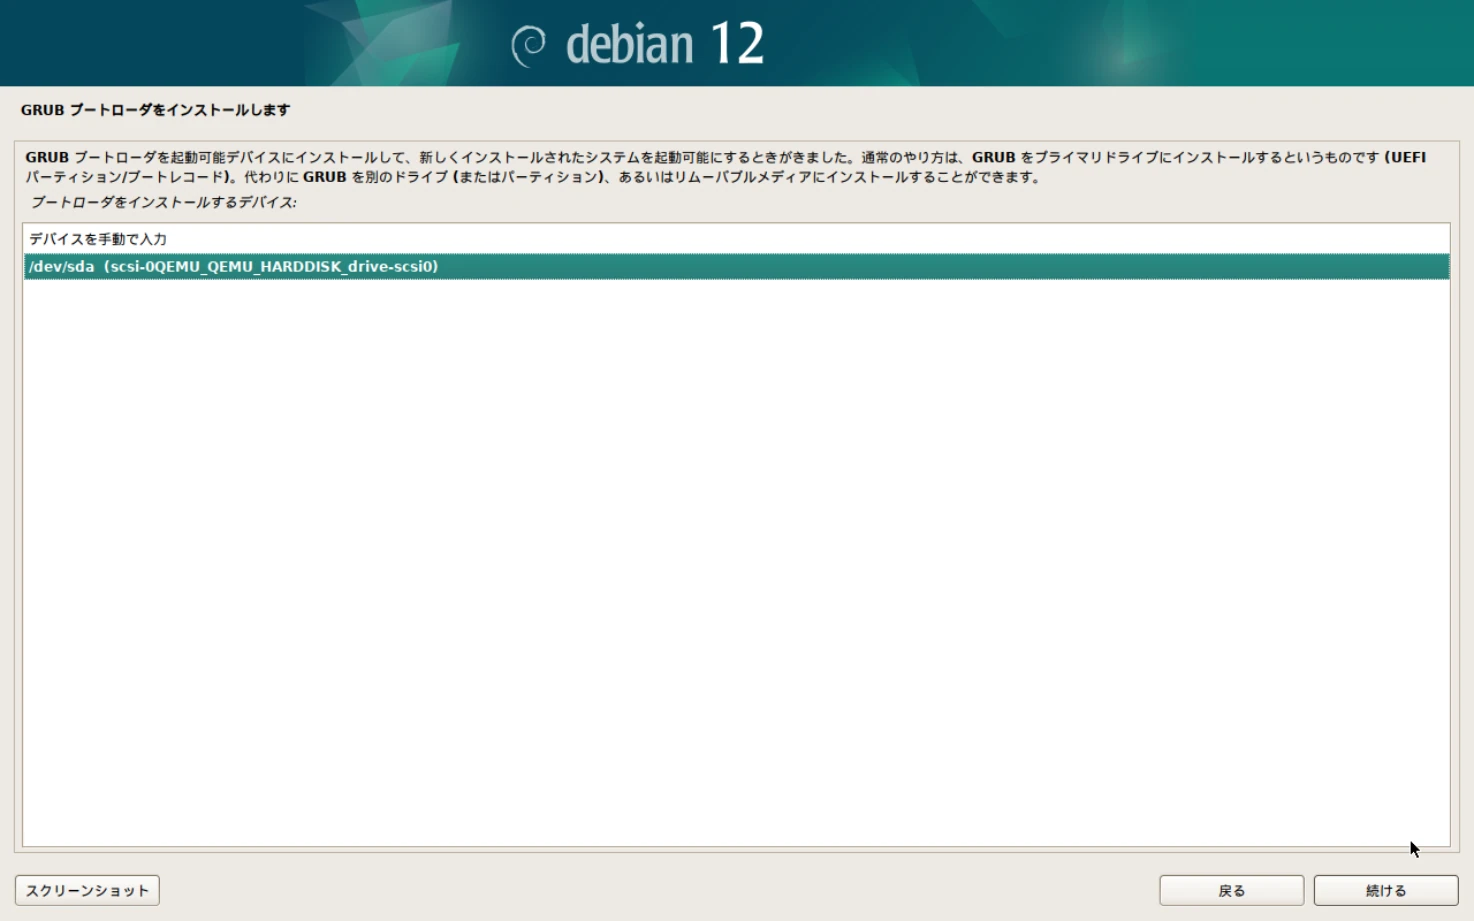
Select the device on which to install the GRUB boot loader and press Continue. Wait for the installation to complete.
##
Restart the System
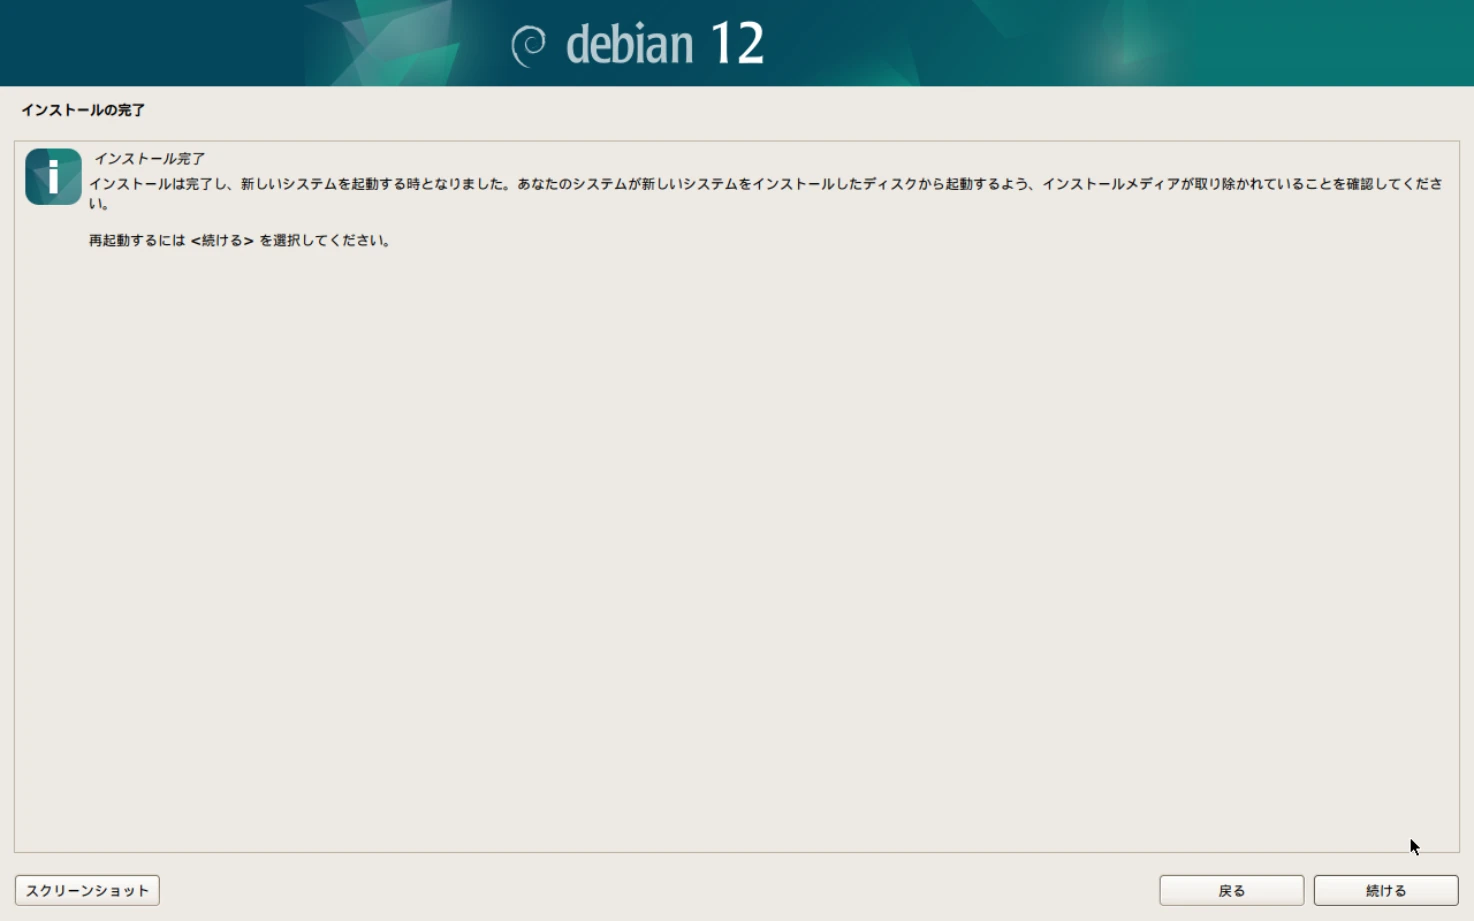
Remove the USB drive used for installation and press Continue.
The system restarts and Debian boots.
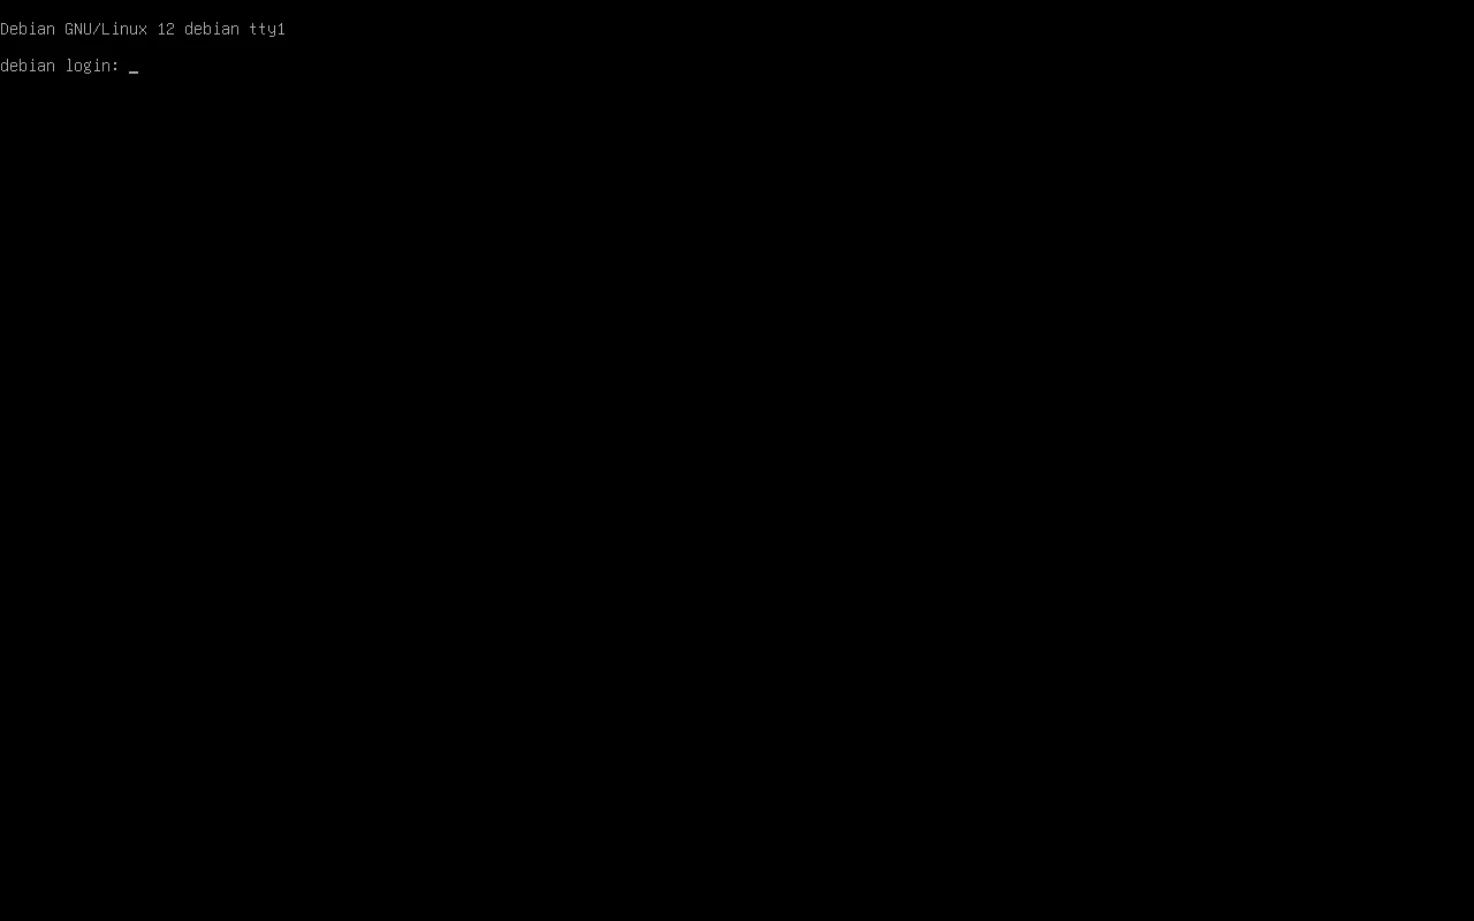
The shell login screen is displayed. The Debian installation is complete.