Build a File Server with OpenMediaVault
- EN
- JA
Table of Contents
OpenMediaVault (OMV) is open-source NAS software based on Debian and designed to make it easy to build a NAS.
In this article, we use OpenMediaVault to build a file server that can be accessed from Windows.
#
Introduction
For the server hardware, GMKtec’s NucBox M5 Plus was selected.
Since the Proxmox VE virtualization platform is installed on the mini PC, a virtual machine is created there and OpenMediaVault is installed on it.
#
Install OpenMediaVault
Download the OpenMediaVault ISO image and install it on the server. Follow the article below to install OpenMediaVault.
Remember to change the management interface language and the administrator user (admin) password.
When installing it in a virtual machine on Proxmox VE, also see Create a Virtual Machine (VM) on Proxmox VE.
#
Assign a Static IP Address
DHCP is enabled by default. Assign a static IP address so that the NAS address does not change.
Select Network > Interfaces from the menu to open the network settings screen.
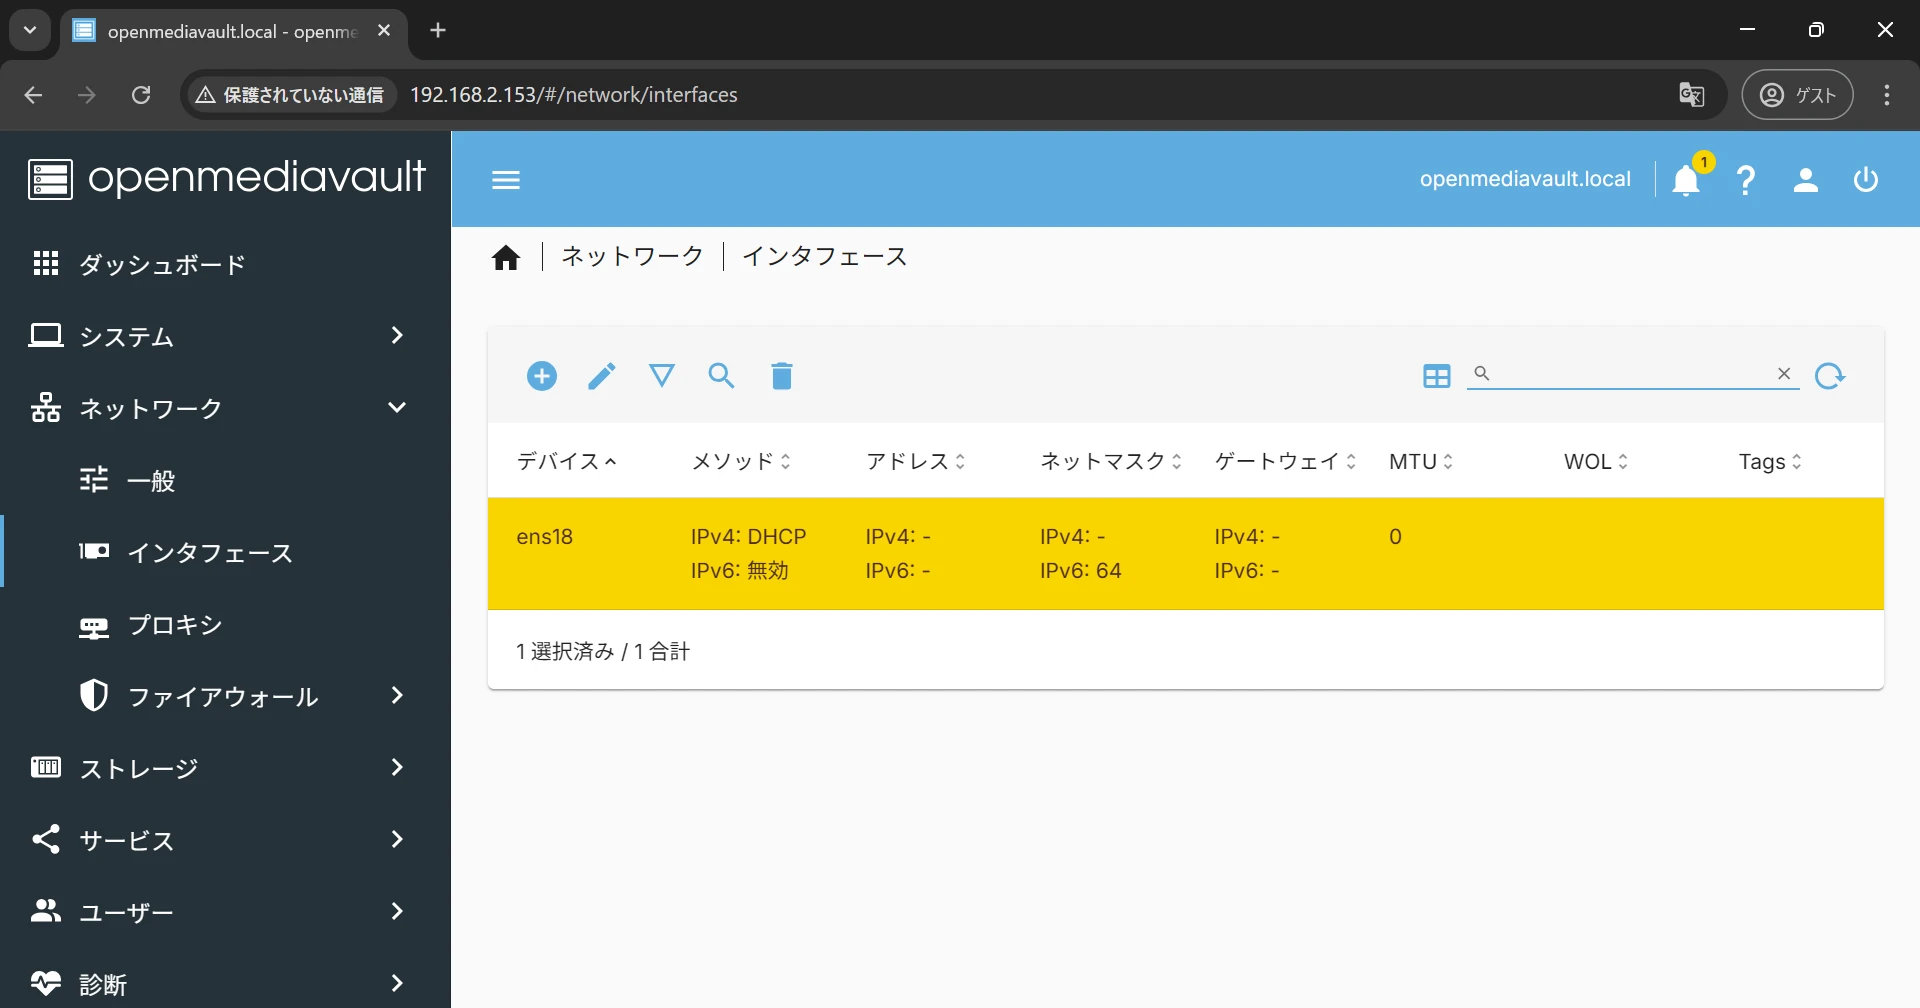
Select the device whose settings you want to change, then click the pencil icon to open the edit screen.
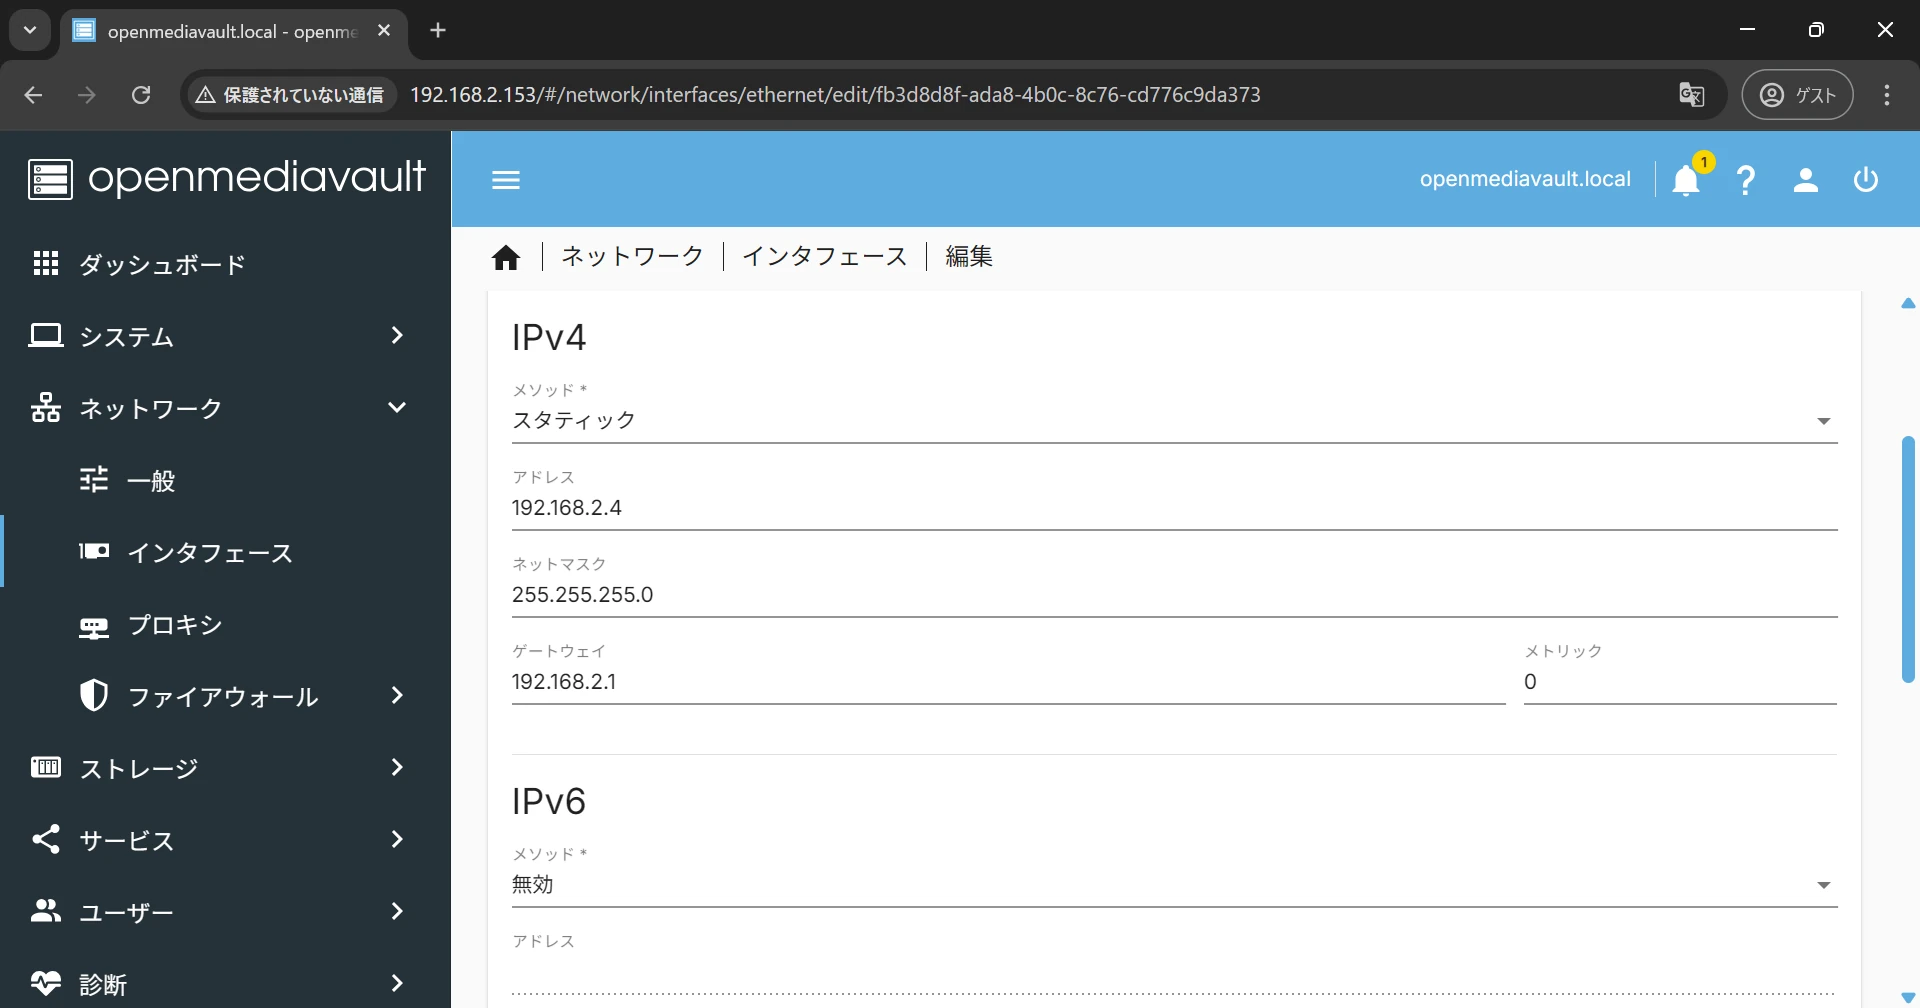
Under IPv4, change the settings so that a static IP address is assigned. Enter the DNS server address in the advanced settings and save the configuration.
Changing the IP address disconnects you from the server, so connect to the management interface again using the new IP address.
#
Initialize the Disk
Initialize the disk connected to OpenMediaVault. Skip this step if you are mounting a disk on which a file system has already been created.
Select Storage > Disks from the menu to open the disk settings screen.
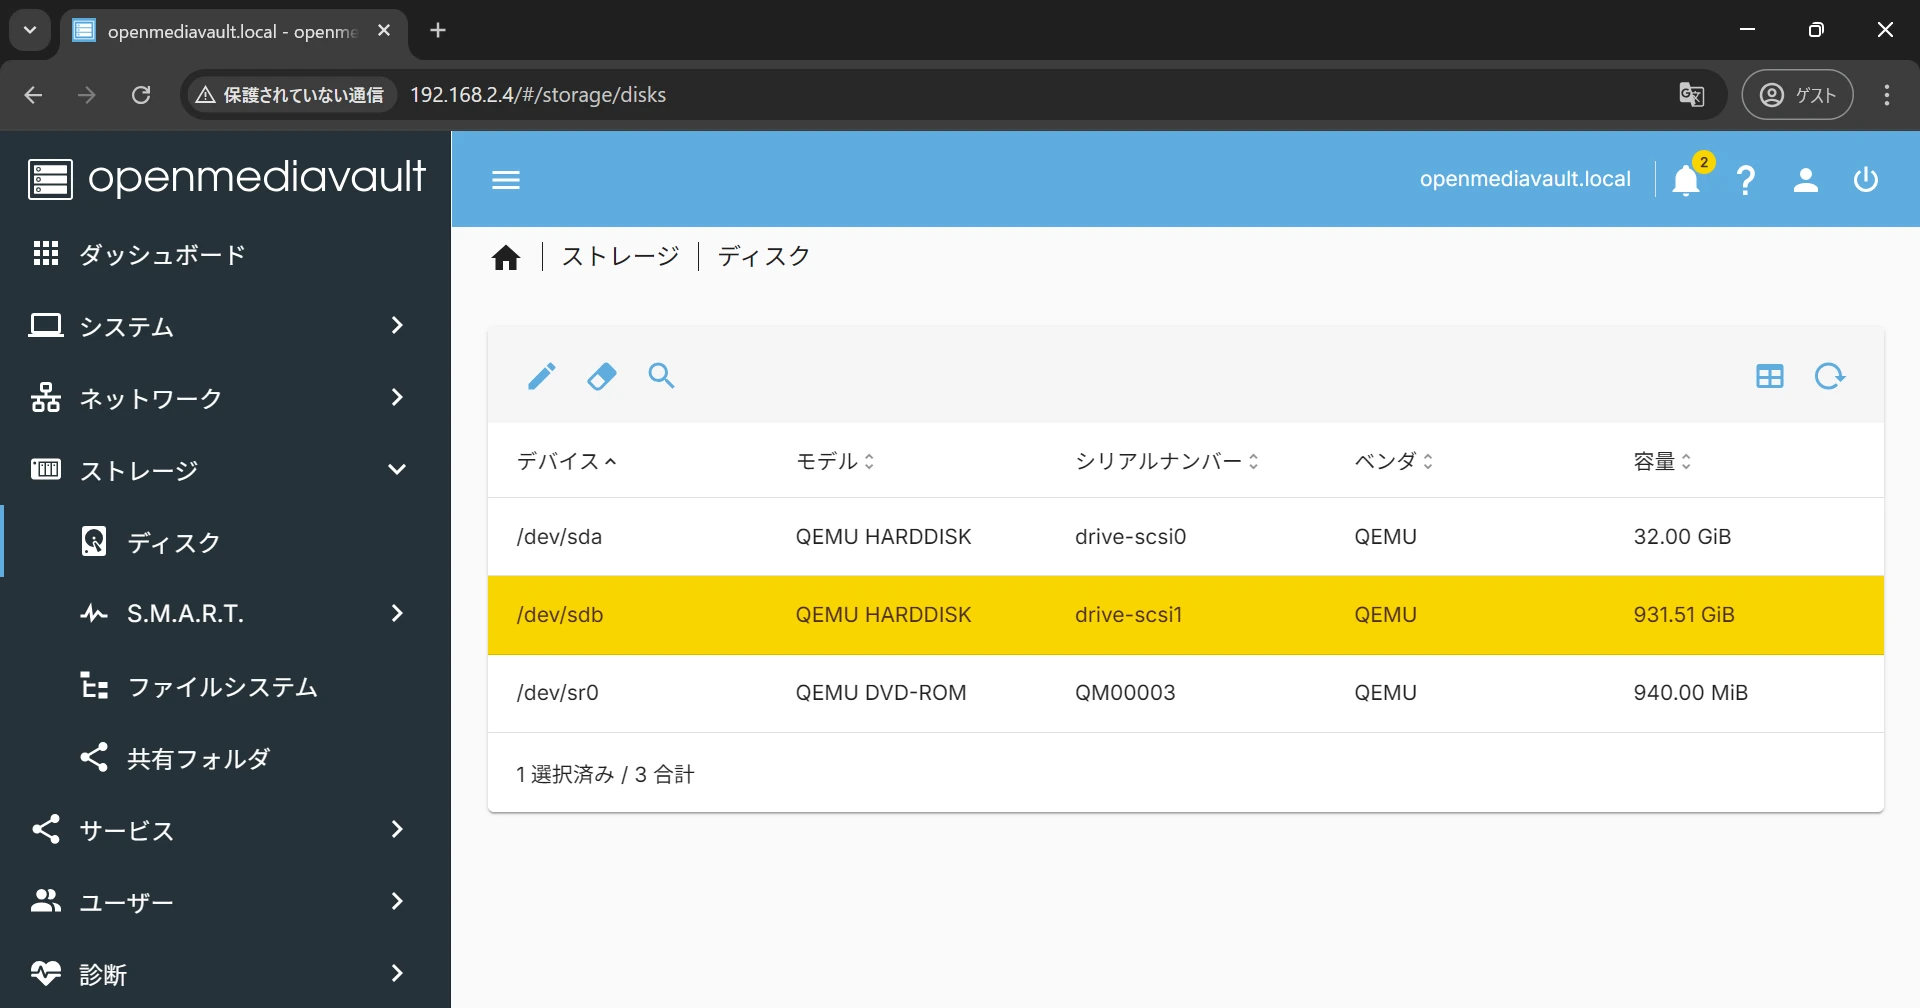
Select the device whose settings you want to change, then click the eraser icon to open the disk wipe screen.
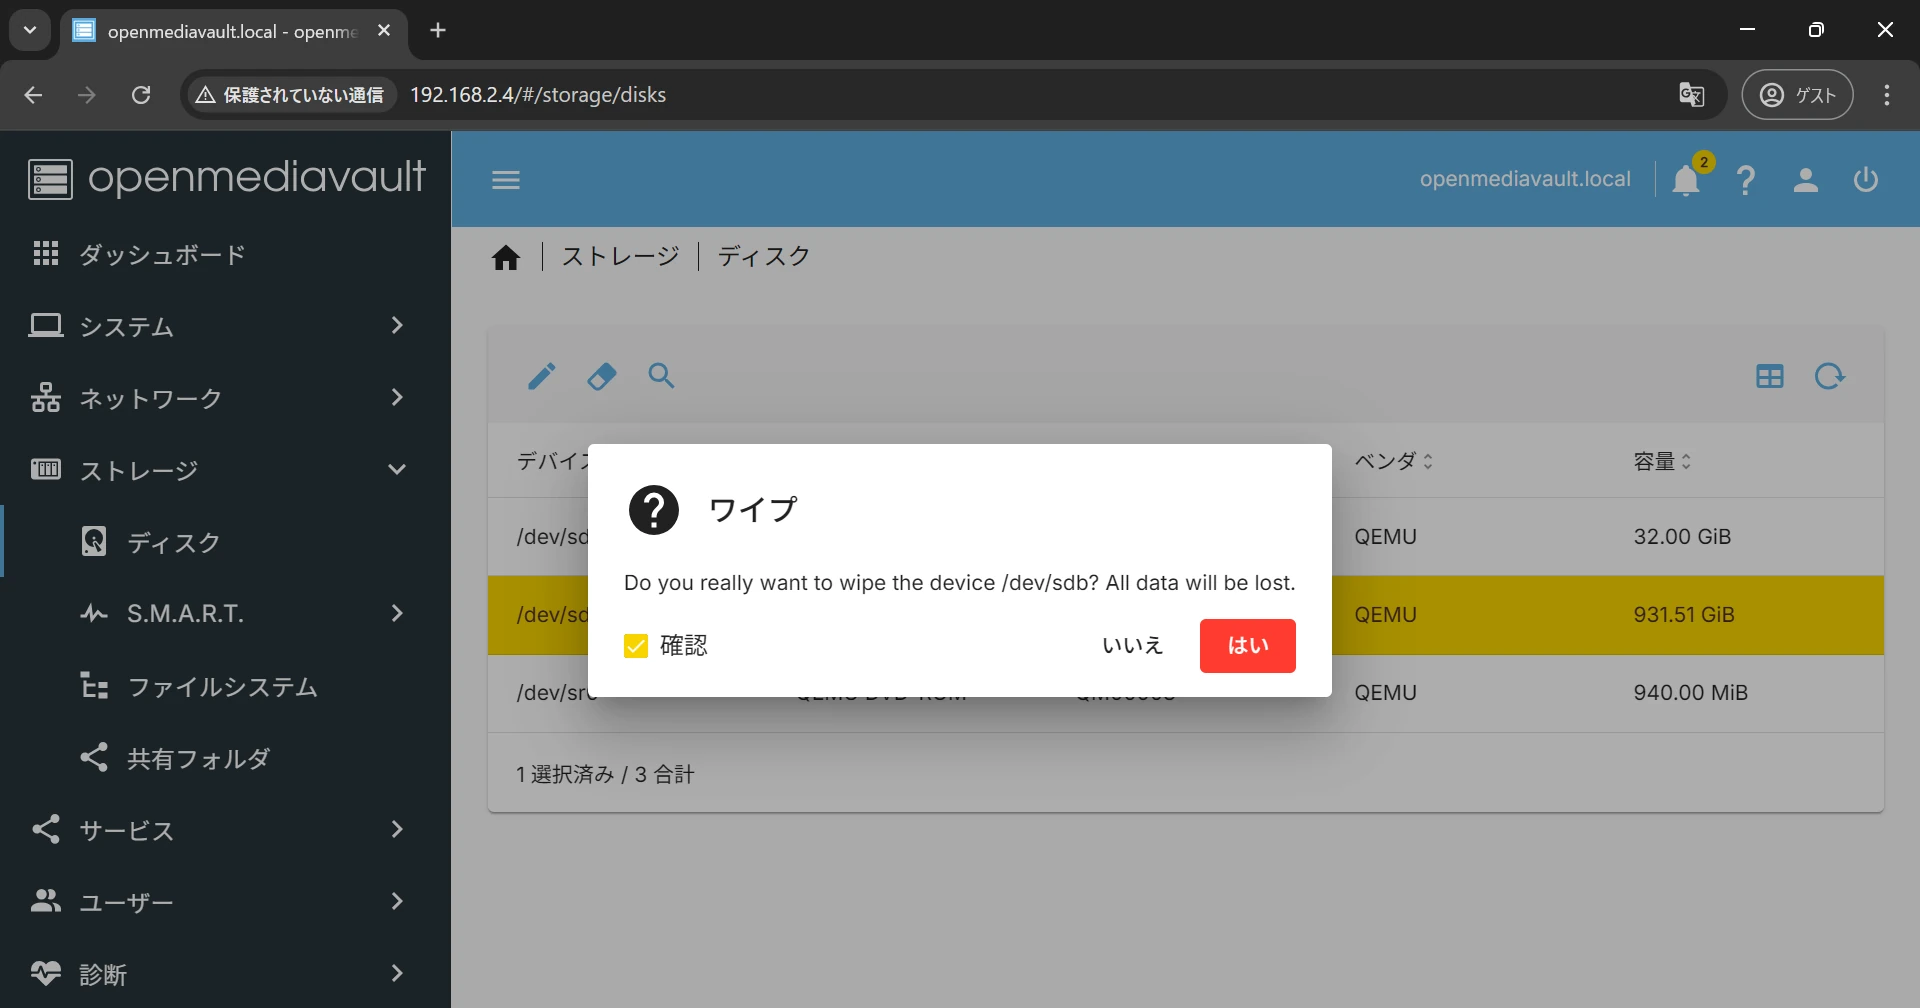
You can choose Quick or Secure as the wipe method. Unless you have a specific requirement, Quick is sufficient.
Quick erases the file system, while Secure erases everything.
#
Create a File System
Create a file system on the disk connected to OpenMediaVault. Skip this step if you are mounting a disk on which a file system has already been created.
Select Storage > File Systems from the menu to open the file system settings screen.
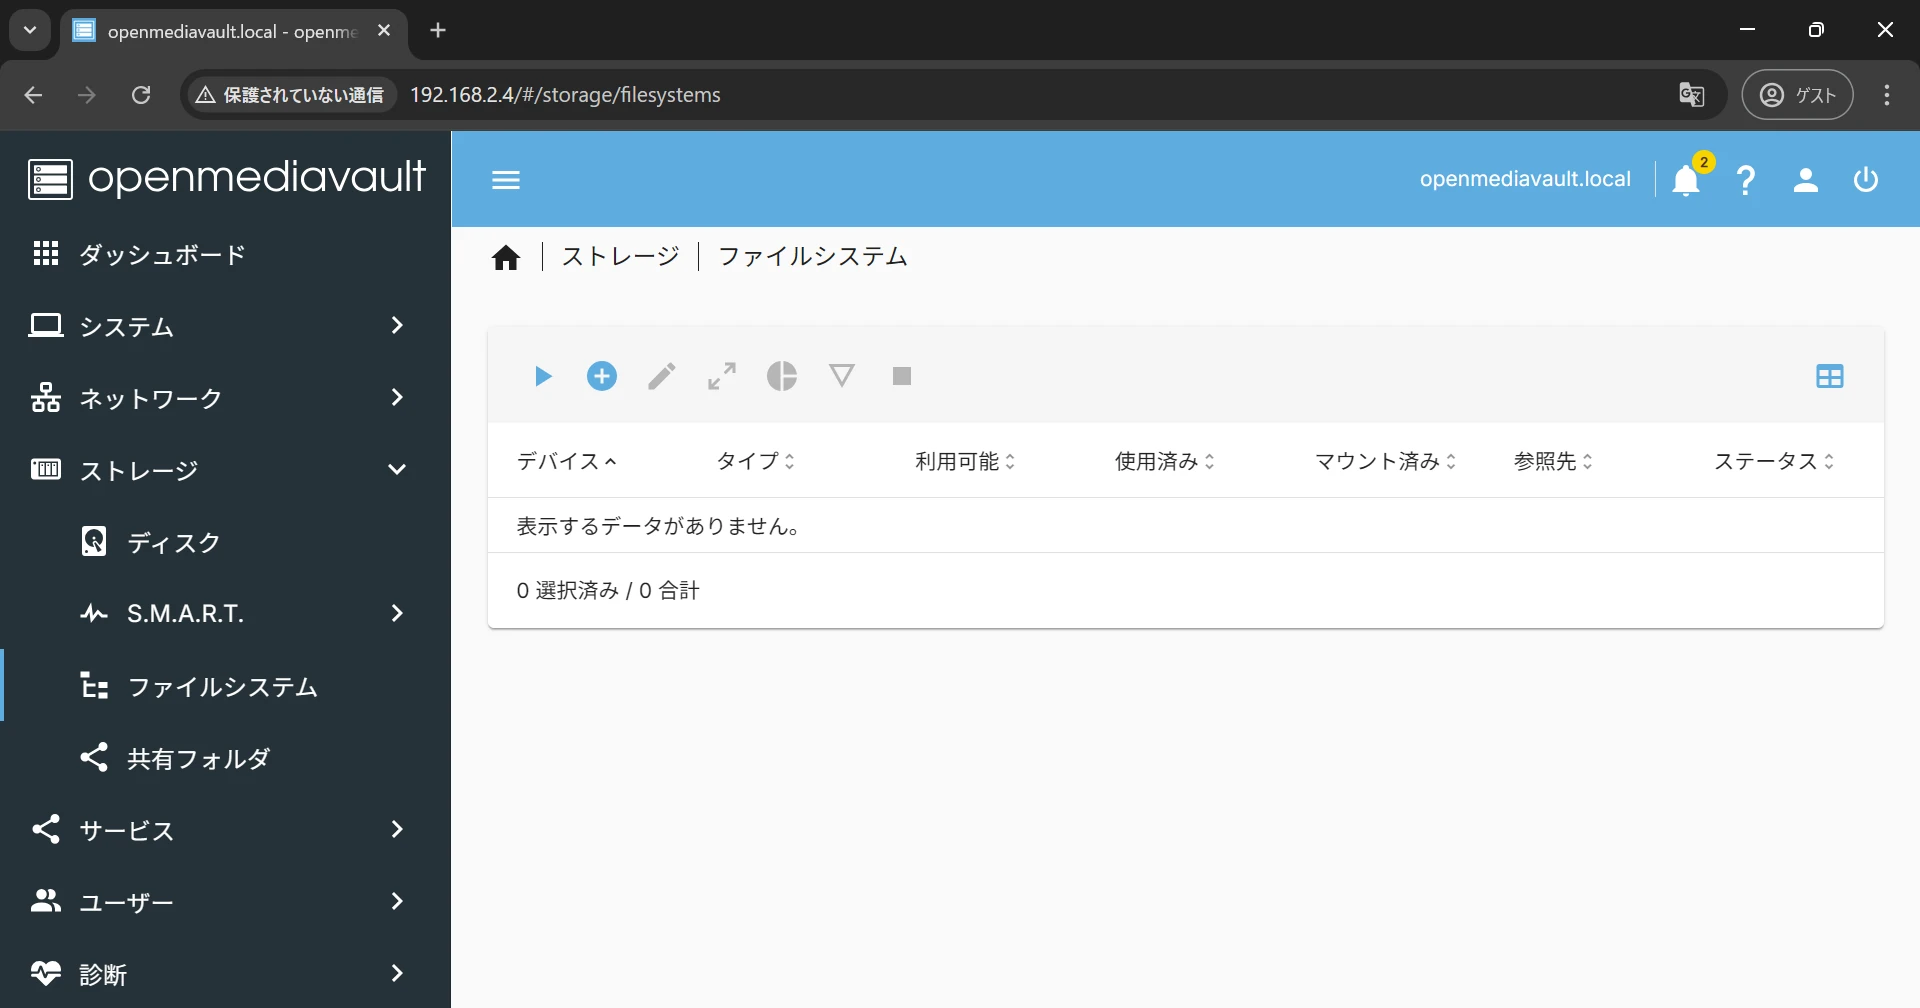
Click the plus icon, select the file system you want to create, and open the file system creation screen. In this example, Ext4 was selected.
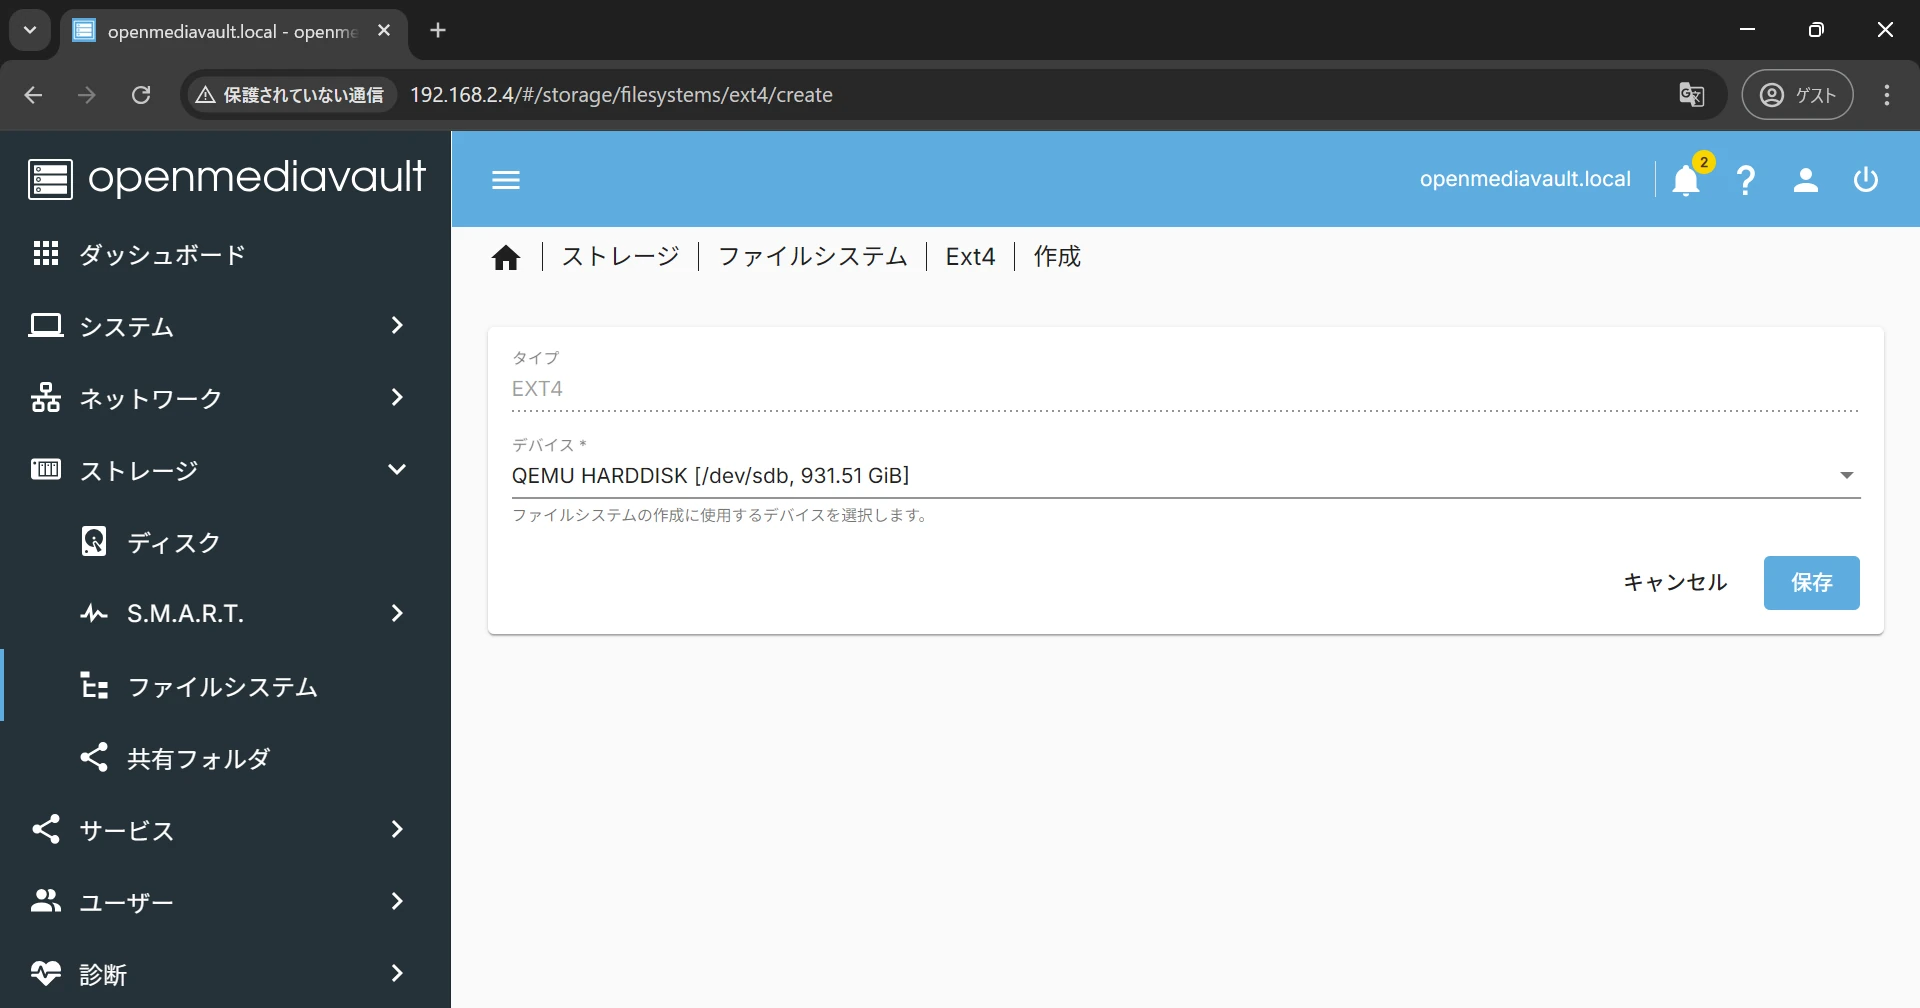
Select the disk on which to create the file system and create it.
#
Create a Shared Folder
Create a shared folder. Select Storage > Shared Folders from the menu to open the shared folder settings screen.
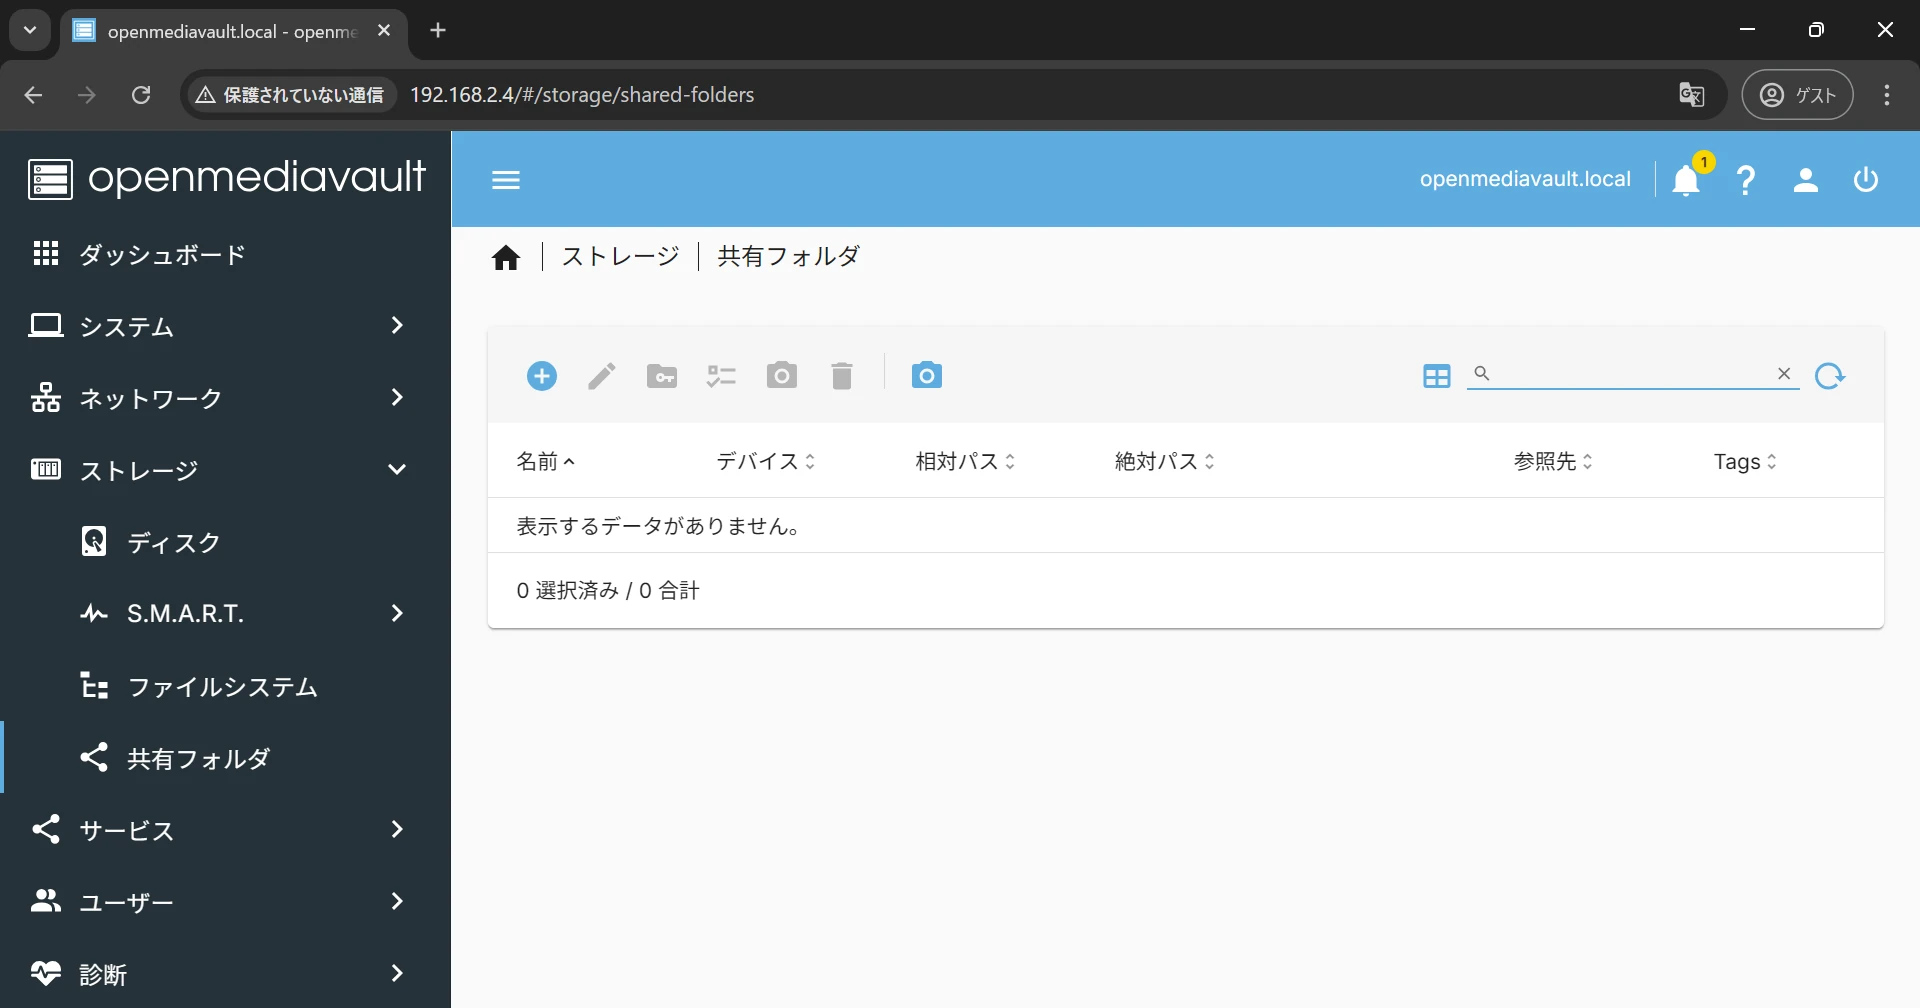
Click the plus icon to open the shared folder creation screen.
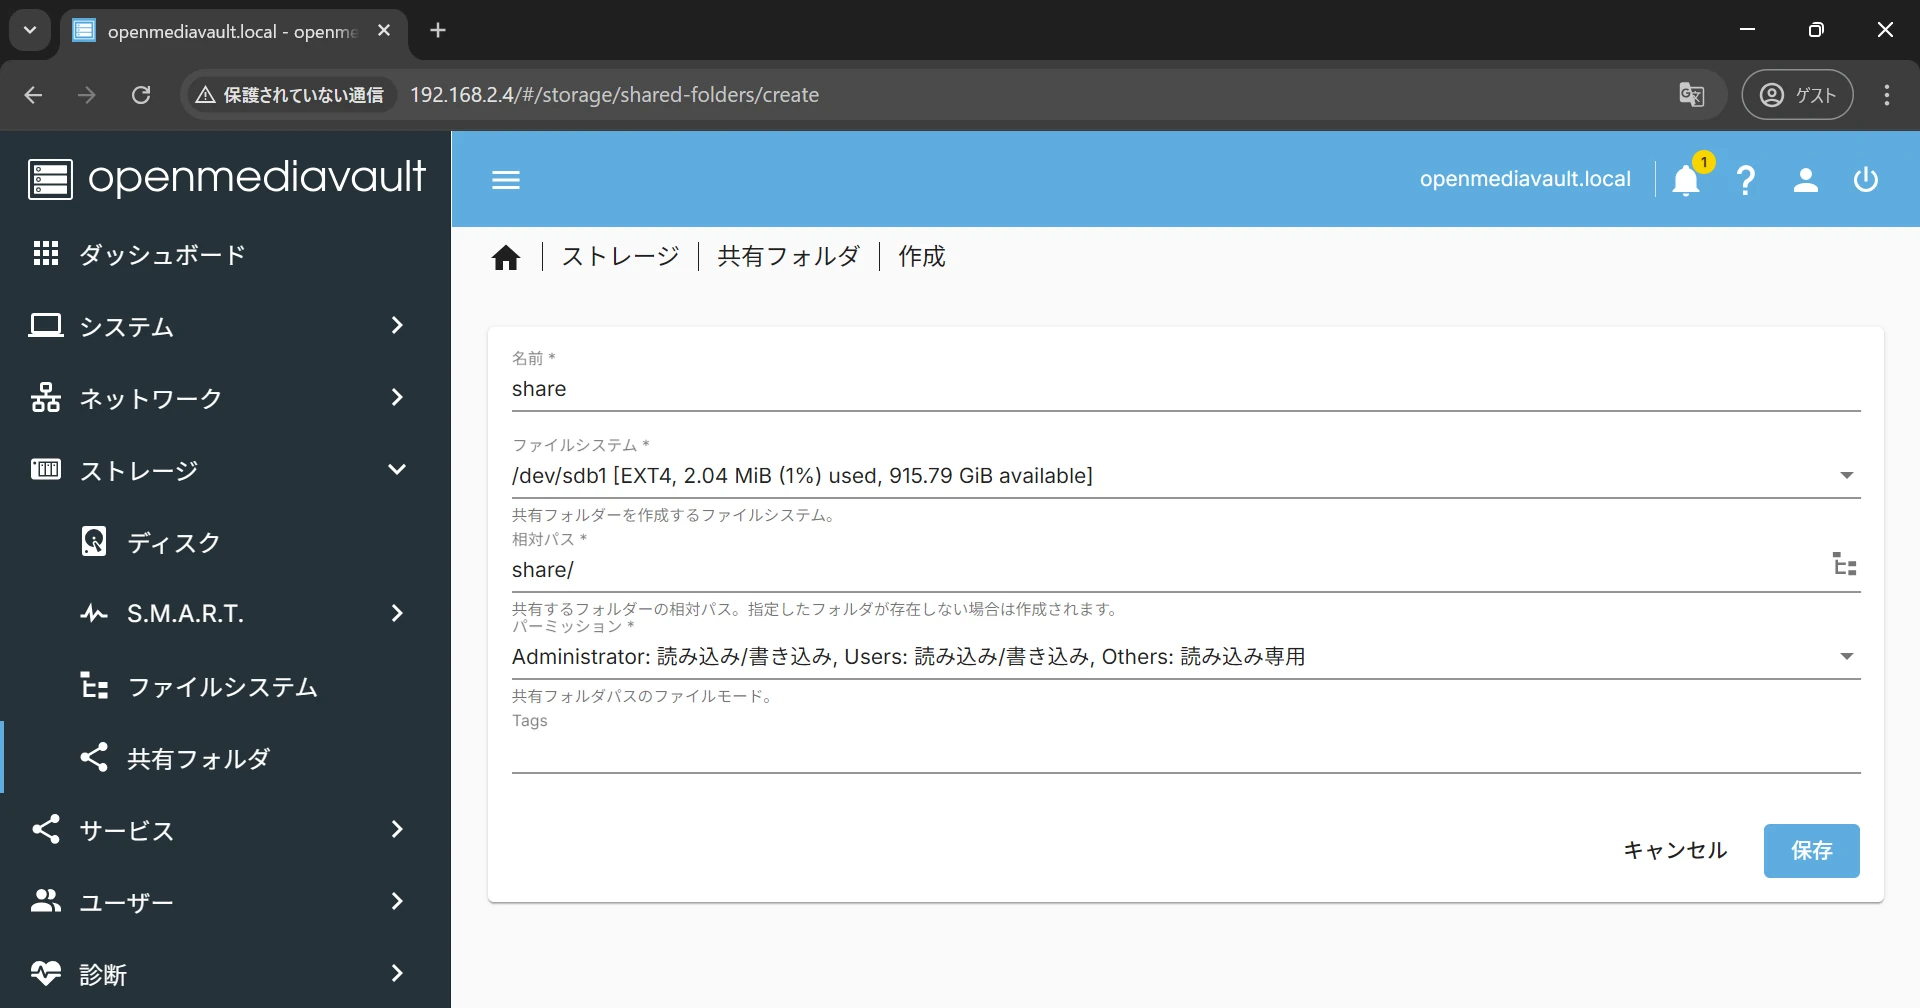
Enter a name for the shared folder. Client PCs access the folder using the name configured here.
Select the file system created earlier and save the shared folder settings.
#
Configure SMB/CIFS
Configure SMB/CIFS. Select SMB/CIFS > Settings from the menu to open the SMB/CIFS settings screen.
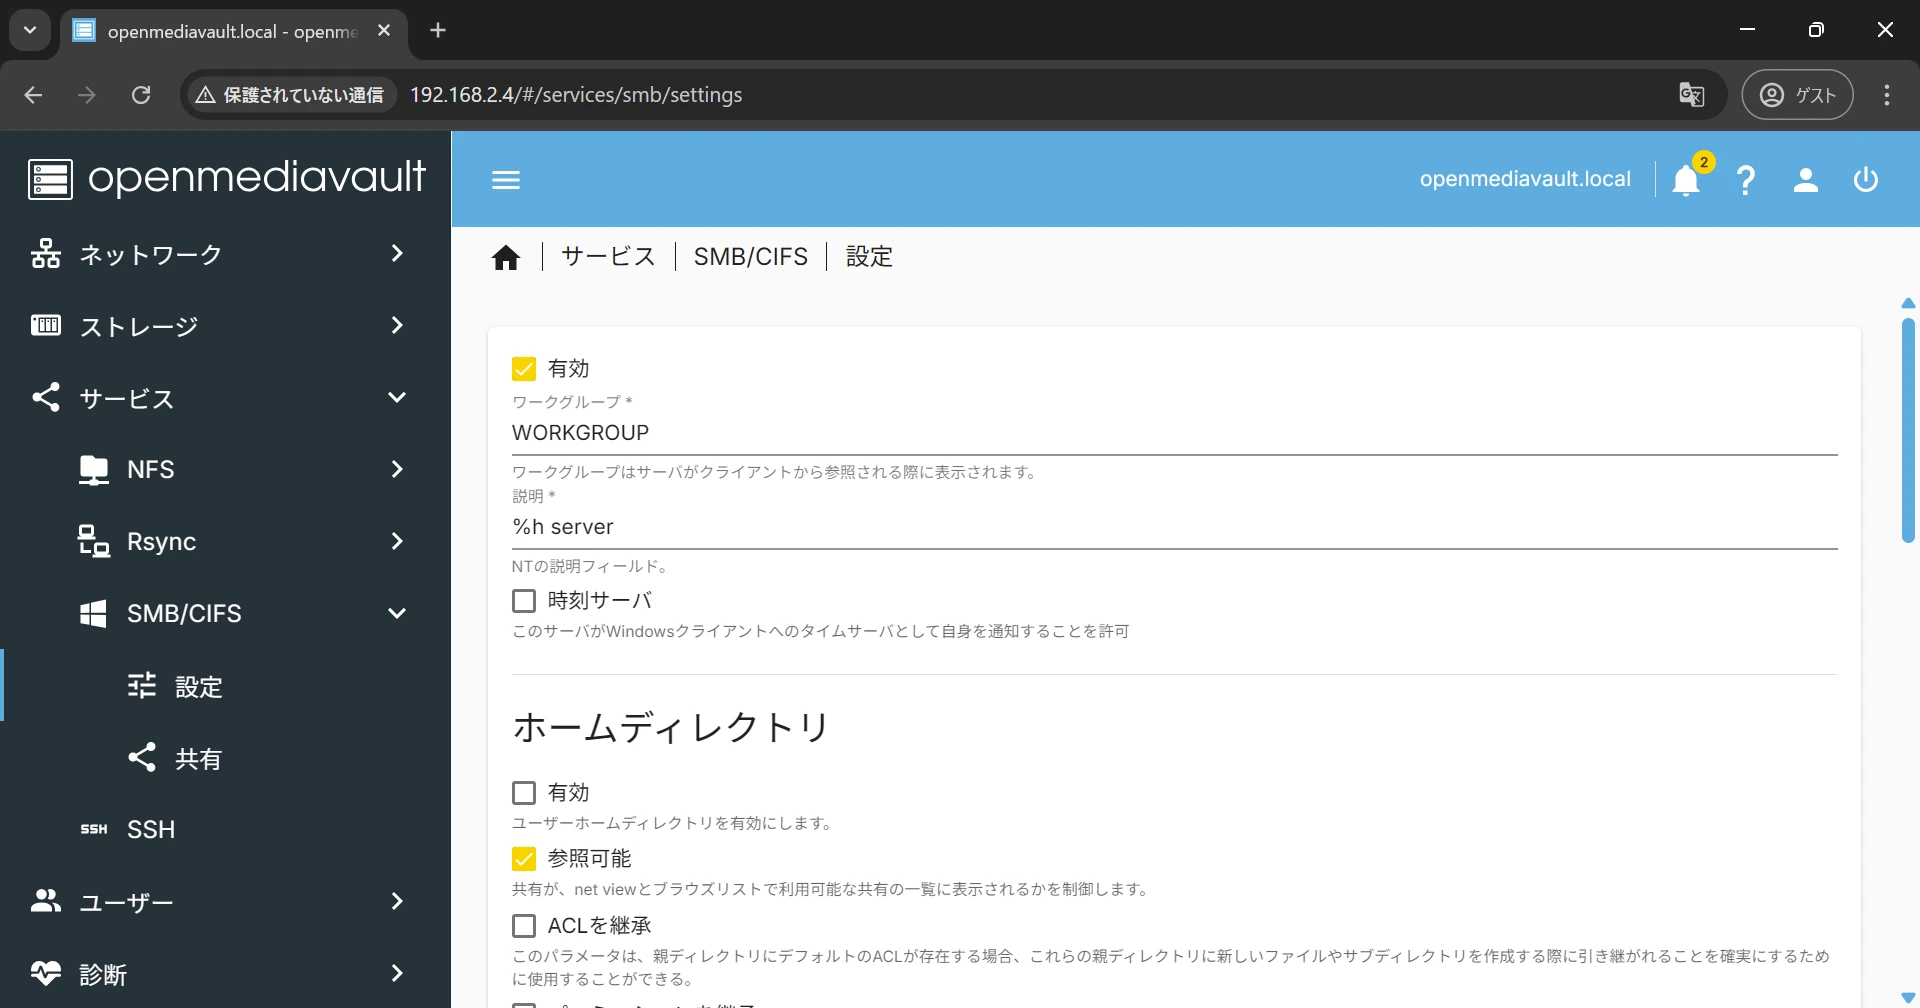
Select the enable checkbox and save the settings.
Next, select SMB/CIFS > Shares from the menu to open the SMB/CIFS share settings screen.
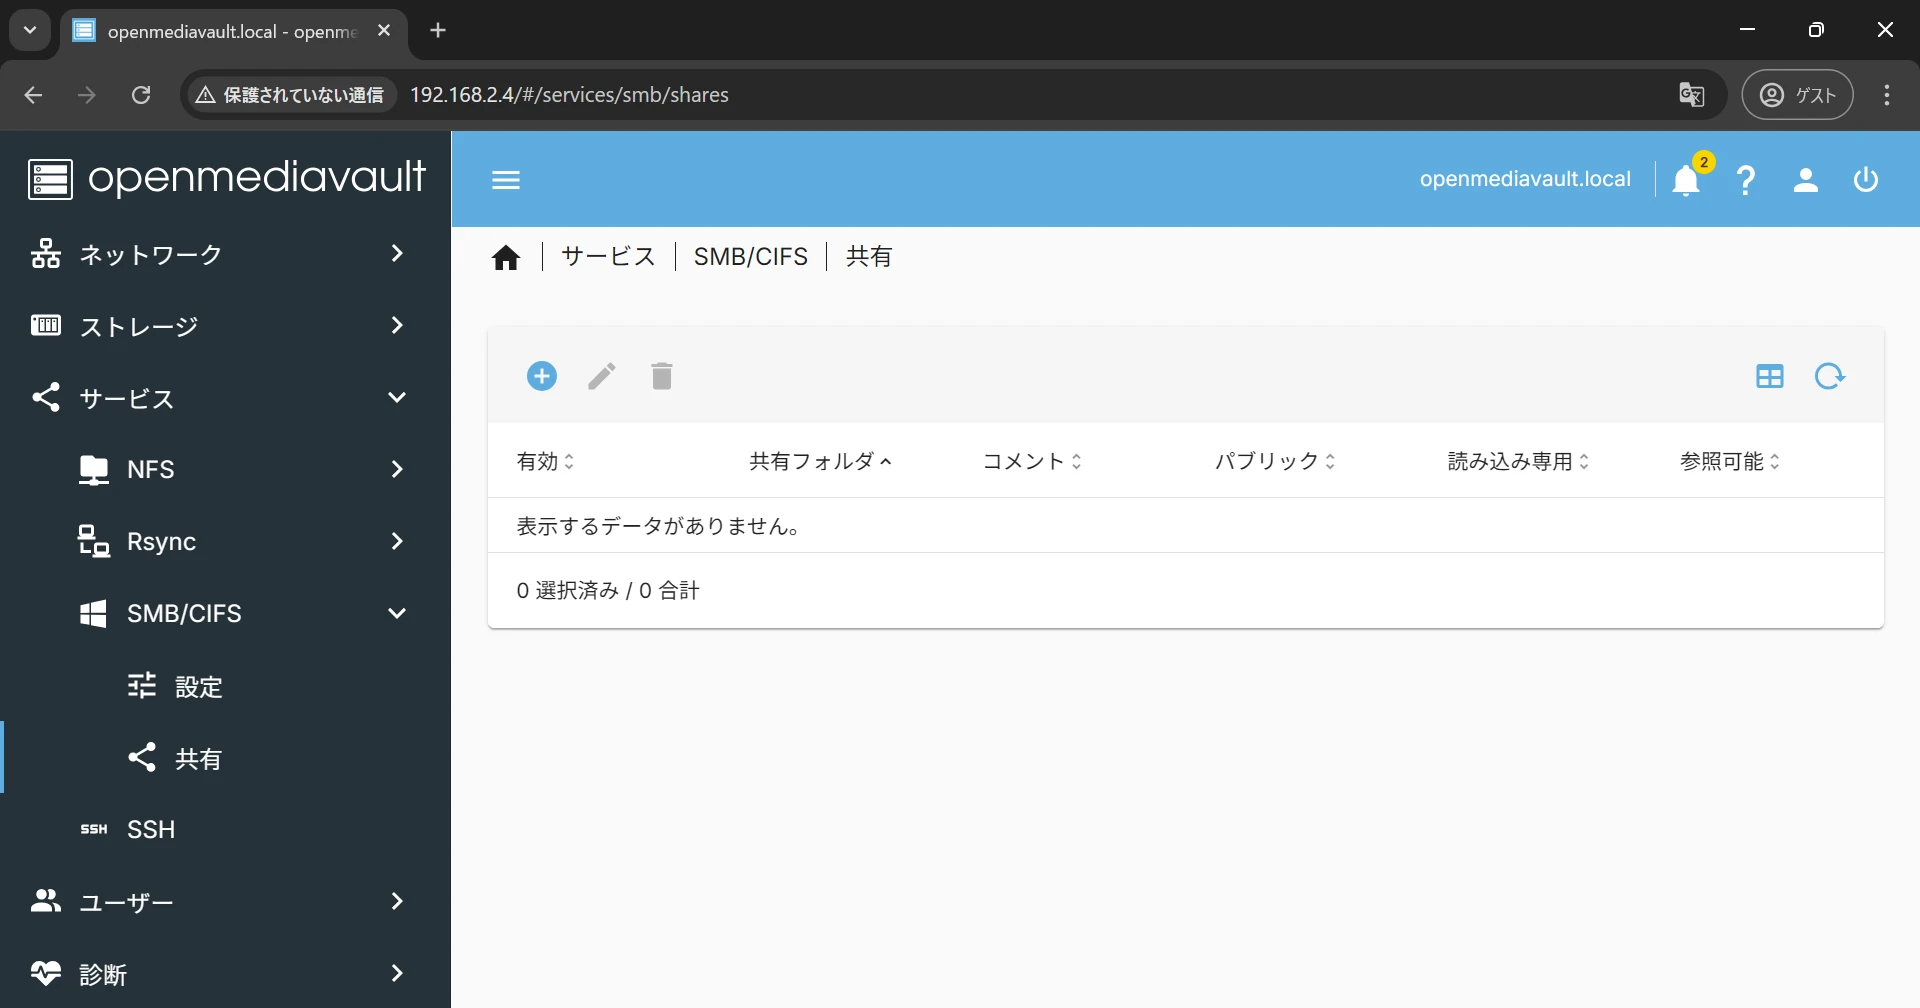
Click the plus icon to open the creation screen.
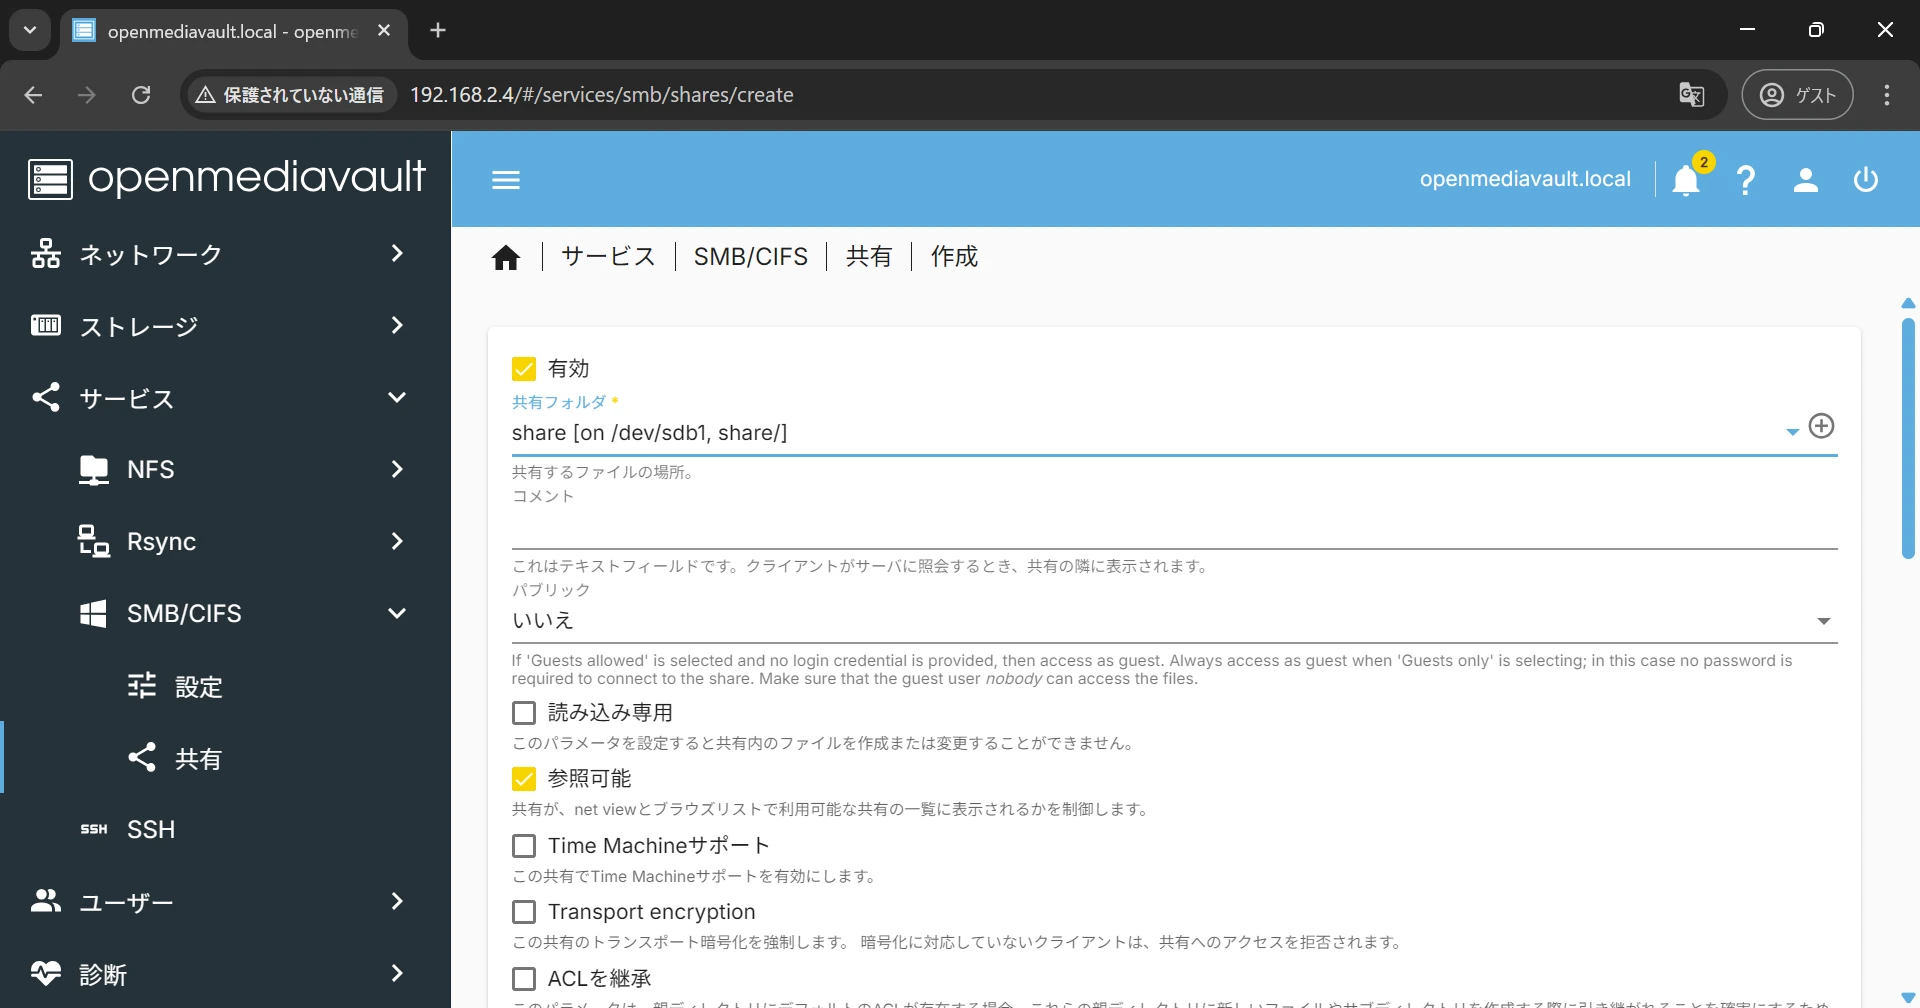
Under Shared folder, select the shared folder created earlier and save the settings.
#
Create a User
Create a user who can access the shared folder. Select Users > Users from the menu to open the user settings screen.
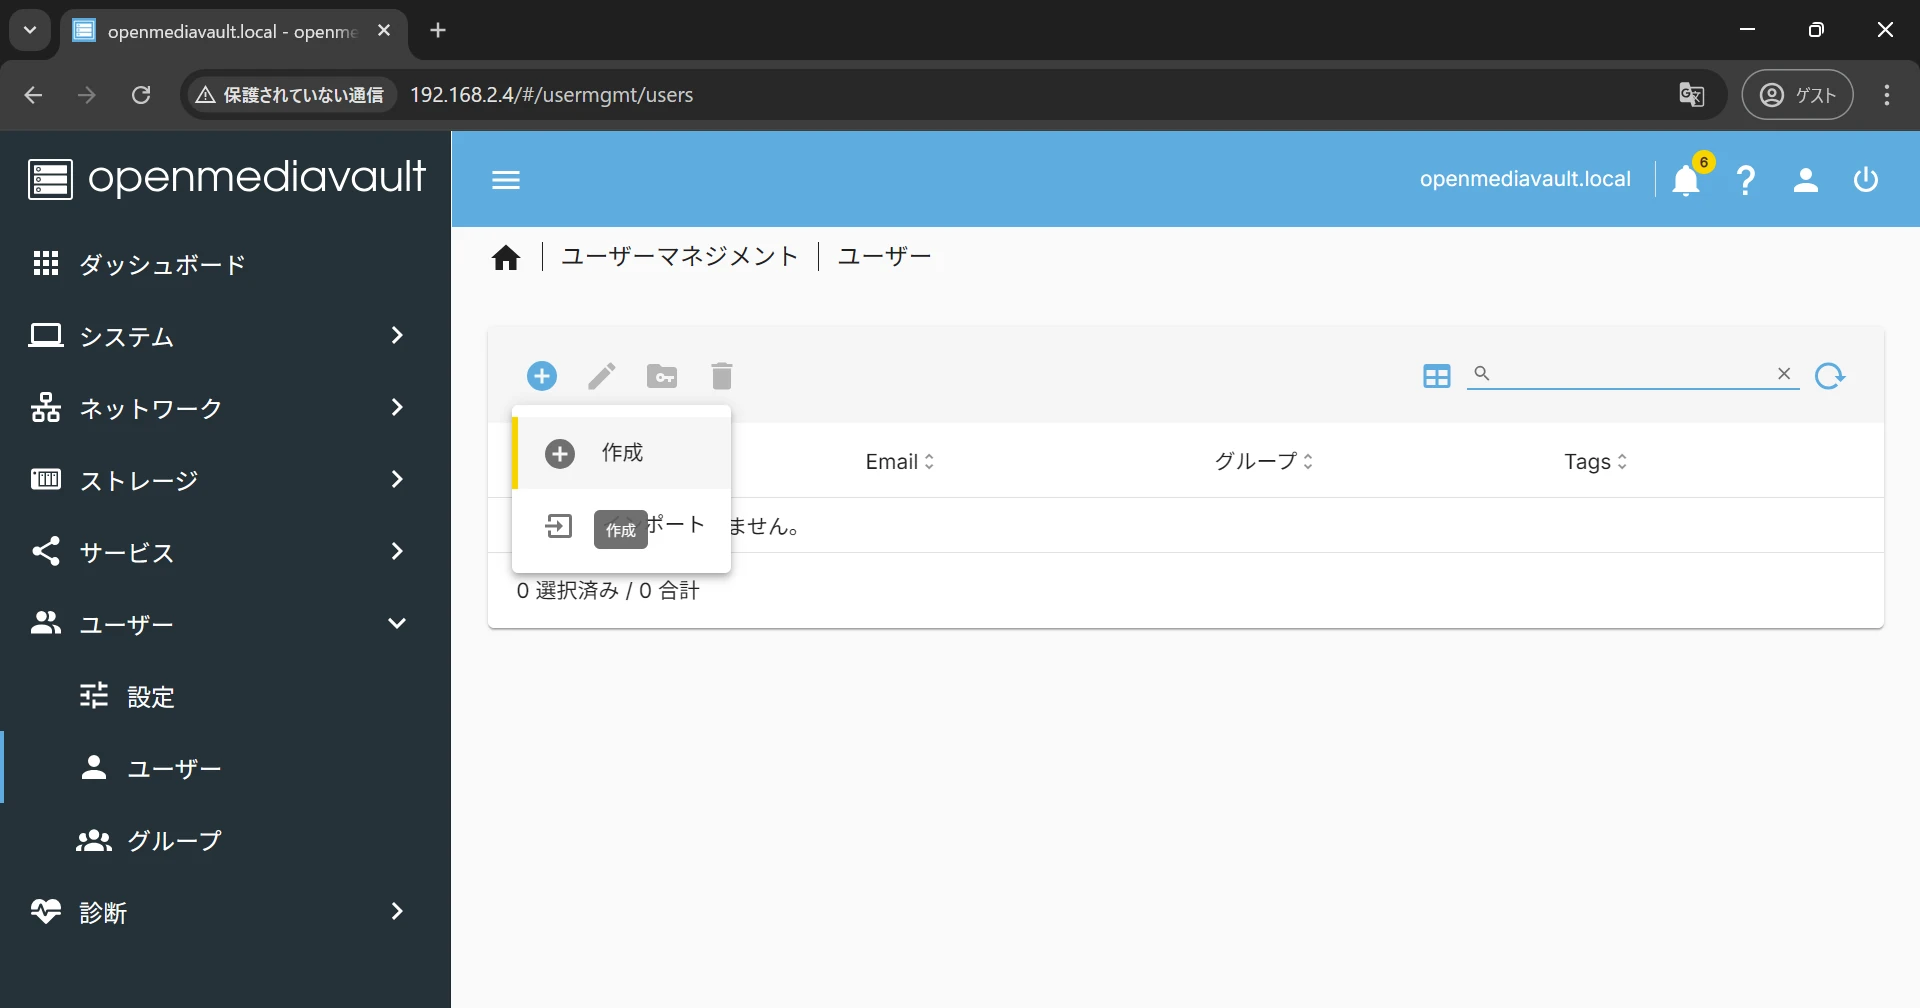
Click the plus icon to open the user creation screen.
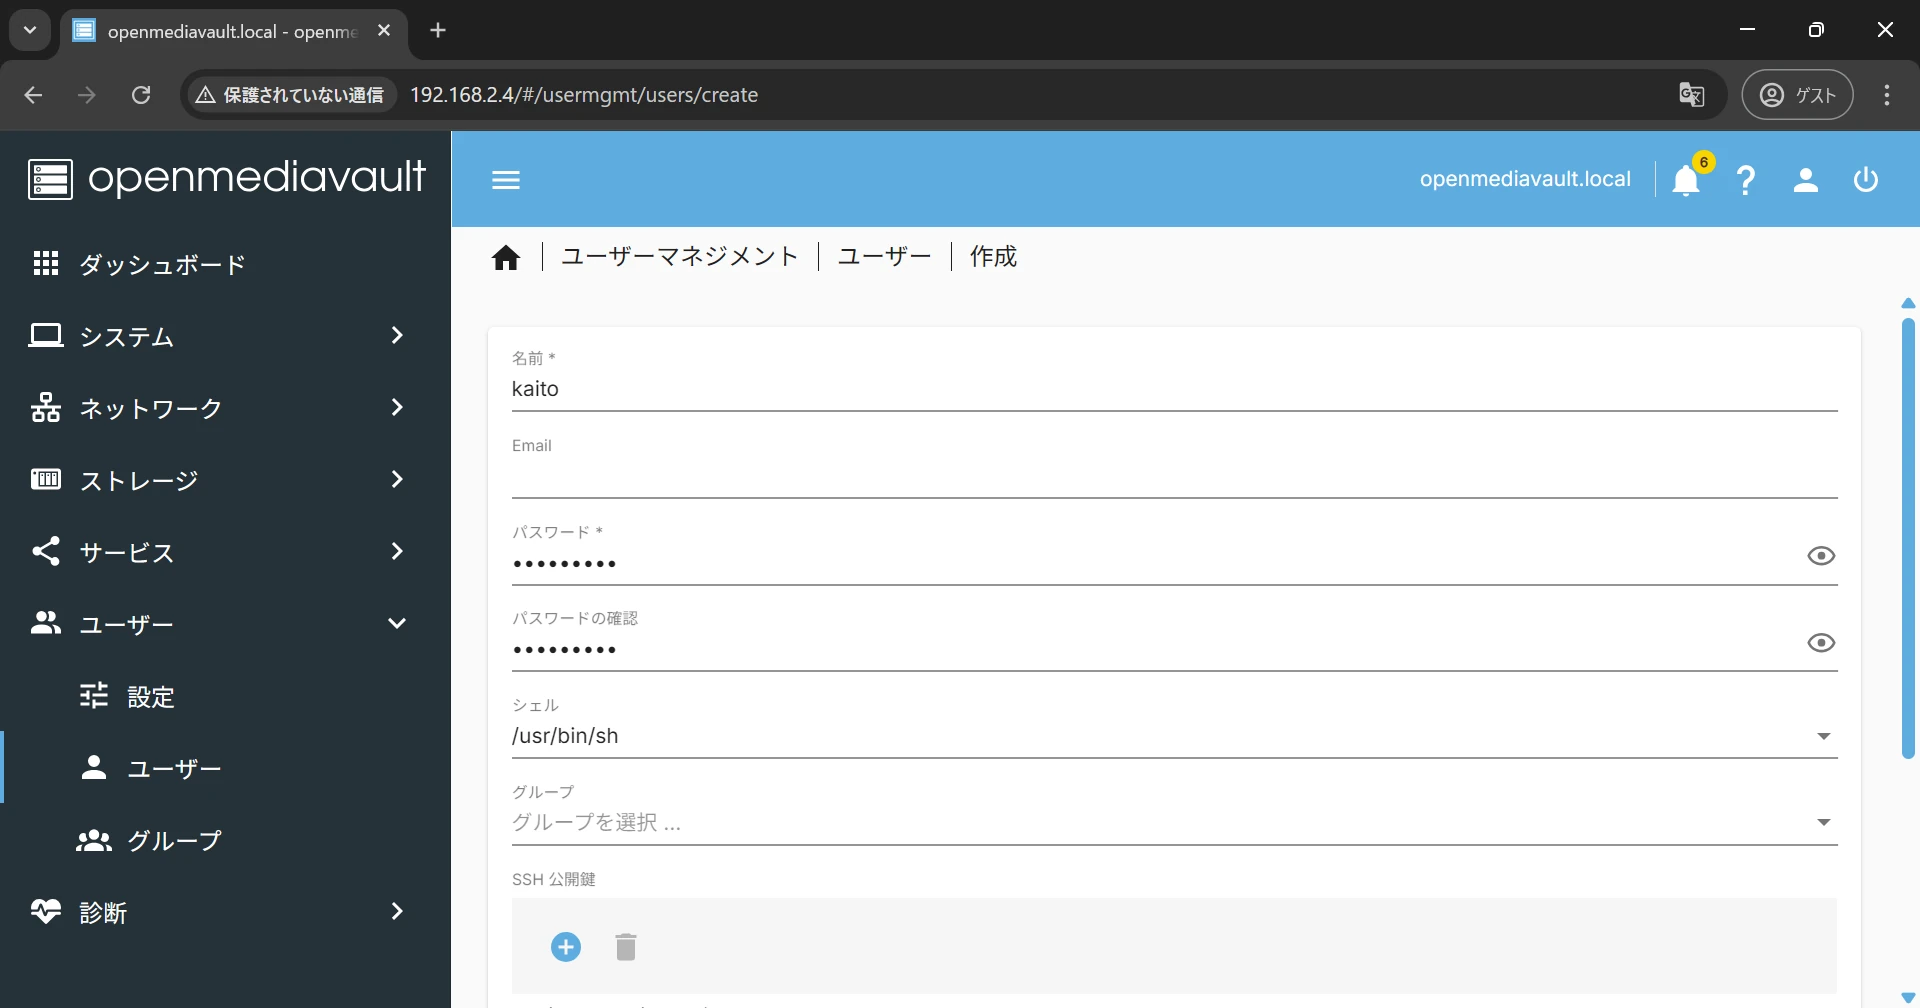
Enter a name and password and save them. You need this information to access the shared folder.
The required OpenMediaVault configuration is now complete. Finally, access the shared folder from a client PC.
#
Access the Shared Folder
Access the shared folder created in OpenMediaVault from Windows File Explorer.
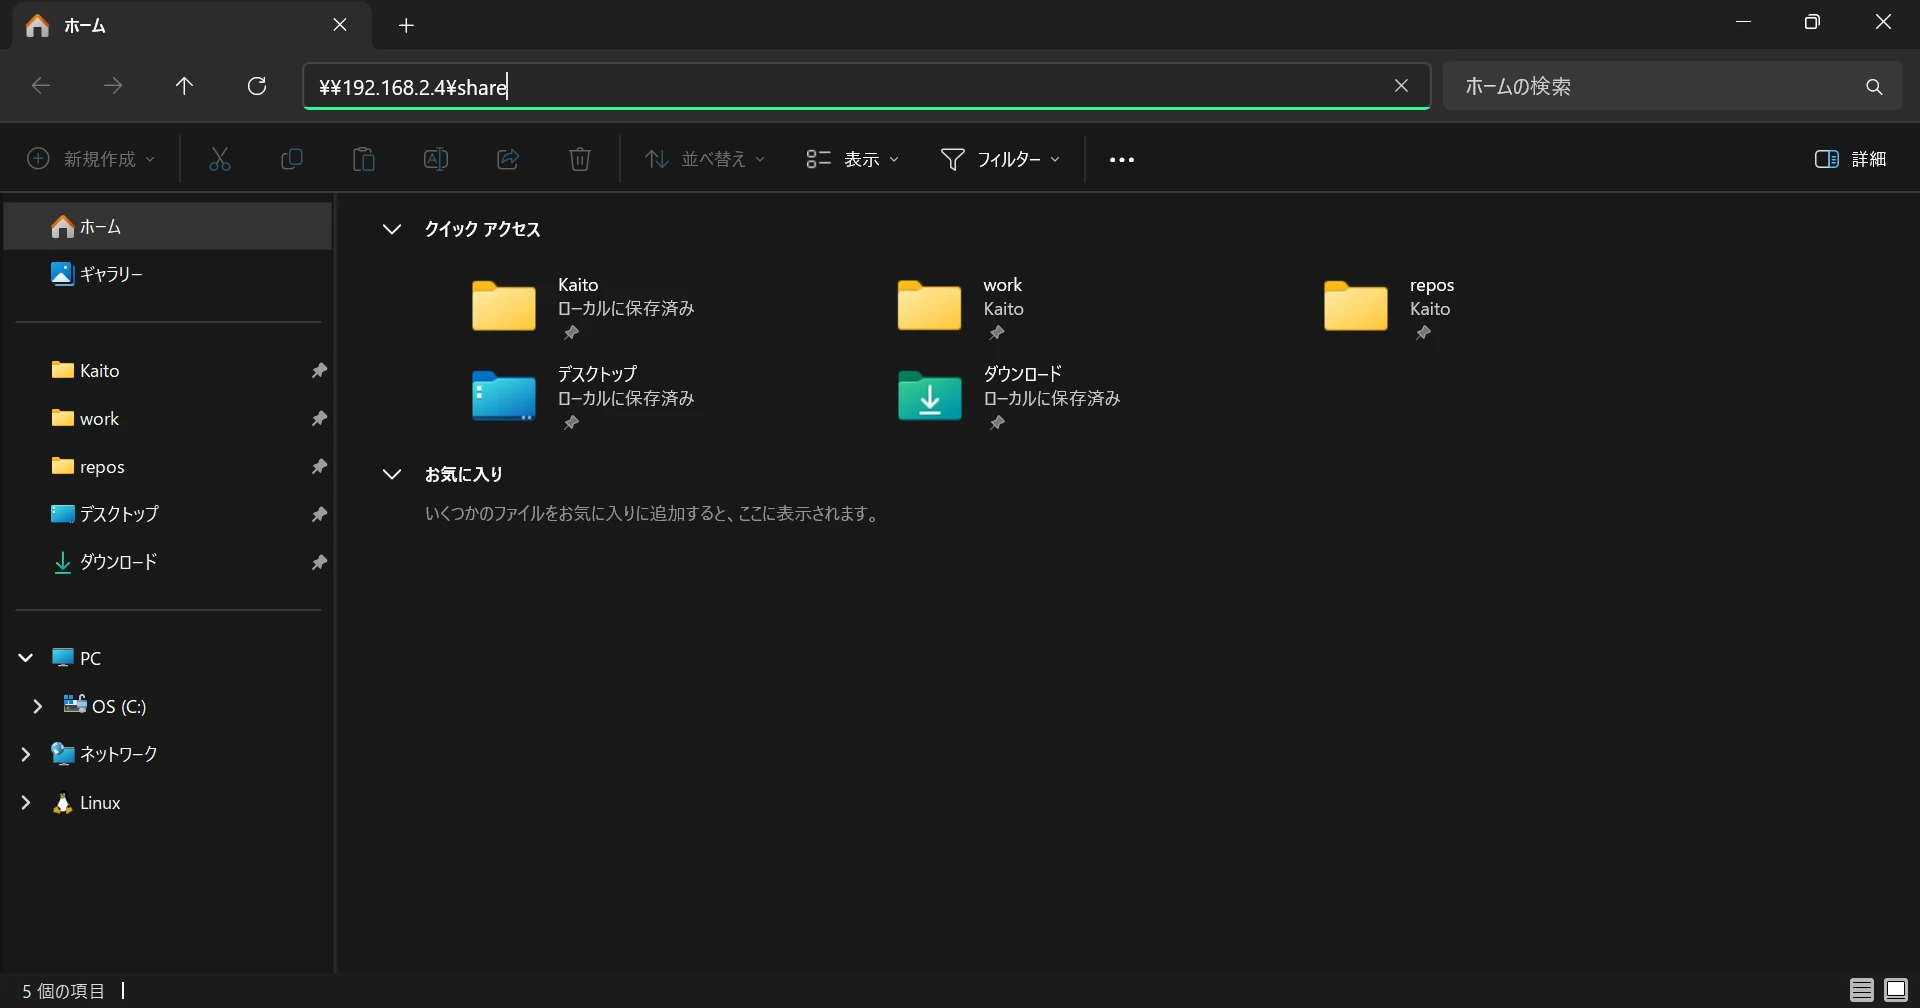
Enter the path to the shared folder in the field at the top of the window.
\\<server-IP-address>\<shared-folder>
You are prompted to enter network credentials.
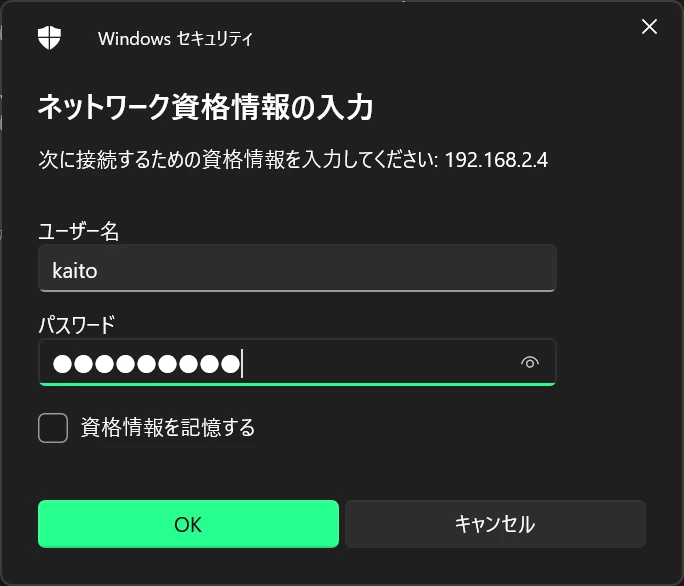
Enter the username and password of the user created in OpenMediaVault, then select OK.
If the username and password of the user logged in on the client PC match those of the user created in OpenMediaVault, entering credentials is skipped.
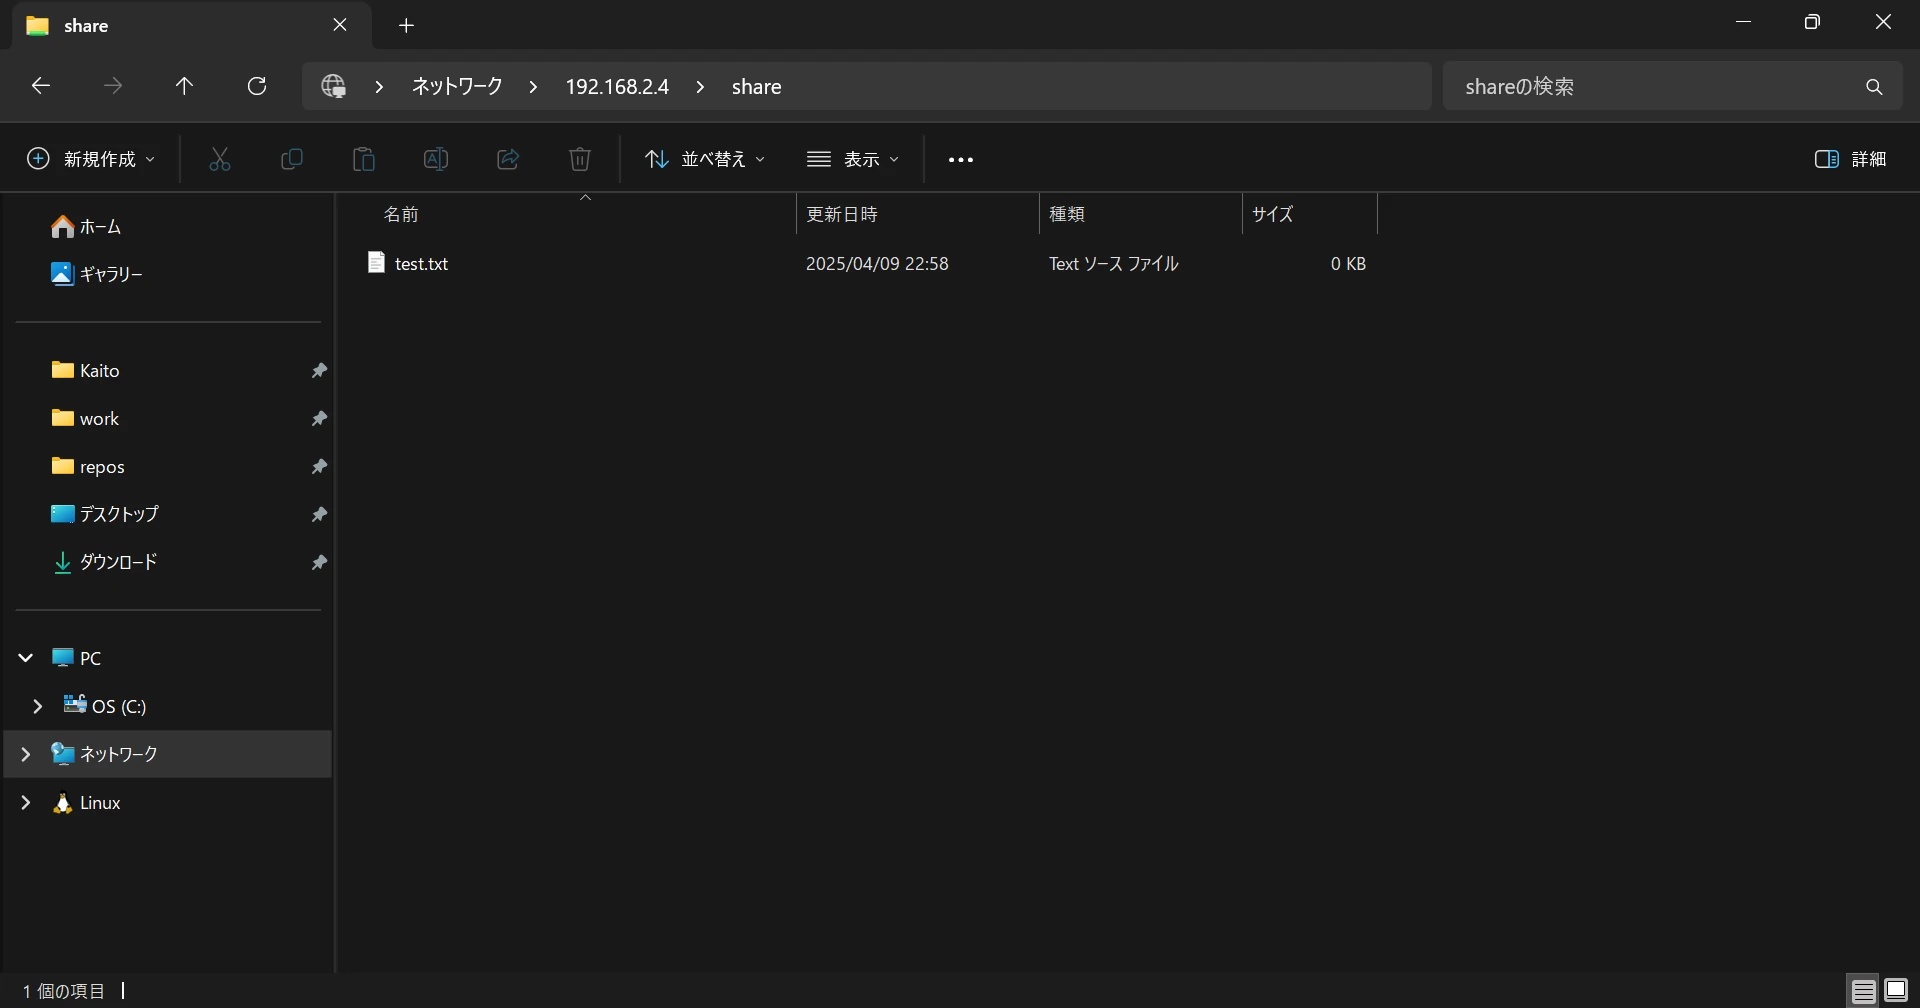
The shared folder can now be accessed. You can also confirm that files can be created and written from the client PC.
The NAS setup with OpenMediaVault is complete.